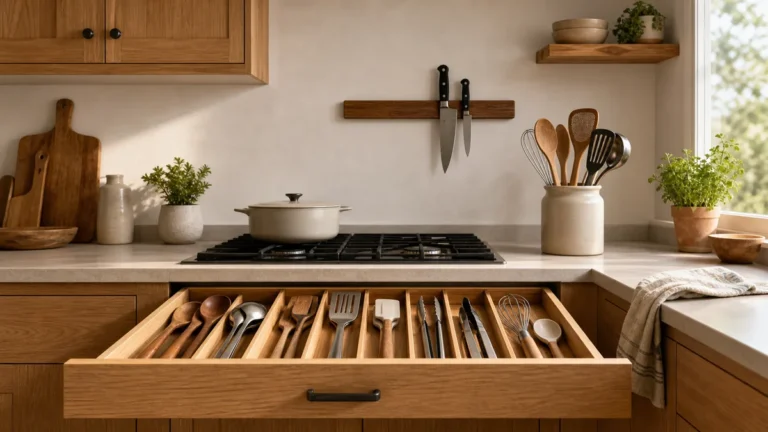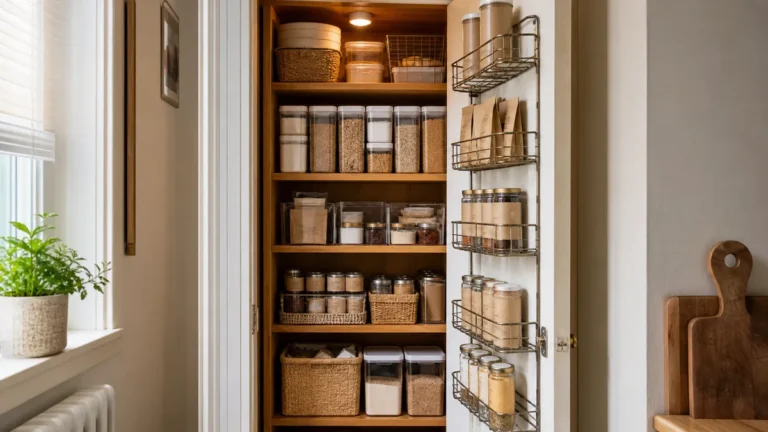
18 Kitchen Organization Ideas That Make Daily Cooking Easier
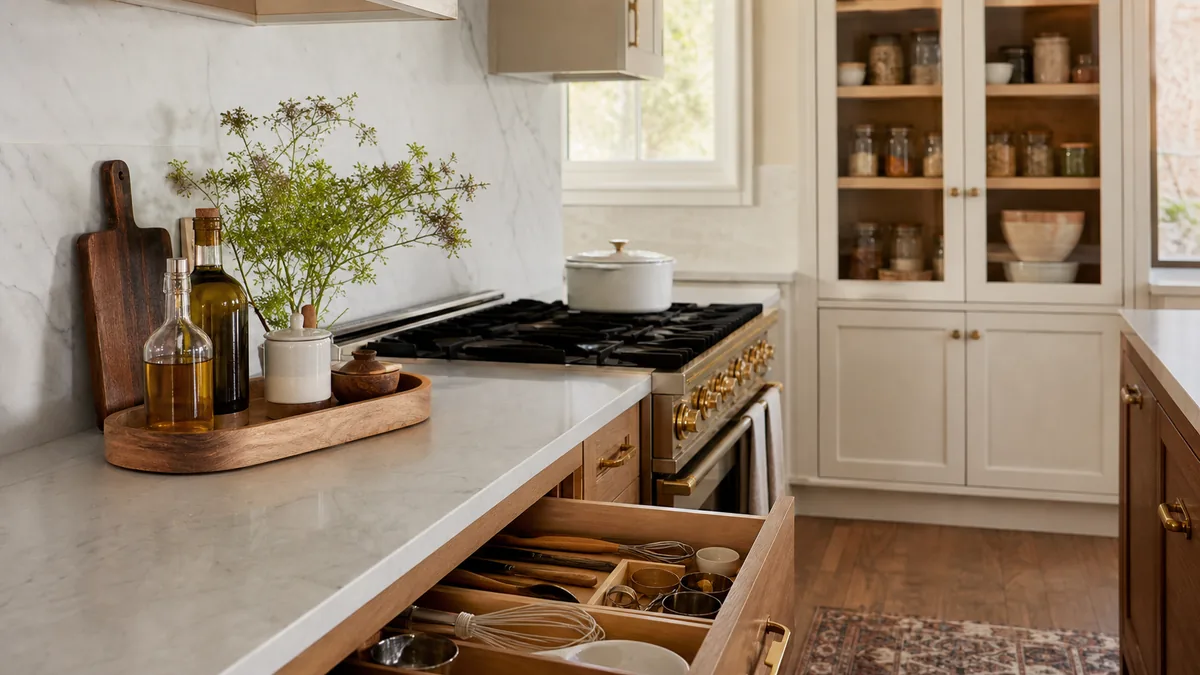
Most kitchen organization advice fails on the second Tuesday. You bought the bins, you labeled the canisters, and a week later the counter is back to mail and a spice jar that lives nowhere.
These eighteen ideas are the moves that actually hold up — the ones that make daily cooking faster, keep the room feeling editorial instead of sterile, and give every object a place that survives a real week. Use the table of contents to jump straight to the zone that’s slowing you down, or read straight through to plan a one-weekend reset.
Skim the list, jump to the zone slowing you down most. Each idea is one image and one clear move you can copy this weekend.
Build a Real Cooking Zone Beside the Stove
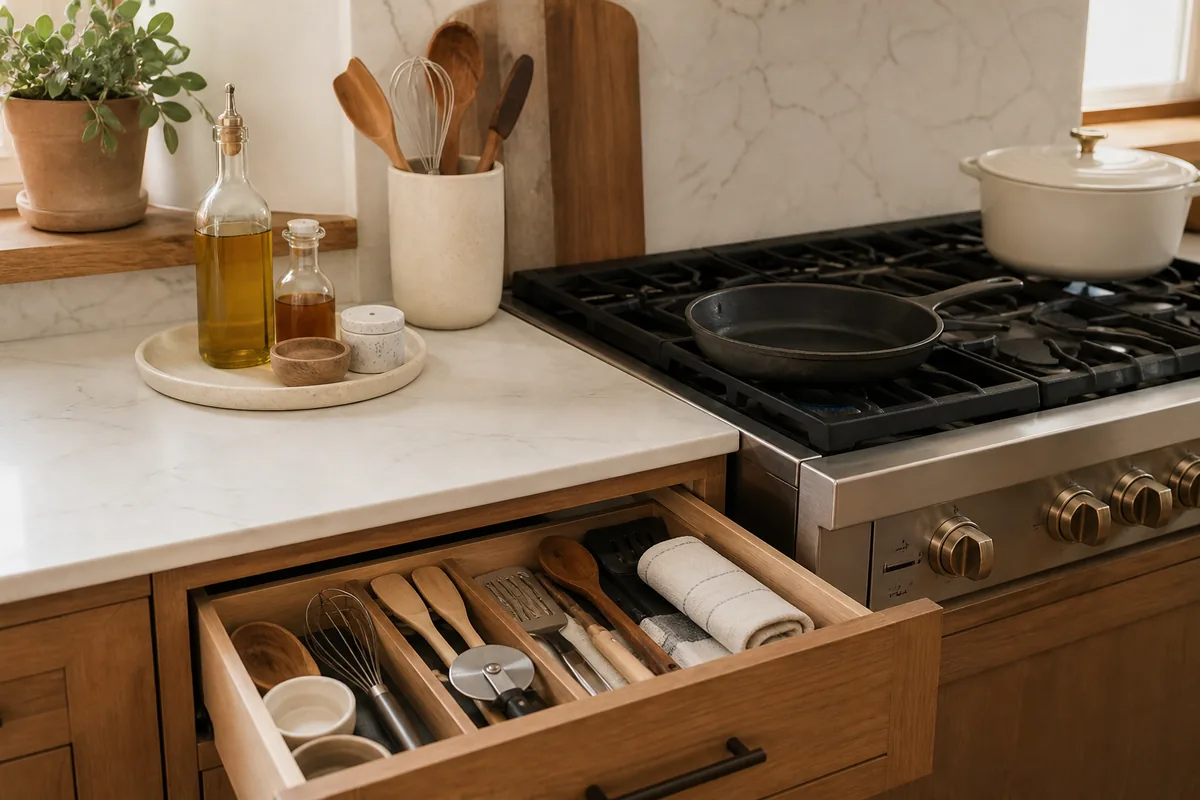
The drawer in this kitchen sits directly under the burners, and everything you reach for mid-recipe lives in it: wood spoons, a whisk with a worn handle, a pizza cutter, a fish spatula, two small ramekins for salt and pepper drops, a rolled linen napkin.
The counter above holds only what you use within arm’s reach of heat — a stoneware crock of cooking tools, a round tray with one tall oil bottle and a small cruet of vinegar, a potted herb that doesn’t mind the warmth.
Nothing on the cooking side is decorative. The pan is on the burner, the skillet is on the grate, the drawer pulls open without lifting anything off the counter first. That’s the rule worth borrowing — your cooking zone gets exactly the tools you touch while a pan is hot, and nothing else.
Keep Daily Counter Items on One Shallow Tray
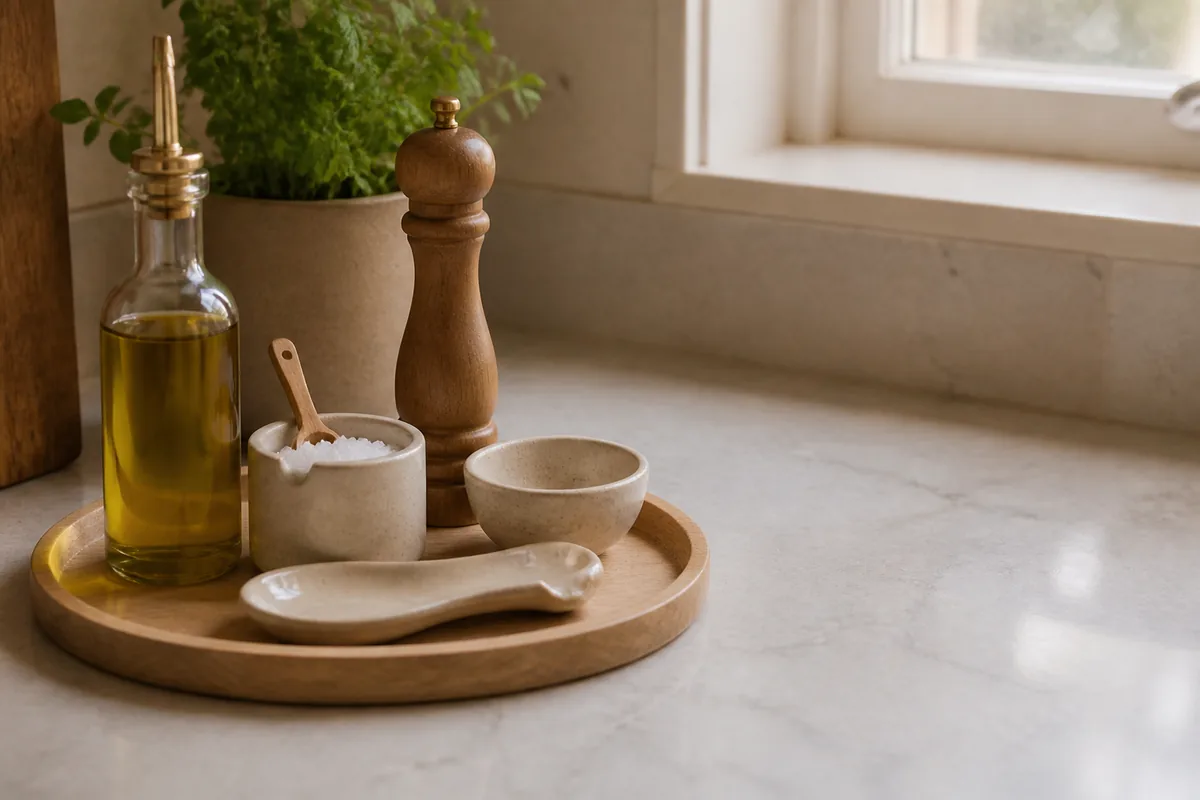
The round oak tray under the window holds five things: an olive oil bottle with a brass pour spout, a wood pepper grinder, a stoneware salt cellar with a tiny wood spoon, a small pinch bowl, and a ceramic spoon rest. That’s it. The marble counter around the tray is empty.
A tray works because it draws a visible edge around “always out.” When the edge is one tray, you stop adding. When daily items spread directly onto stone, every new bottle reads as clutter the next morning. Choose the tray first, then decide what earns a spot on it — and let the herb pot, the toaster, and the spare jar of salt move somewhere else.
Turn One Drawer Into a Prep Tool Drawer, Grouped by Task
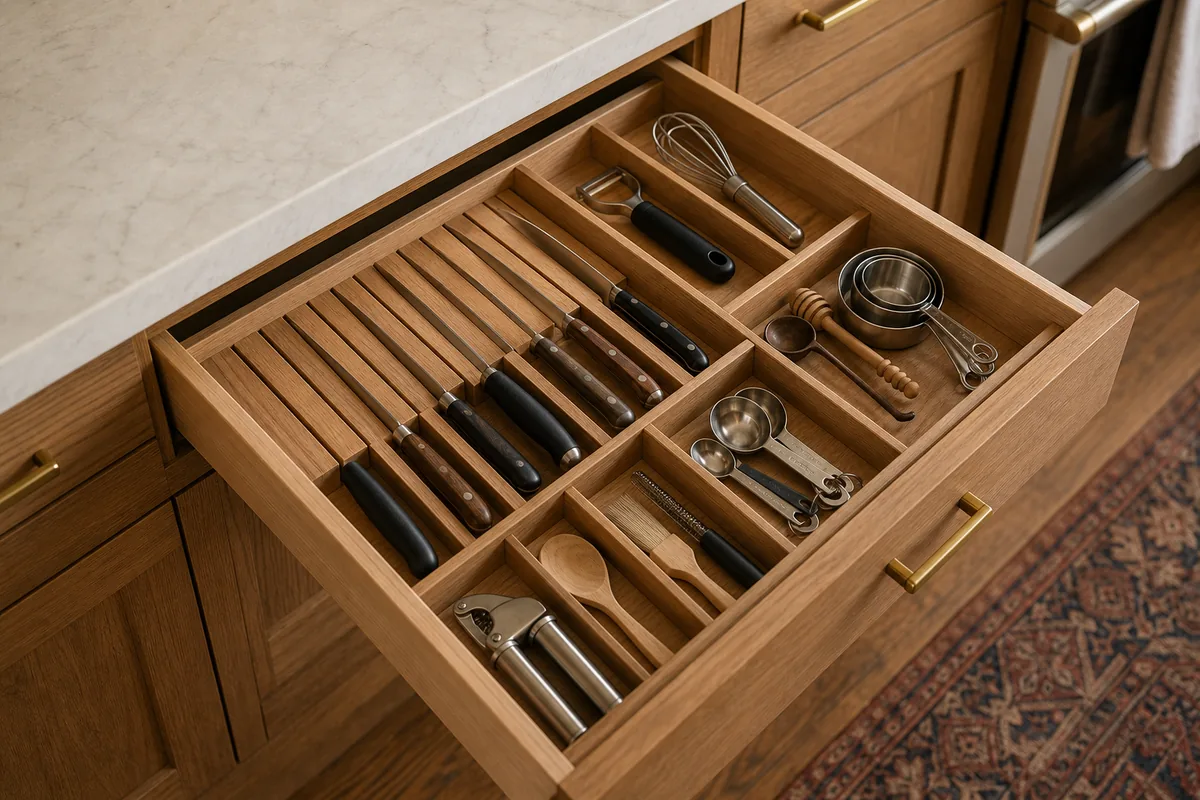
This drawer is divided into five wood compartments and each one answers a different question. On the left, a slotted rack holds five knives upright by the handle, blades down.
Next to it, the long-handle tools — peeler, whisk, a wood-handled brush, the garlic press. Then small spoons and spatulas in a shorter section. On the right, the measuring set: stainless cups nested, measuring spoons on a ring, a wood honey dipper.
The reason this works the morning after is that every tool returns to a slot the same shape as itself. There’s no “general utensil drawer” where a peeler hides under three spatulas. If you can give one prep drawer dividers and label nothing, you’ll keep it organized longer than any pantry with twelve labeled bins.
Store Pans and Lids Vertically So the Drawer Closes Clean
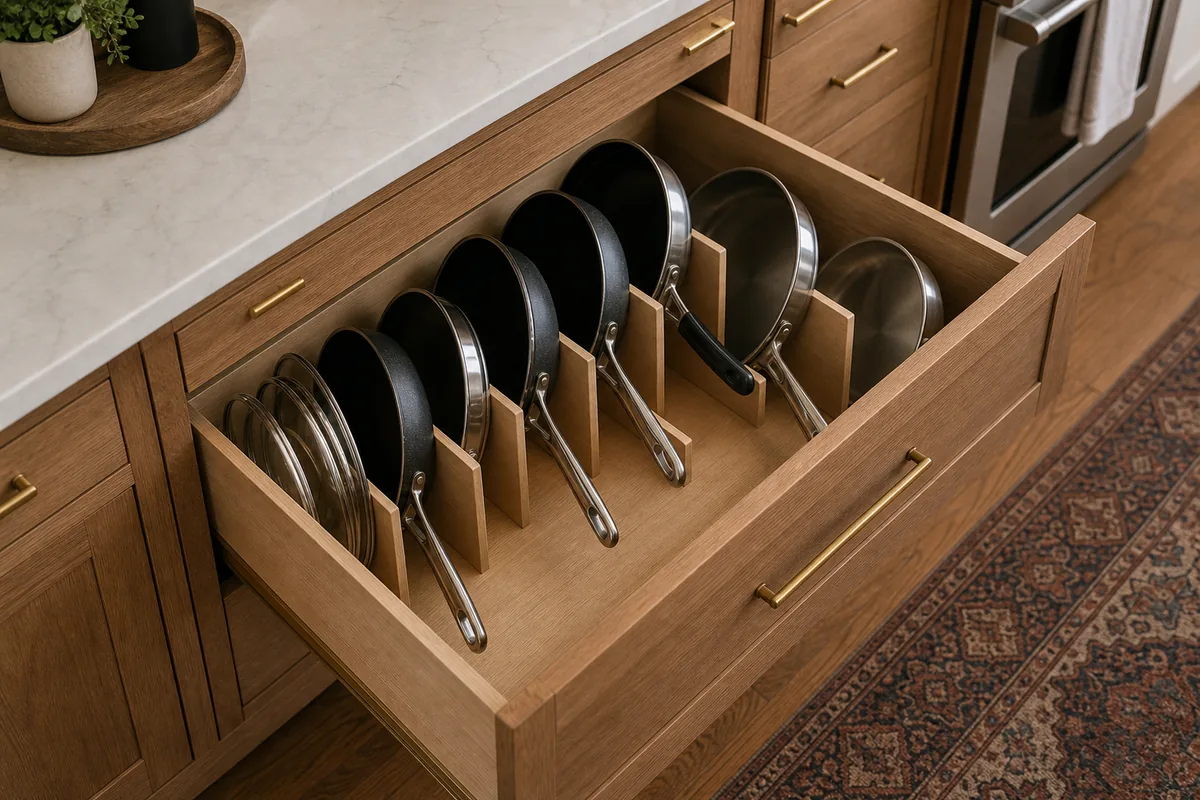
Four pans stand on edge in this deep drawer — two black non-stick, two stainless — separated by simple wood dividers. The lids live in their own slim slot on the left, stacked vertically against a divider. Each handle points out, so the right pan comes out without lifting the others.
Stacking pans flat is what eventually breaks a kitchen. You start with three, you end up with seven, the bottom one has a scratched coating, and you cook with the same pan every night because it’s the only one you can reach. Vertical storage with a dedicated lid slot is the move that scales — it works just as well at six pans as at three.
You don’t need all eighteen ideas. Pick the row that matches your worst zone and jump to the two or three moves that fix it.
Use a Clear System Under the Sink, Not One Dark Cavern
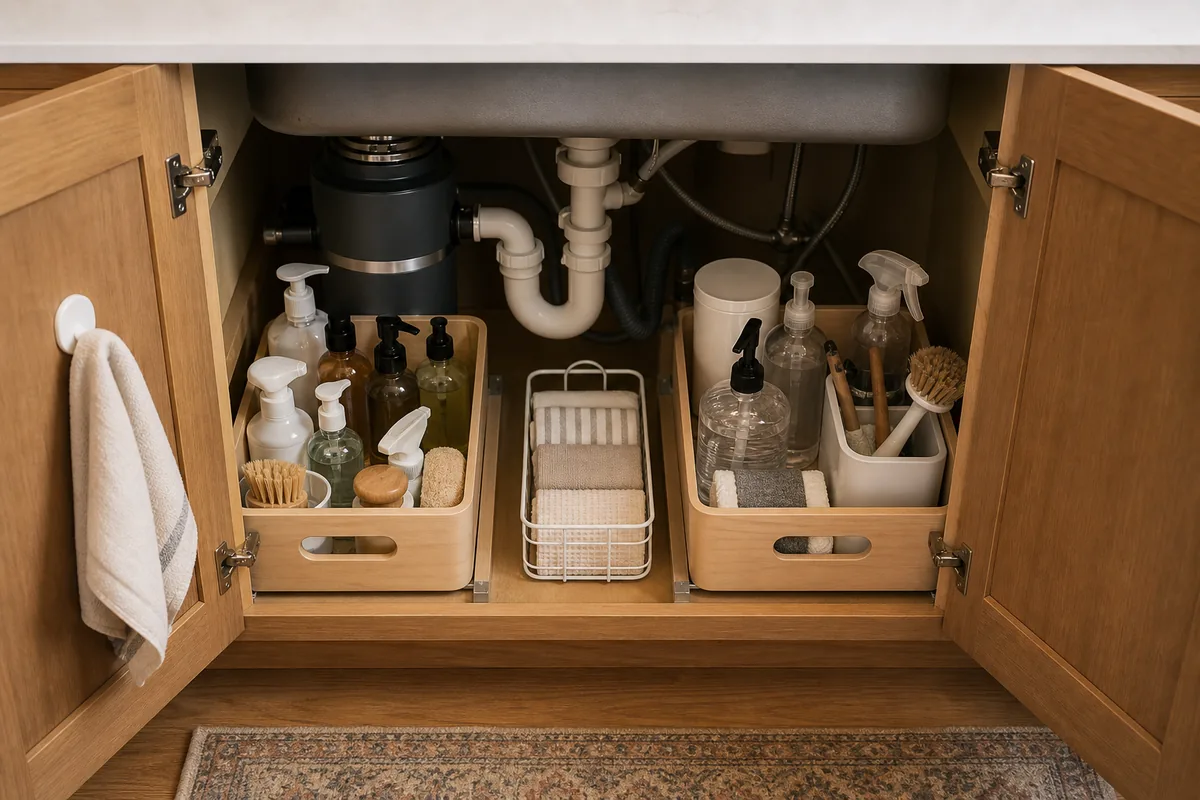
Under-sink chaos is a planning problem, not a cleaning problem. The cabinet behind the disposal and the U-bend gets three zones instead of one. Left bin: hand soaps and refills, two scrub brushes upright. Center wire basket: folded gray and natural cloths, stacked. Right bin: sprays, lotion pump, a dish brush, the spare scrub.
Three bins are enough — more than that and you start hiding things behind things again. The bins themselves are shallow and have cut-out handles, so you pull the whole zone forward instead of crouching with a flashlight. A small towel on the door hook is the last detail, and it’s the one that quietly proves the system works.
Give Cutting Boards and Sheet Pans a Slim Vertical Slot
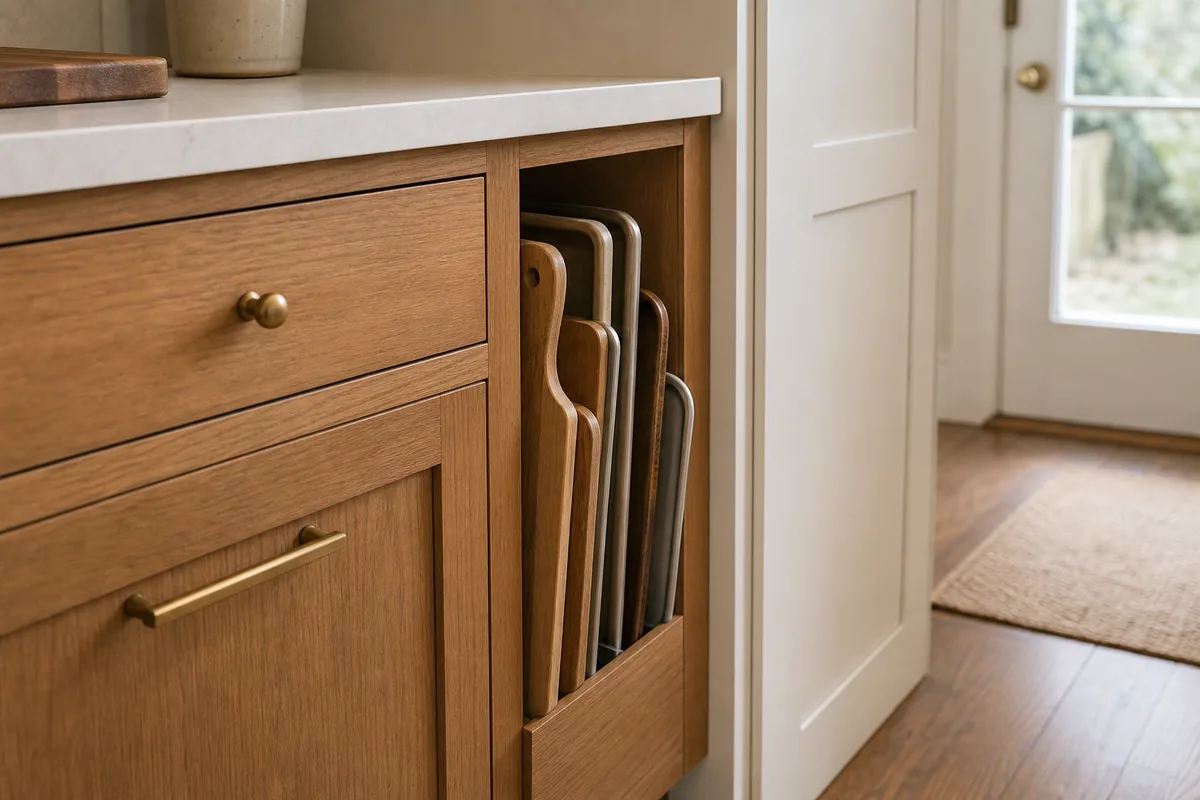
This narrow slot is built into the side of a lower cabinet near the back door, and it holds about five flat objects on edge: two wood cutting boards (one walnut, one paler oak), a thin flexible board, and two metal sheet pans. The whole slot is maybe four inches wide.
Boards and sheet pans are the most awkward objects in any kitchen because they’re flat, heavy, and never the same size. Laid flat in a cabinet, the bottom one is unreachable; leaned in a counter rack, they take up styled counter space. A four-inch vertical slot solves both — they’re visible, you grab the one you want, and the lower cabinet space they used to eat is back.
Nest Food Containers With Lids Standing Upright
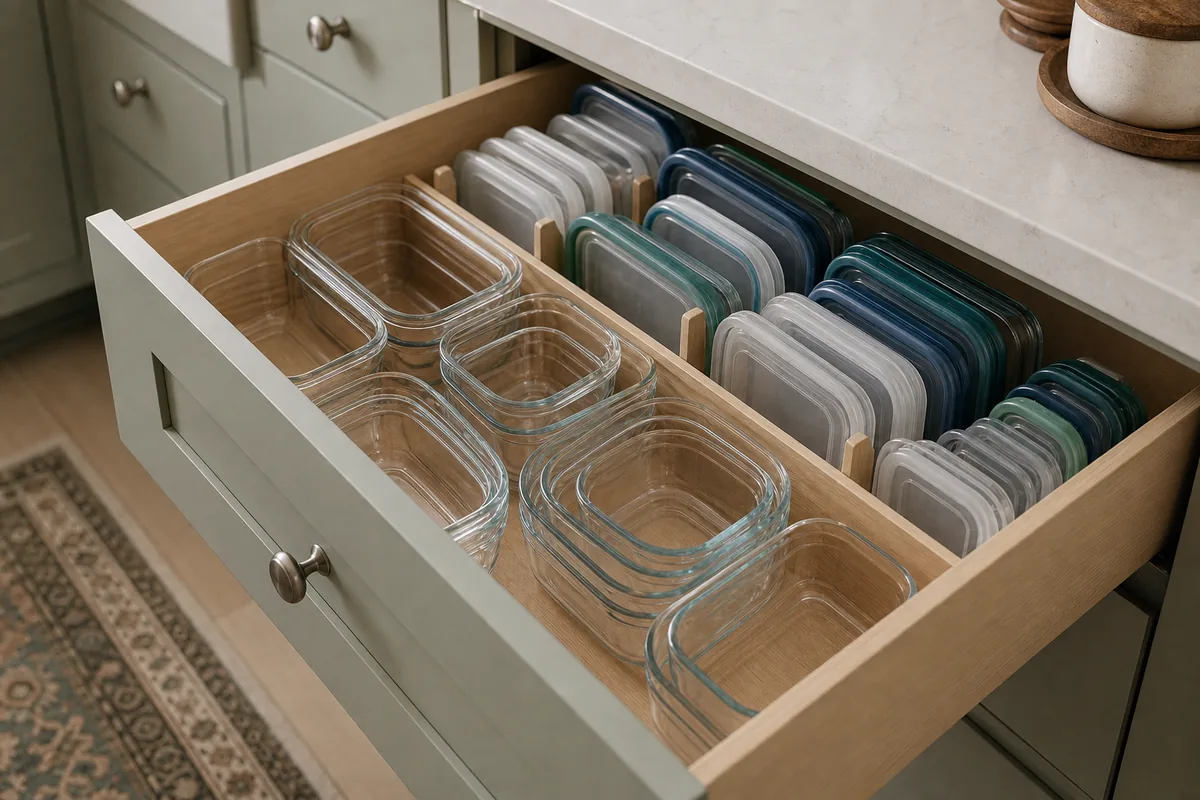
In this sage-green drawer, the glass containers nest in two rows on the left — square, round, rectangular, sorted by shape. The lids stand upright in their own rack on the right, sorted by size, edges showing in a row of clear, blue, teal, and gray. You can scan a lid in a second.
The lid-in-the-back problem is the reason most container drawers eventually become a graveyard. Containers nested plus lids standing means one motion: pull the container, grab the matching lid, close the drawer. Plastic-only sets work too — but glass with colored seal lids is the version that still looks calm with the drawer open.
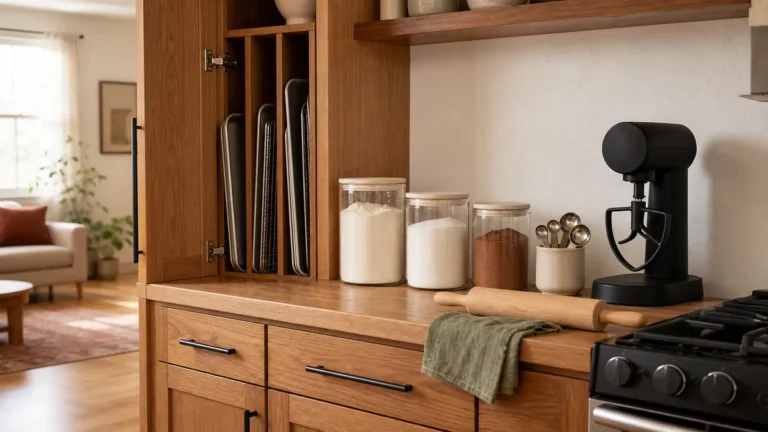
Build a Baking Zone in One Cabinet, Top to Bottom
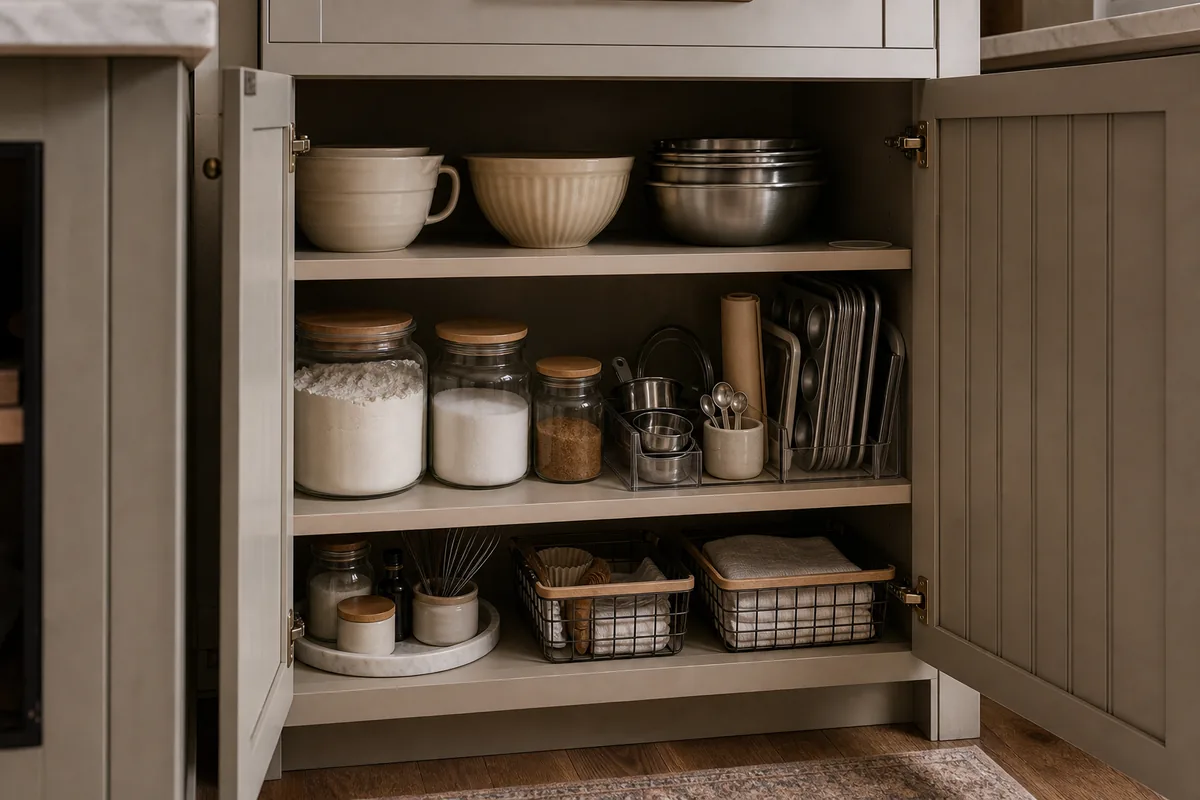
This greige cabinet stacks baking by frequency, not by category. Top shelf: the bowls you reach for first — a cream batter bowl, a fluted mixing bowl, a nested set of stainless.
Middle shelf: two glass canisters with bamboo lids (flour and sugar at scoop height), brown sugar in a smaller jar, measuring cups, a small crock of spoons, the sheet pans and a muffin tin upright in a vertical organizer.
Bottom shelf: a small marble lazy susan with vanilla and small jars, two wire baskets with paper liners and folded linens.
The bowls live at eye level because you start with them. The dry goods sit at hand level because the scoop happens twenty times. The extras drop to the bottom shelf because they don’t need to be fast. If you only have one cabinet for baking, this is the order — eye, hand, knee.
Build a Small Coffee or Tea Station in One Quiet Corner
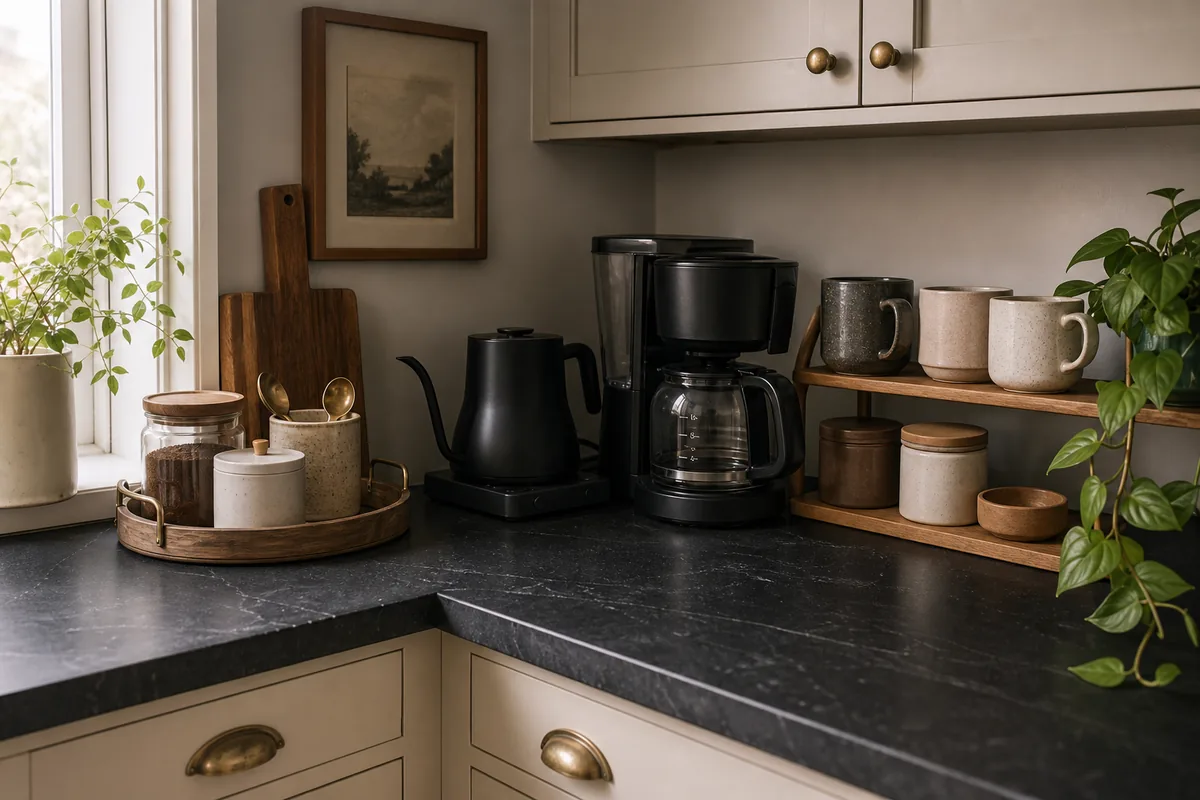
The dark soapstone corner does a lot of work in a small footprint. A round wood tray groups the things that pour and scoop: a glass canister of beans, two ceramic canisters for tea and sugar, a stoneware cup with brass spoons.
A black gooseneck kettle sits on its base next to a drip coffee maker. To the right, a two-tier wood shelf holds three mugs and two more canisters at the front. A pothos trails down from the top.
The whole station fits in a corner most kitchens treat as dead space. The move is the tray and the small shelf — they create a station inside the counter without taking the full counter. Visitors find the mugs in three seconds. You can wipe the whole zone in one pass with one cloth.
Organization systems break for predictable reasons. These four steps keep the kitchen working through a real week of cooking, not just the first Sunday after a reset.
Use a Turntable for Awkward Corners and Oil Clusters
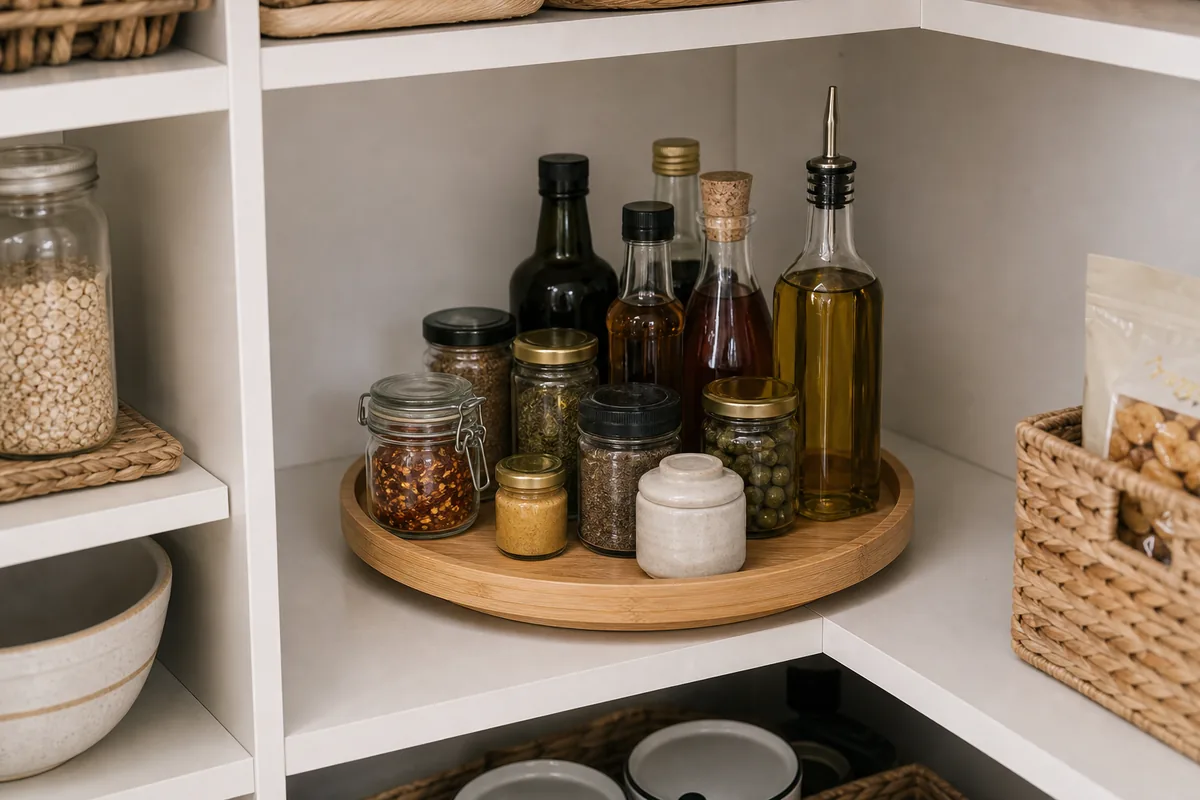
A bamboo lazy susan turns the deepest corner of this pantry shelf into reachable storage. On it: four tall bottles (olive oil with a pour spout, two vinegars, a corked specialty bottle), a clamp-top jar of chili flakes, two herb jars with brass and black lids, a jar of green olives, a small marble salt jar, dijon. Spin once, see everything.
Turntables are the answer to two specific problems: tall bottles that crowd each other, and shelves deeper than your arm. A 12-inch round one fits in most corner cabinets and most pantry shelves, and it costs less than a single specialty drawer organizer. One per problem corner is usually enough.
Put Wraps and Foil on the Inside of a Cabinet Door
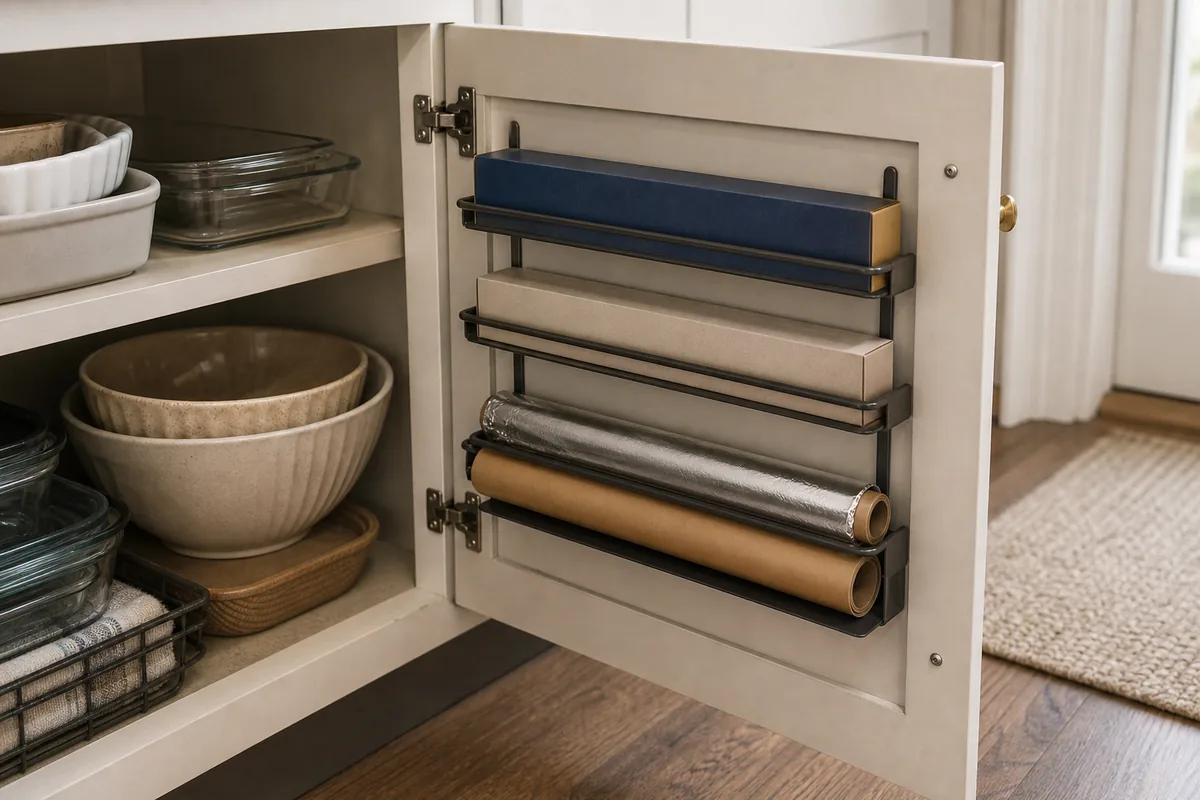
A simple black metal rack screwed to the inside of this cabinet door holds the four awkward boxes — a tall parchment box, a shorter plastic wrap box, a foil roll, and a kraft paper roll — vertically and out of the way. The cabinet behind them keeps its full depth for casserole dishes, mixing bowls, and a wire basket of dish towels.
Wrap boxes are the worst shelf citizens in any kitchen. They’re tall, they slide, they fall over the second you reach past them, and they bully every shelf they share. Moving them to the door is one screwdriver job that gives you back a full shelf and ends a daily small annoyance.
Group Snacks in Open Bins So the Family Can Self-Serve
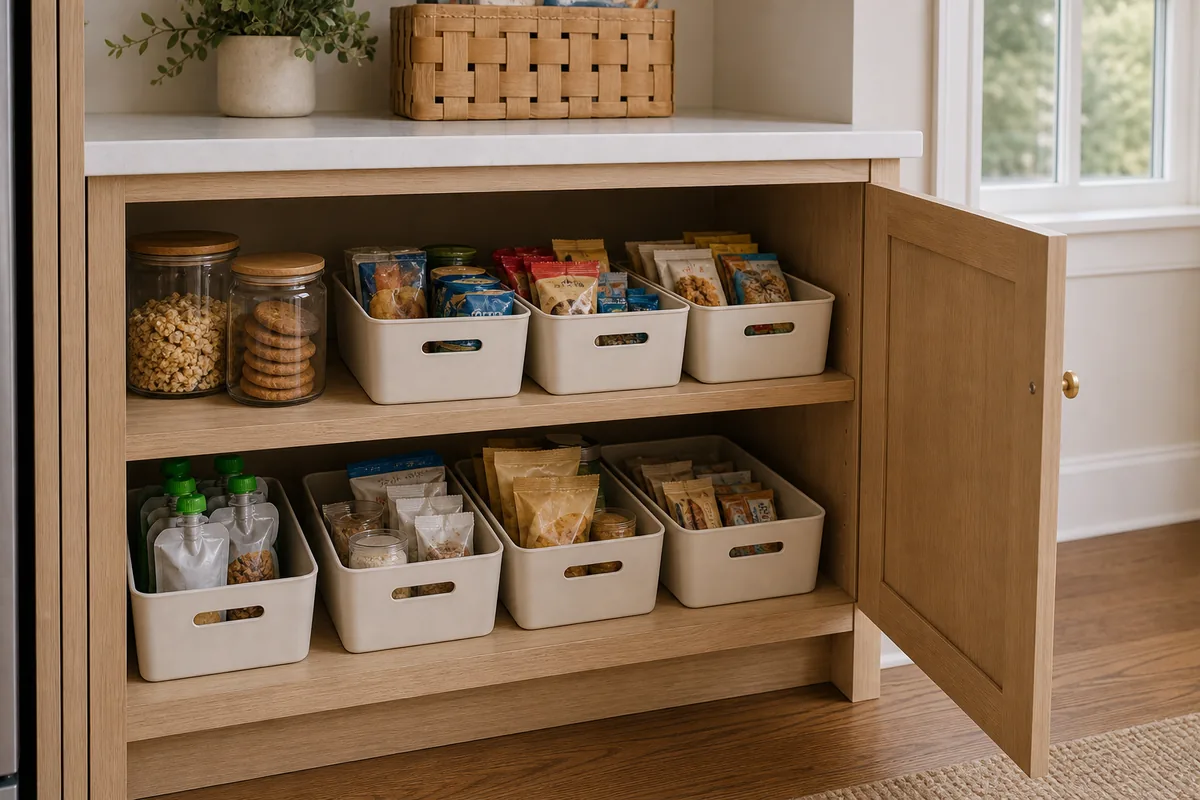
This light wood cabinet has two shelves of soft-cream bins, each one holding a single category. Top shelf: a glass canister of granola and a glass canister of cookies anchor the left, then three bins — chip-style pouches, single-serve cookie packs, mixed crackers. Bottom shelf: four bins — fruit pouches with green caps, packaged nuts, a row of small chip bags, oat-bar packets.
The system stays organized because no bin holds two categories. A kid grabs the snack pouch and the rest stays neat. The bins themselves are matte and identical, so the packaging — which is real packaging, not pretty packaging — disappears against them. This is the realistic version of a pretty pantry: real wrappers, calm container.
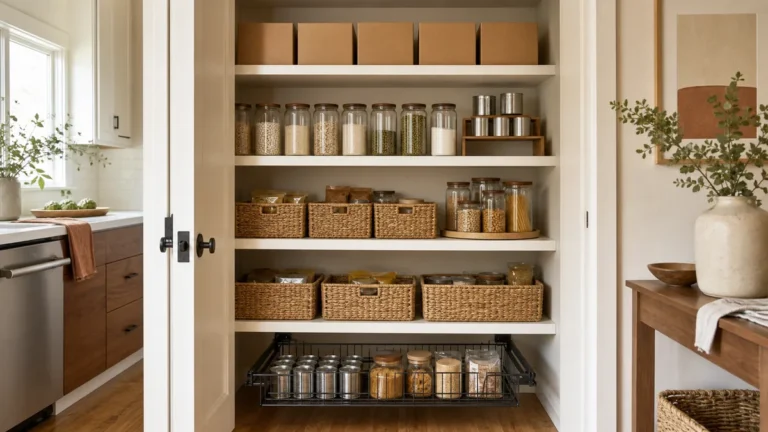
Keep Pantry Backstock in Simple Baskets at One Depth
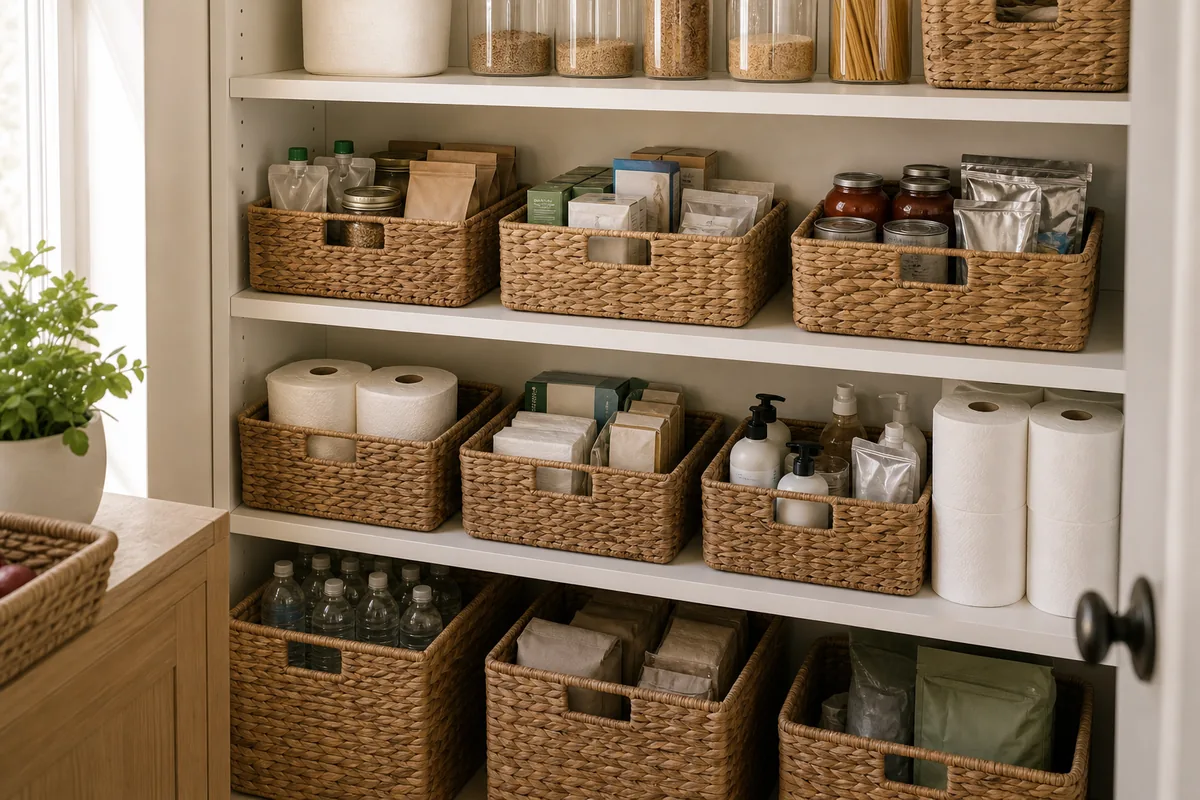
The backstock pantry uses one basket size, repeated. Twelve seagrass baskets, all the same dimensions, on four shelves. Top shelf is daily glass jars — grains, pasta, dried beans, plus a stoneware canister.
Each shelf below holds three baskets: row two for sauces and refill pouches, row three for paper goods and pump-bottle refills, bottom row for water bottles and bulk refills. Two paper towel rolls stand free on row three because they wouldn’t fit the basket and that’s fine.
Backstock doesn’t need to be pretty. It needs to be findable. One basket size repeated means you scan by position, not by container — third basket, second shelf, always cleaning supply refills. The two free-standing paper towel rolls prove the system is real: when a thing doesn’t fit, you don’t force it, you just place it.
The 4-Rule Kitchen Organization Formula
- 1Zone it firstCooking, prep, baking, snacks, clean-up: every item earns one zone.
- 2Same shape twiceIdentical bins and repeated sets read calm, even with real packaging inside.
- 3One motion to put awayIf returning a tool needs two hands or three steps, the drawer fails.
- 4Reset weeklyA small basket sweep on Sunday keeps the system from drifting all month.
styledhomenotes.com
Add a Narrow Rolling Cart Where Cabinets Fall Short
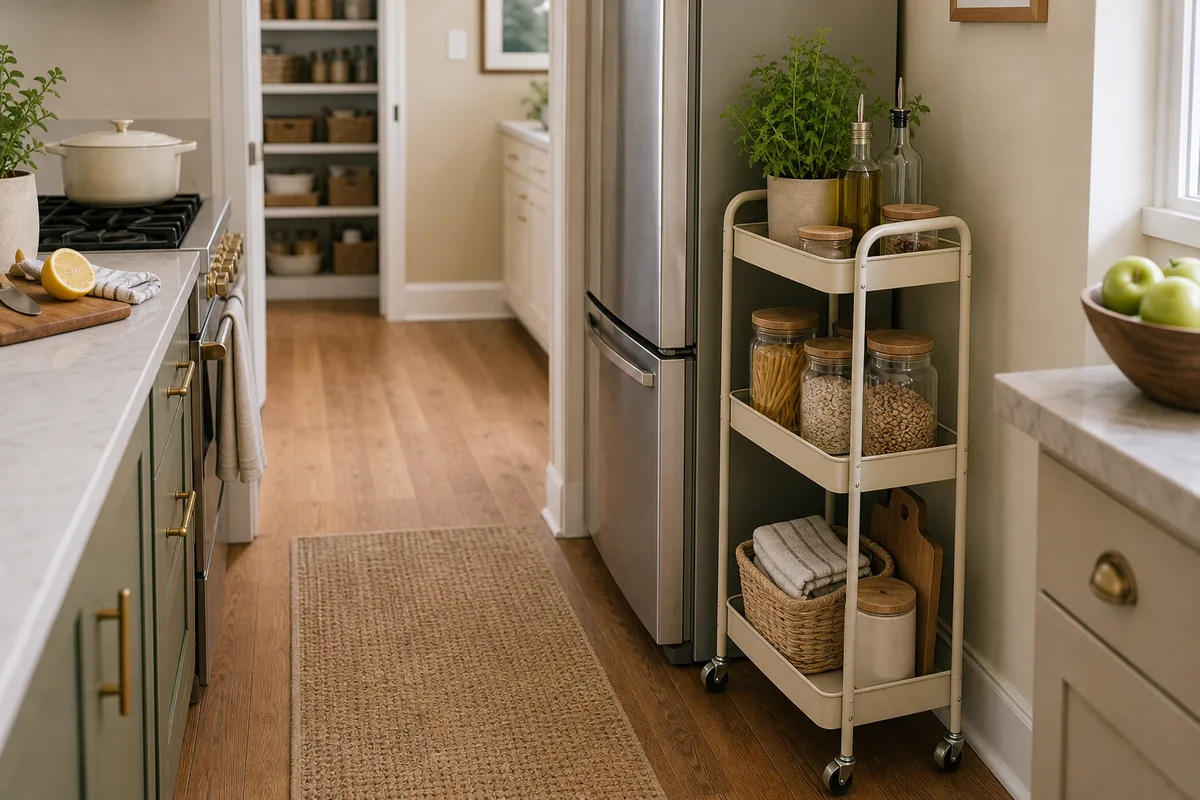
The gap beside the fridge in this galley kitchen is just wide enough for a slim cream rolling cart on wheels, and it does the work a cabinet would. Top tier: a potted herb, an oil bottle, one small canister. Middle tier: three glass canisters of pasta and grains. Bottom tier: a small basket with napkins, a stoneware canister, a wood cutting board leaning.
Rolling carts solve a specific problem — the awkward 10-to-14-inch gap that’s too narrow for a real cabinet and too wide to leave blank. Push it out for daily access, push it back to vacuum, take it to the table if you set up a coffee bar.
One cart is the right answer for renters, small kitchens, and any spot where adding cabinetry isn’t on the table. For more compact-home ideas you can carry across rooms, see our guide to furniture that earns its footprint in small spaces.
Use Open Shelves for Repeated Everyday Sets Only
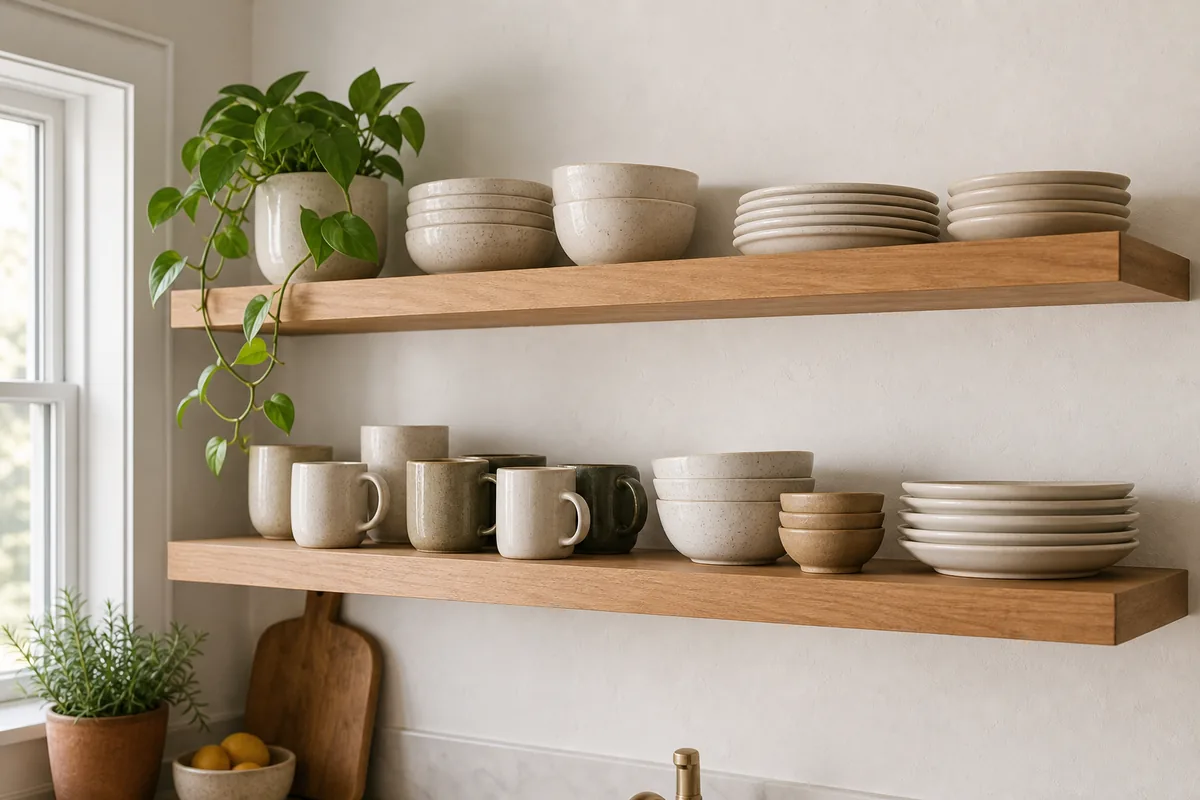
Two long wood shelves above the sink hold only what gets used every day, in repeated stacks. Top shelf: a trailing pothos in a cream pot, then bowls and plates in clean stacks of the same shape. Bottom shelf: six matching mugs in a row across slight color variation (greige, cream, sage, dark olive), a stack of four cereal bowls, two small stoneware bowls nested, a stack of cream dinner plates.
The visual rule is repetition. One mug is decoration; six matching mugs are pattern. If you can’t commit to repeated sets, skip open shelves and pick a glass-front cabinet instead — random one-off pieces on open shelves read as clutter no matter how nice they are. The plants and the leaning cutting board at the bottom are the only “styling” allowed in this rule.
Make a Lunch and Water-Bottle Drop Zone the Family Actually Uses
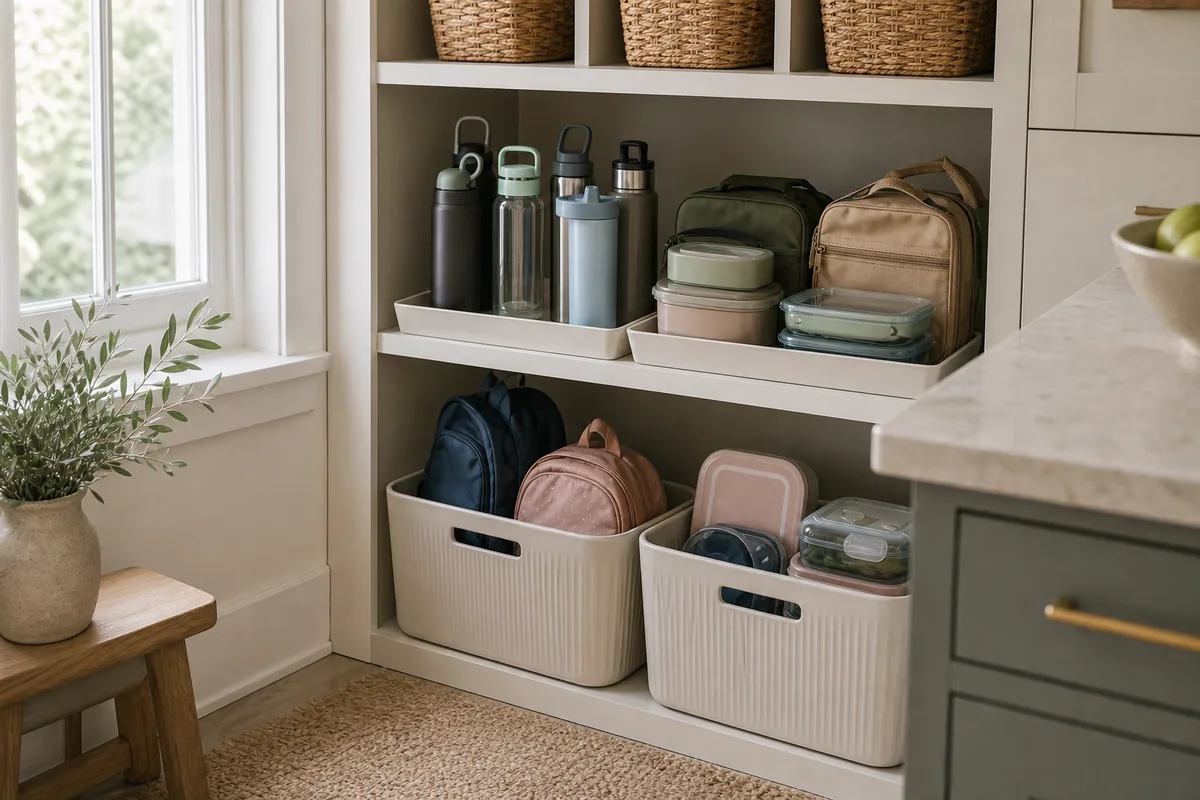
This built-in bay turns one bay of shelving into a single-purpose zone for grab-and-go. Top cubbies: three woven baskets — overflow lunch bags and backup containers.
Middle shelf: four water bottles in a shallow cream tray, two lunch bags, four small lunch containers stacked in pairs. Bottom shelf: two ribbed bins side by side — one with two small backpacks, the other with three stacked lunchboxes with pink and blue lids.
The promise of a lunch zone isn’t a styled photo. It’s that on a Wednesday morning, a kid finds the right water bottle, the right lunchbox, and walks out the door without three “where’s my…” questions. The trick is one zone, one bay, no shared shelf with the dinner plates.
Keep Dish and Cleaning Supplies in One Caddy by the Sink
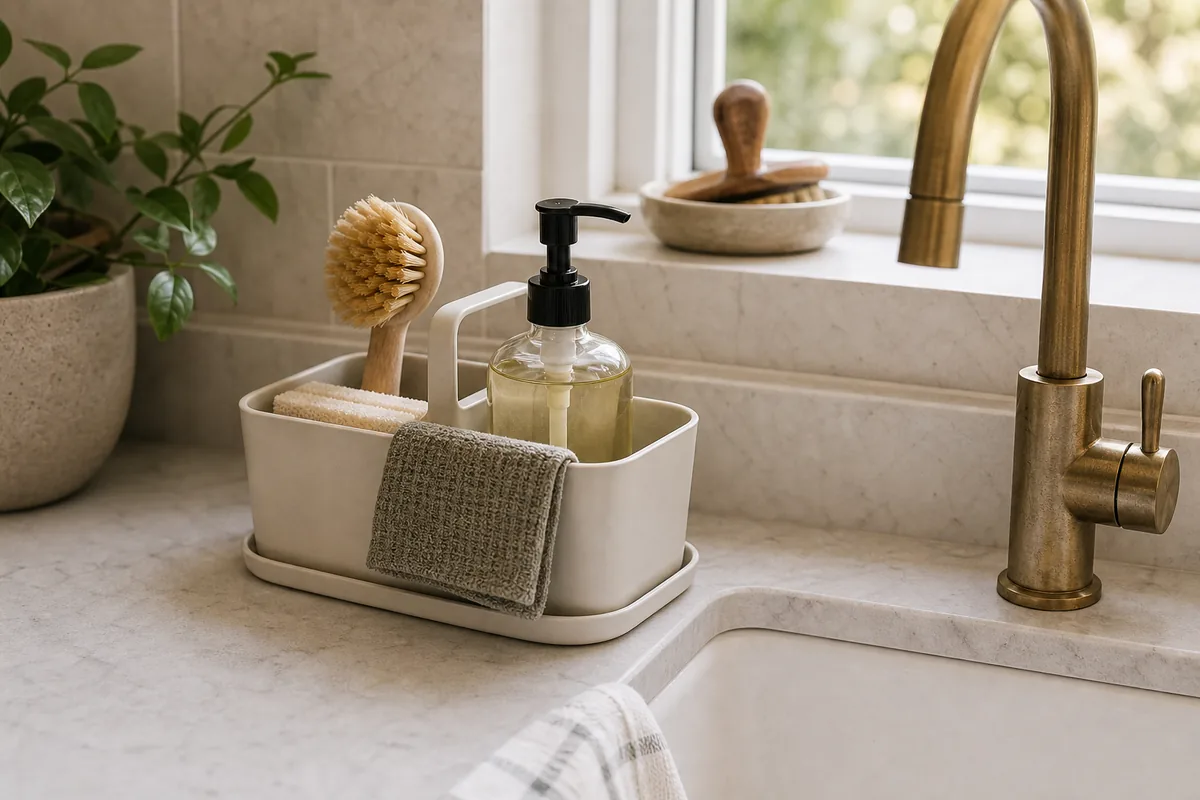
A cream rectangular ceramic caddy beside this brass faucet holds the four things you actually use to clean up after a meal: a wood-handle dish brush bristles-up, a sponge, a gray waffle dishcloth folded over the side, and a glass pump bottle of dish soap. The caddy sits on its own matching tray, so any drip lands on something that wipes clean.
Dish supplies are the most-handled objects in a kitchen and they live on the wettest surface. Putting them in a caddy with a drip tray means you can lift the whole thing off the counter when you wipe the stone underneath.
The drip tray is the small detail that keeps a sink edge looking premium instead of slowly staining the way bare counters do. If your small kitchen forces dish supplies into multiple spots, our small-space storage ideas have more zone-by-zone moves you can borrow.
End the Week With a Single Reset Basket on the Counter
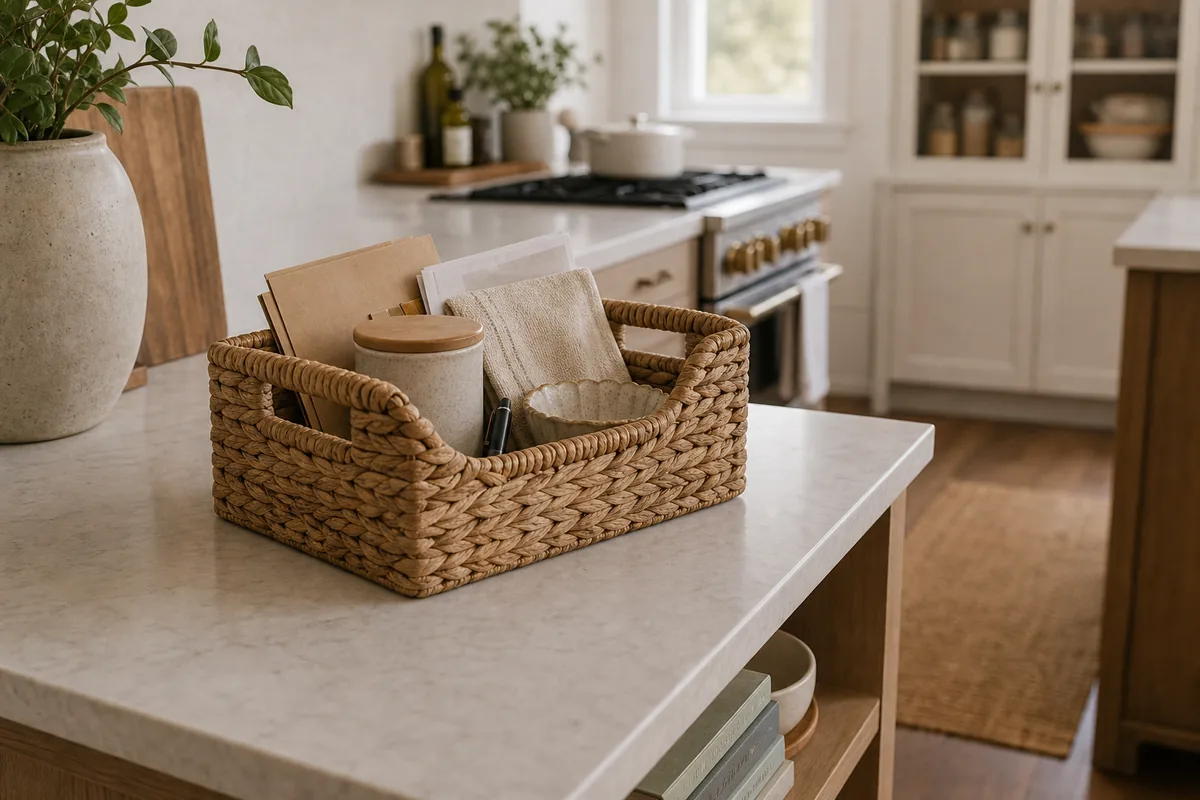
The basket on this marble island is small, woven, with handles, and parked there on purpose. Inside this week: a short stack of cookbooks and notepads that drifted in, a stoneware canister someone left out, a folded striped tea towel, a small scalloped ceramic ramekin, a black pen. Stuff that didn’t belong here, gathered into one container, ready to be put back.
The reset basket is the only piece of “weekly maintenance” most kitchens actually need. Friday night or Sunday morning, you walk through with the basket, drop in everything that has drifted, and either return it or decide it doesn’t live here. The basket lets you reset the kitchen in twenty minutes instead of resigning yourself to “I’ll deep-clean next month.”
You don’t have to do all eighteen
The kitchen organization that holds up is the one that solves whichever zone slows you down most this week — the under-sink, the pan drawer, the snack shelf, the wraps box that falls over. Fix that one. The rest can wait.
The kitchen that cooks easier on a Tuesday is always the same kitchen that photographs well on a Sunday. The system comes first; the styling is what’s left over. If you want more compact-home moves that work alongside these ideas, our small-space storage guide covers the rest of the house.

Nora Ellis edits Styled Home Notes, where she shares practical decorating, organization, and small-space ideas for creating a more styled and functional home. Every article is reviewed for clarity, usefulness, image sourcing, and Pinterest-to-page alignment before publication. Visit the Nora Ellis author page.