12 Baking Supplies Organization Ideas That End the Recipe-Day Hunt
Baking supplies in most kitchens live scattered across four cabinets and a drawer, so every recipe starts with twenty minutes of hunting for the rolling pin and a third bag of flour you already had two of.
Baking is its own sub-system, and the gear reads calmer when you treat it that way: a defined zone beside the oven, uniform clear canisters, vertical sheet pans, and one project bin for decorating supplies.
These twelve moves build that sub-system without a new kitchen. The broader logic of task-based kitchen zones runs through our kitchen organization ideas guide.
From carving out a dedicated baking zone beside the oven to sealing a small bin of active backstock — vanilla, chocolate, and nuts — these twelve moves treat baking gear as its own sub-system. Jump to the fix you need first.
- 1Carve out a dedicated baking zone near the oven
- 2Decant flour, sugar, and cocoa into uniform clear airtight canisters
- 3File sheet pans and cooling racks vertically in a tall cabinet divider
- 4Use a tiered shelf riser inside the baking cabinet for canister visibility
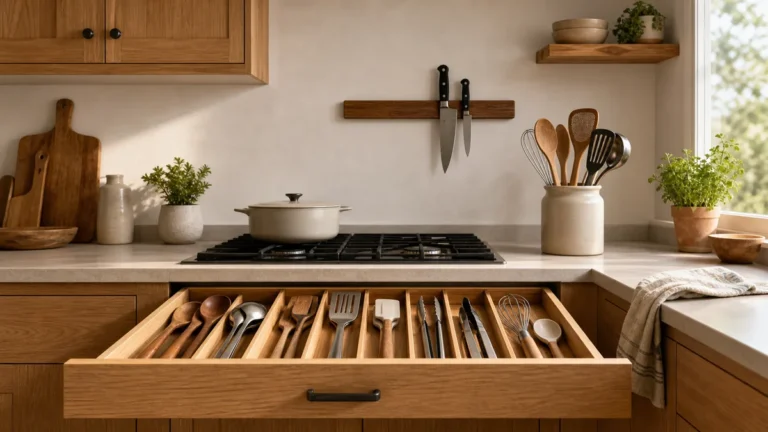
- 5Divide a drawer for rolling pin, spatulas, and piping tips by tool shape
- 6Set an open caddy of measuring cups and spoons beside the oven
- 7Group decorating supplies in one labeled project bin
- 8Hang silicone mats and cooling racks inside a cabinet door
- 9Park a lazy Susan of leaveners in the cabinet corner
- 10Keep stand mixer attachments in a caddy beside the mixer
- 11Corral cookie cutters on a binder ring or in a flat tray drawer
- 12Stash active baking backstock in a sealed bin in the baking zone
Carve Out a Dedicated Baking Zone Near the Oven
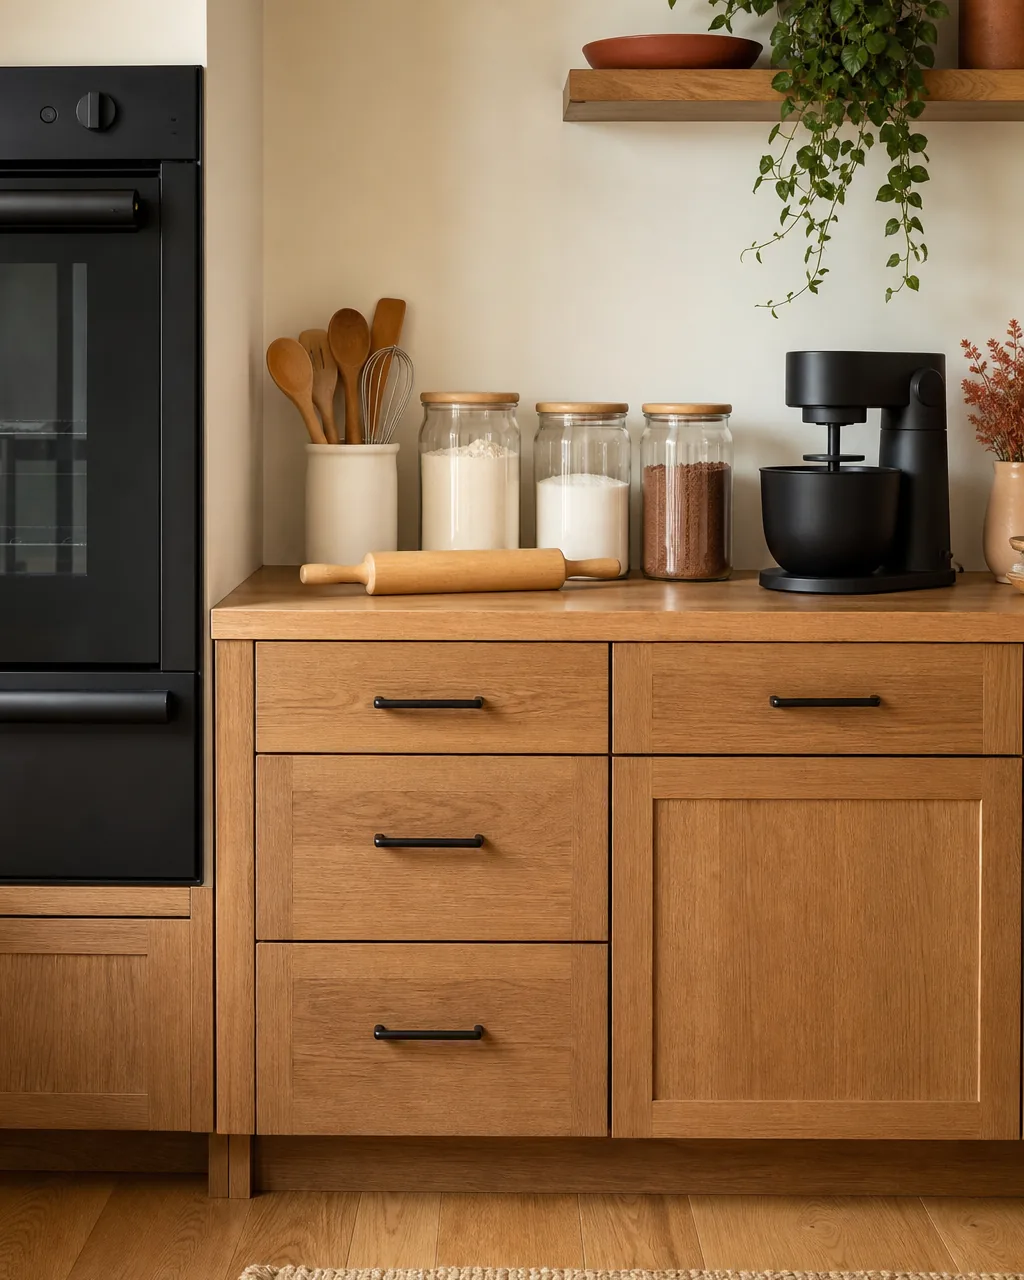
Baking gear that lives spread across four cabinets means every recipe starts with twenty minutes of hunting. The flour is in the pantry, the rolling pin is in the deep drawer, the sheet pans are stacked behind the cutting boards. By the time you have everything on the counter, the kitchen is already a mess and the dough is room temperature.
A dedicated baking zone fixes this with geography, not gadgets. Pick the thirty-two inches of counter closest to the oven, and treat that section as a sub-system. Every tool that is in active baking rotation lives within reach of that counter — and every cooking tool gets pushed elsewhere so the zone stays uncluttered.
- Measure the counter run that sits directly beside the oven door — aim for at least twenty-four to thirty-six inches
- Pull every baking-only item out of the rest of the kitchen and stage it here first, so the zone shows you what it actually needs
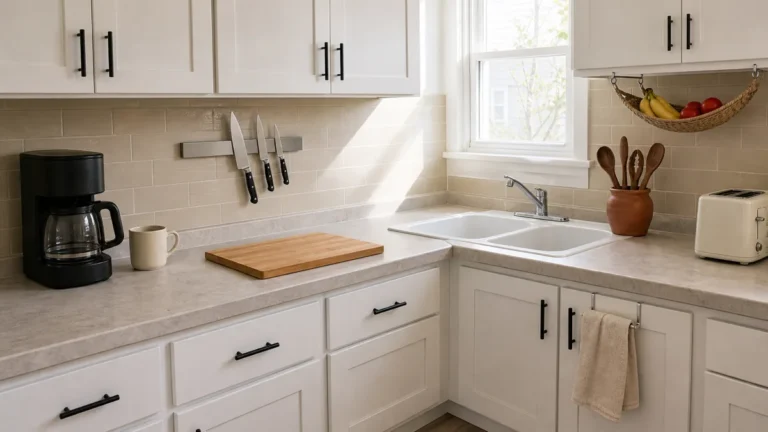
- Push out anything that is not baking — knife block, coffee maker, fruit bowl — to free the workspace
- Add one warm wood crock for handheld tools and one tray for canisters so the zone reads styled, not cluttered
- Keep the rule short: if a tool comes out only for baking, it lives in the zone; if it gets daily cooking use, it lives elsewhere
Decant Flour, Sugar, and Cocoa into Uniform Clear Airtight Canisters
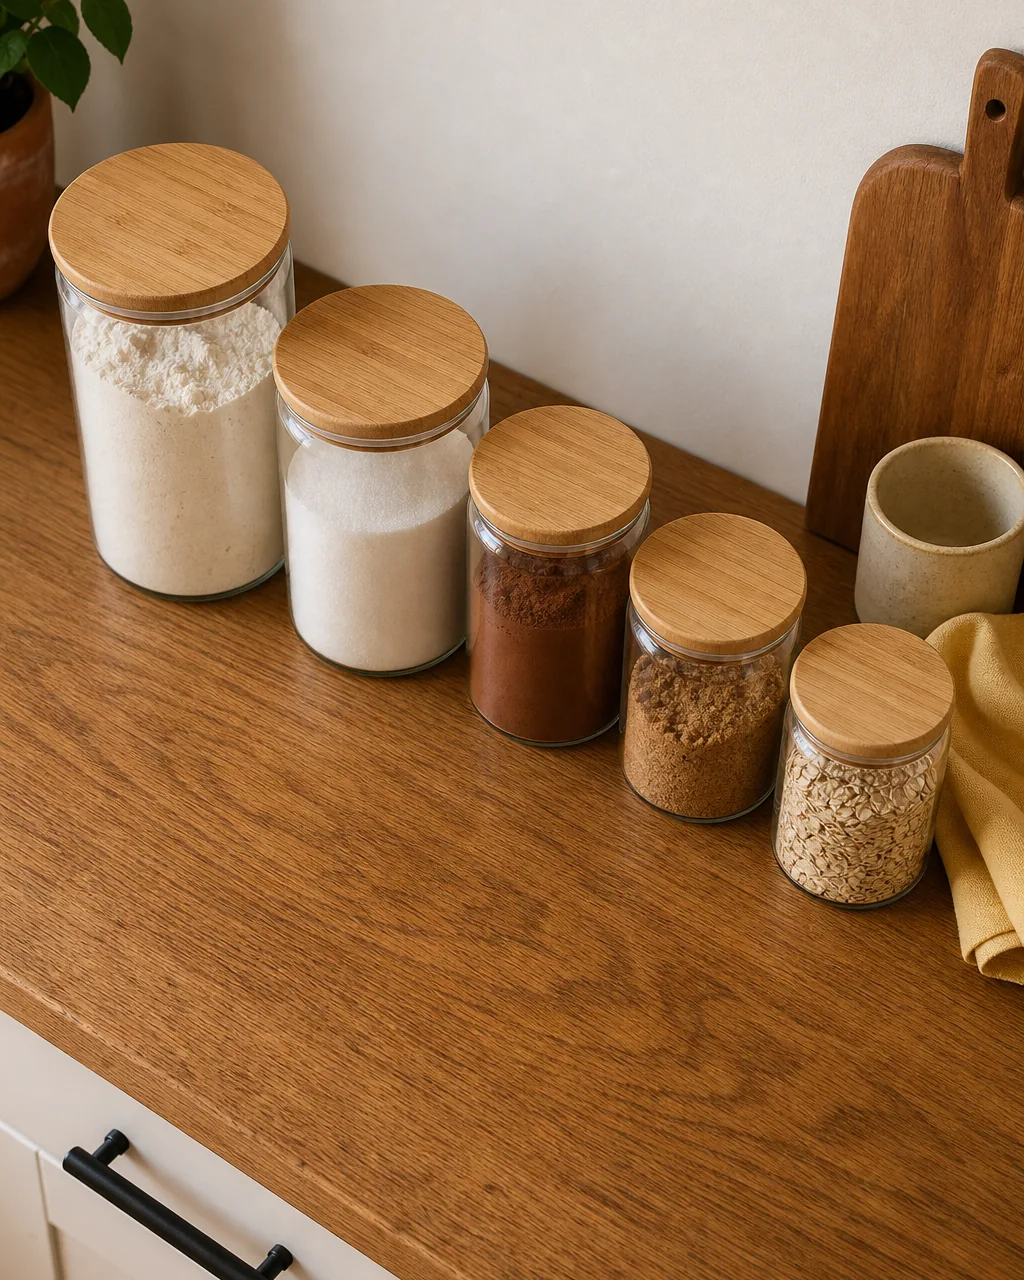
Flour bags slump, sugar bags spill in the cabinet, and the third bag of brown sugar you bought is back there hardening into a brick because nobody could see it. Twisted paper bags hide level, hide quantity, and waste twenty seconds every time you reach for a cup of anything.
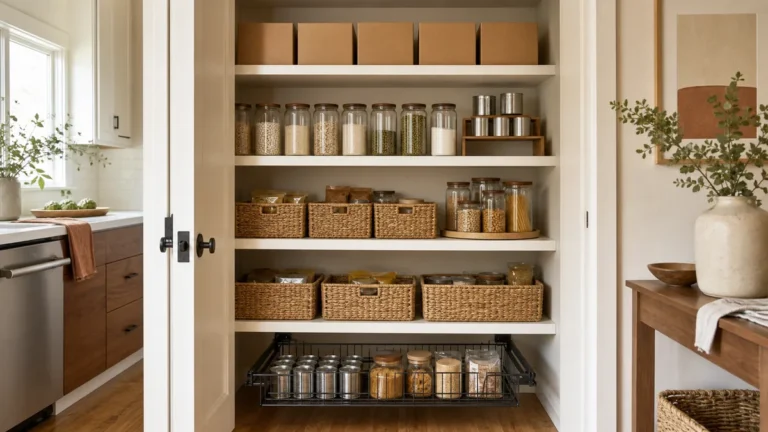
Uniform clear glass canisters fix all three problems with one swap. The contents become legible at a glance — flour-cream, sugar-white, cocoa-brown, brown-sugar-amber — so you stop guessing what is left and you stop buying a fourth bag of something you already had two of.
- Buy a set of matching clear-glass airtight canisters in graduated sizes — five or six covers the dry ingredients most home bakers actually use
- Decant flour, white sugar, brown sugar, cocoa, and oats the day the canisters arrive; the old bags do not come back
- Skip plastic labels — clear glass with visible contents identifies itself faster than a label does
- Match the lid material to the rest of your kitchen — bamboo for warm wood kitchens, matte ceramic for cleaner palettes
- Refill the canister from a fresh bag the moment it drops below a third; the system only works when refills happen on a clear trigger
File Sheet Pans and Cooling Racks Vertically in a Tall Cabinet Divider
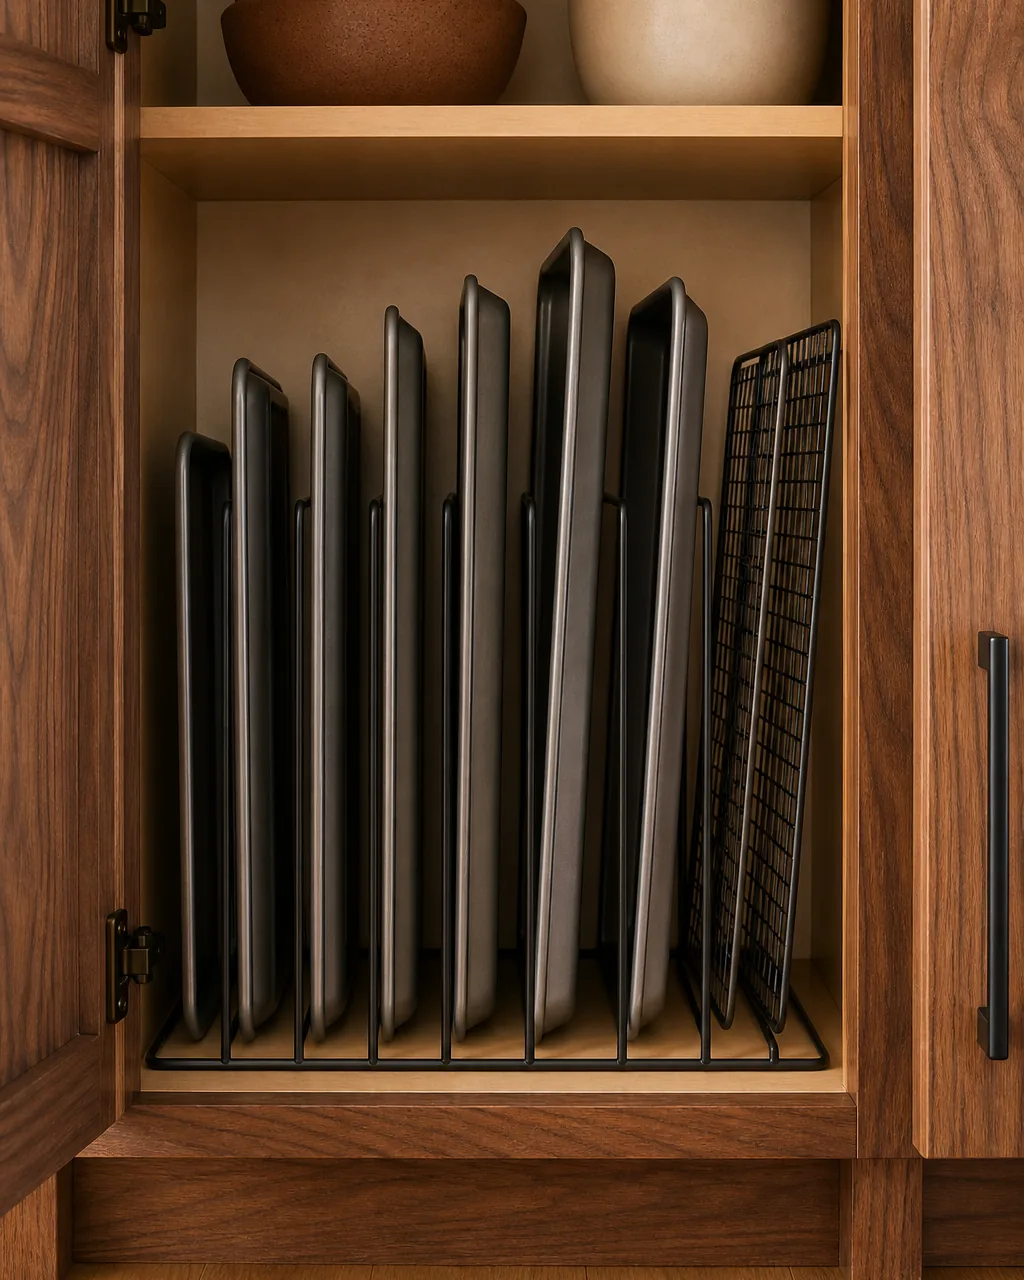
Sheet pans stacked flat are the worst storage choice in any baking kitchen. The bottom pan is unreachable, the top pan slides every time you open the cabinet, and the weight slowly warps the thin pans into a curve that no longer sits flat in the oven.
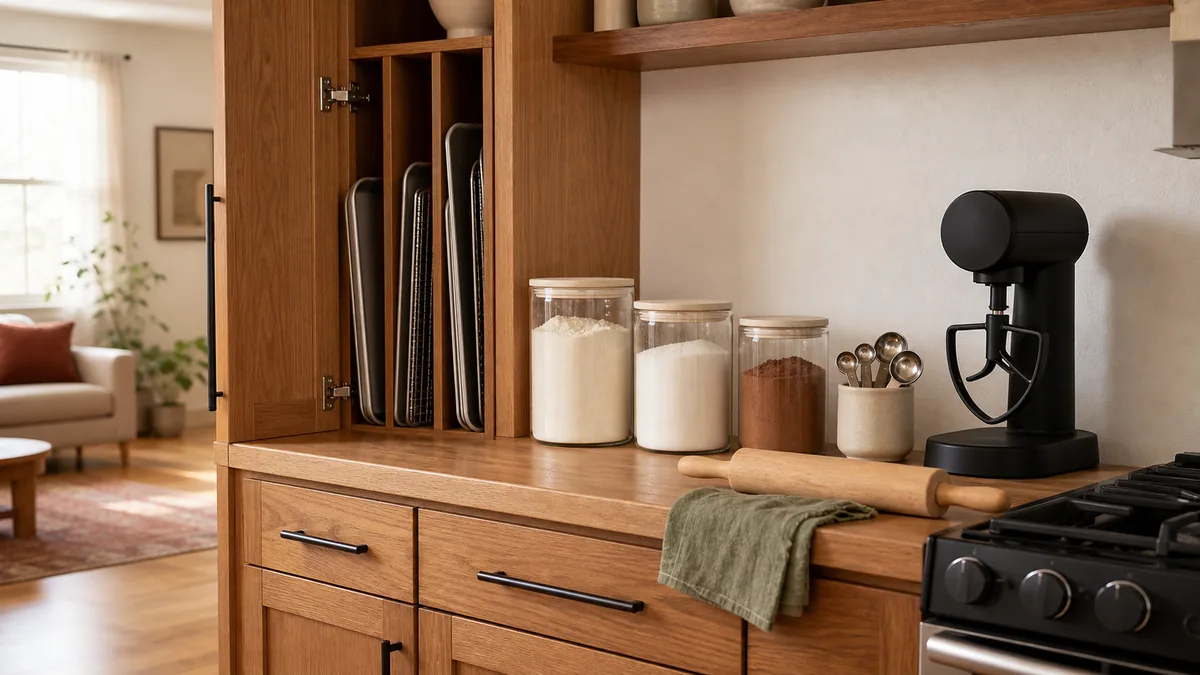
Filed vertically in a cabinet divider, the same pans take half the cabinet space and stay flat for the life of the pan. Every pan becomes the front pan. Cooling racks slot in beside them the same way.
- Install a tall warm-walnut or matte-black wire vertical divider in the cabinet next to the oven
- File sheet pans and cooling racks standing upright like books — half-sheets in the back, quarter-sheets in front
- Add jelly-roll pans and cutting boards into the same divider; the system holds any flat baking item
- Skip the cabinet-bottom cardboard liner — the divider keeps pans off each other and the cabinet stays clean
- Replace any pan that has warped beyond flat; vertical storage will not un-warp an already curved pan
You will not need all twelve. Find the situation below that matches your kitchen today, and start with those two or three ideas.
Use a Tiered Shelf Riser Inside the Baking Cabinet for Canister Visibility
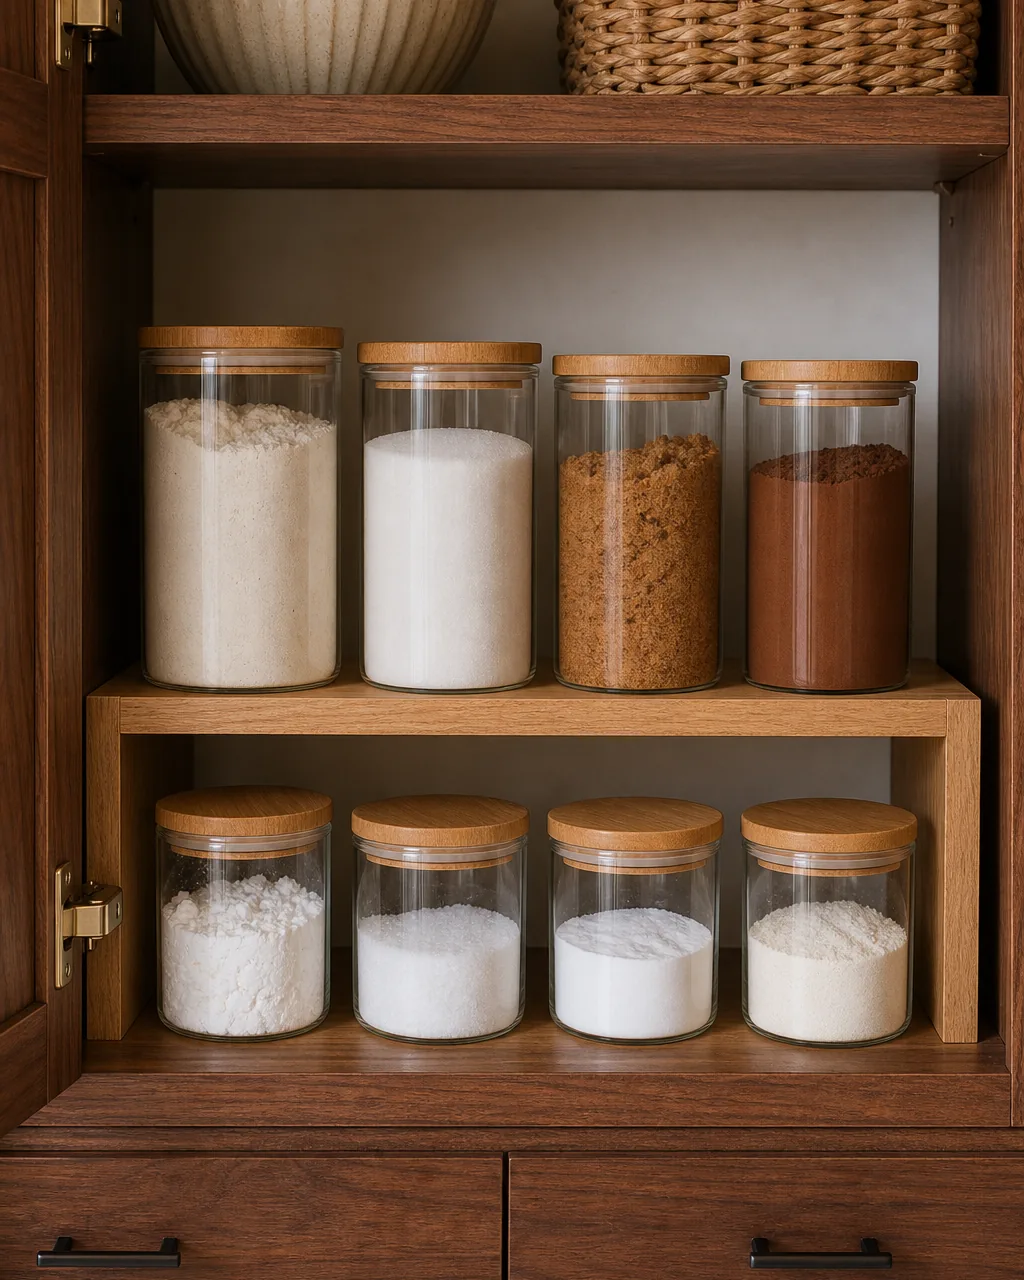
A baking cabinet with two flat shelves wastes the back row. Anything pushed to the back disappears until you pull the front canisters out, look, slide things around, and put it all back. The back row becomes graveyard storage — extra cornstarch, the third box of baking soda, a tin of cream of tartar nobody can find.
A simple two-tier wooden riser lifts the back row about four inches so every canister reads at a glance through the front opening. No more pulling everything out to check what is back there.
- Buy a single two-tier solid-wood riser sized to the depth of the cabinet shelf
- Place the smaller canisters and seldom-used items on the elevated back row where their lids stay visible
- Front row holds the high-frequency items — flour, sugar, brown sugar — at the eye-level reach point
- Match the wood tone to your baking zone for a styled cabinet interior, not a utilitarian one
- Add a second riser only if the cabinet shelf is deeper than fourteen inches; two risers eat usable space
Divide a Drawer for Rolling Pin, Spatulas, and Piping Tips by Tool Shape
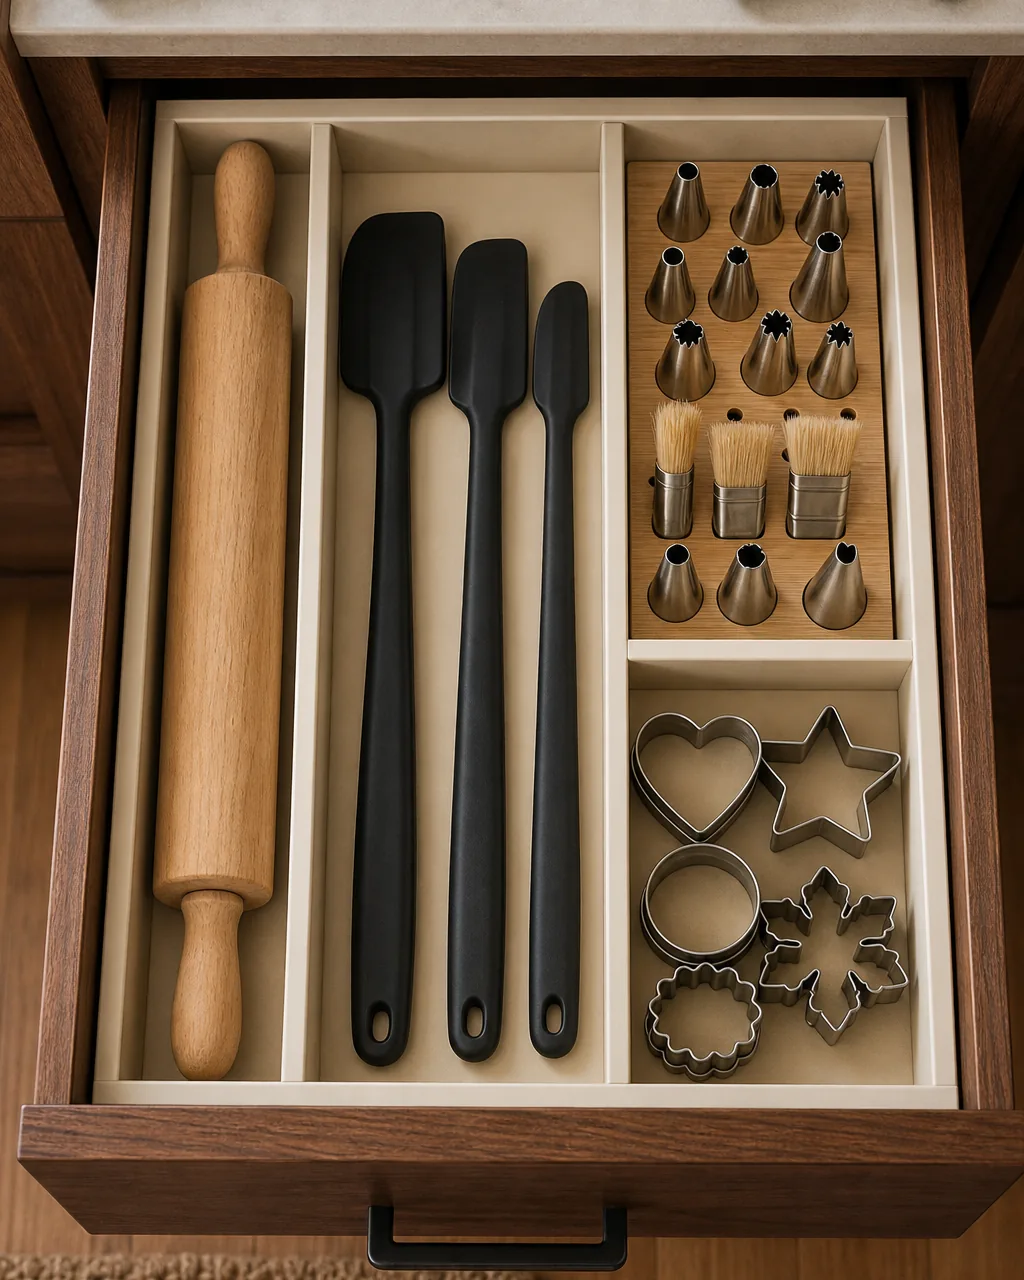
Loose baking tools in a single drawer collapse into one tangled pile. The rolling pin rolls under everything else, piping tips scatter into the corners, and the silicone spatulas all face different directions. The drawer reads chaotic and the small tools — the ones you actually need first — get buried fastest.
Custom drawer dividers by tool shape solve this. One long narrow bay for the rolling pin, one shallow grid bay for piping tips upright, one mid bay for spatulas handle-aligned, one small bay for stacked cookie cutters. The drawer becomes a baking workshop in five inches of vertical depth.
For the same principle applied to a different tool category, the system in our spice drawer organization ideas uses bays sized to bottles and tiered visibility — the technique is the same, the contents change.
- Buy adjustable bamboo or matte-cream drawer dividers — the cheap ones expand to drawer width
- Build one long narrow bay first sized to the rolling pin; that single dimension forces the rest of the layout
- Group small tools by shape, not by category — piping tips and pastry brushes share an upright grid bay
- Keep cookie cutters in one shallow bay or move them to the binder ring system in idea eleven
- Leave one empty bay for the tool you have not bought yet; baking gear arrives in waves
Set an Open Caddy of Measuring Cups and Spoons Beside the Oven
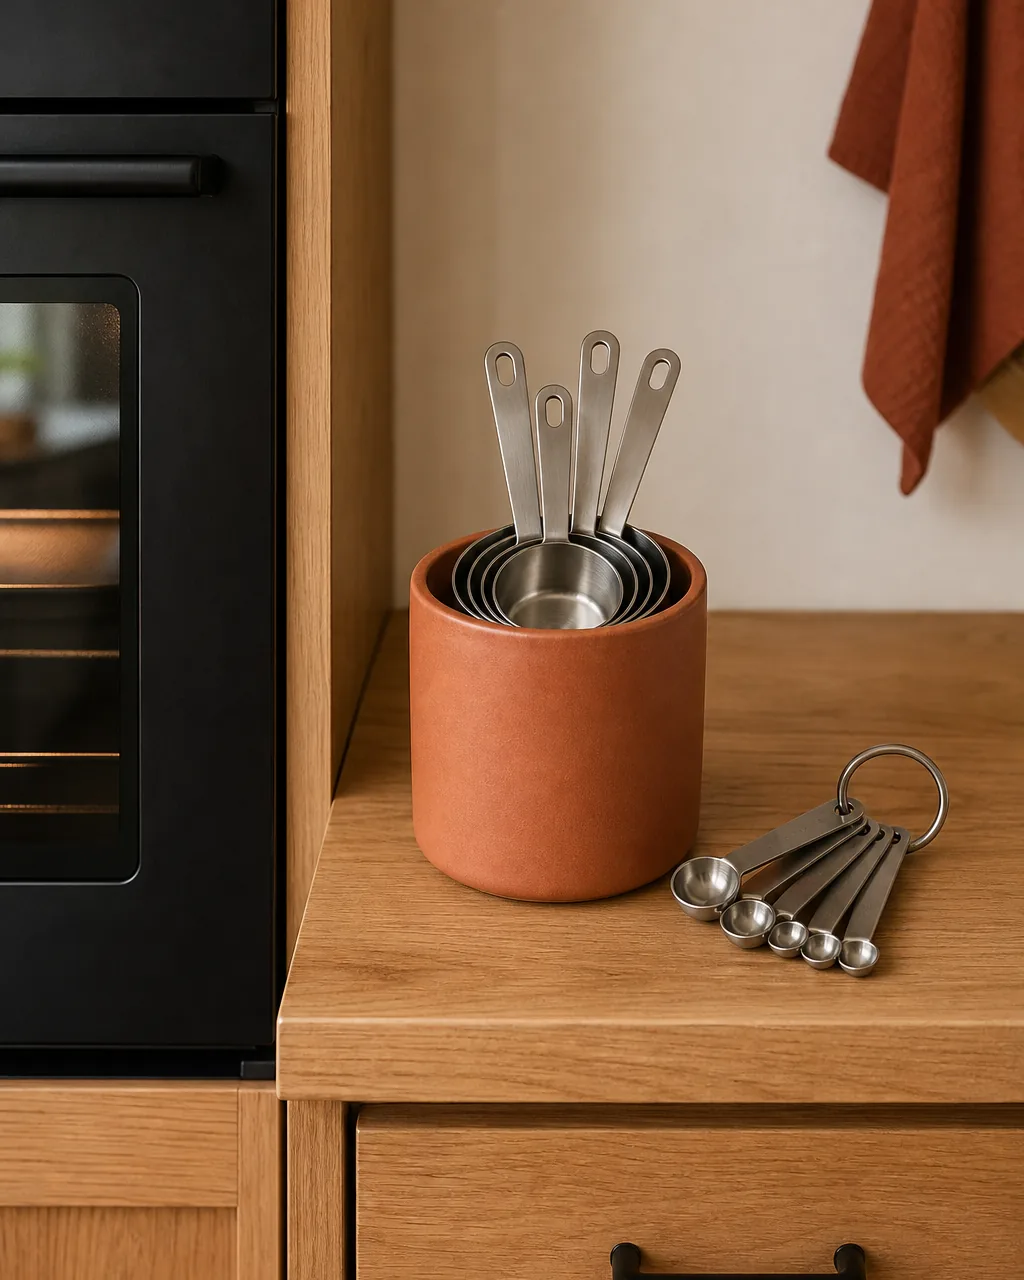
Measuring cups in the back of the bottom drawer means every dry-ingredient measure takes two trips — one to the drawer to dig them out, one back to the counter to use them. By the third measurement the cups are wet, the spoons are scattered, and you have lost track of whether the salt went in.
A small open caddy of measuring cups and spoons living beside the oven within arm-reach turns measuring into a single grab-pour-return motion. The cups go back where they came from, dry, the moment you finish.
- Pick one warm-terracotta or matte-cream ceramic crock or caddy sized to nest a measuring cup set
- Store cups nested handle-up so the handles read first; spoons live on a ring beside the cups
- Position the caddy within twelve inches of the oven door so it is reachable mid-recipe
- Wash and dry cups before they go back in the caddy; a wet cup ruins the next measure
- Resist adding non-measuring tools to the caddy — the move only works while the caddy stays single-purpose
These four rules separate a baking sub-system that holds together from gear that just happens to be near the oven.
Group Decorating Supplies in One Labeled Project Bin
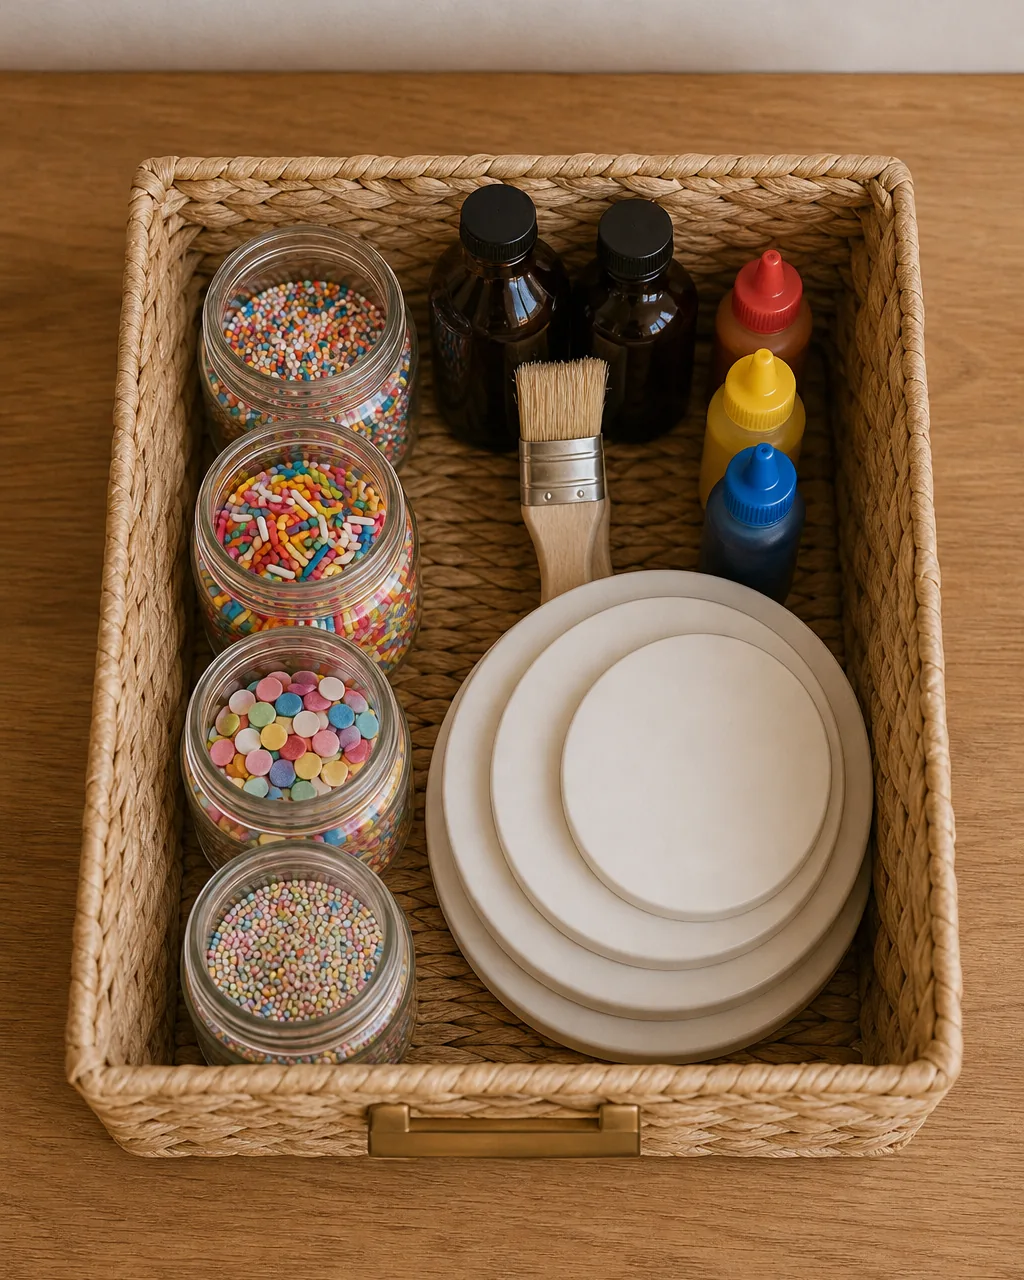
Sprinkles in one cabinet, food coloring in a drawer, extracts in the pantry, pastry brush in the tool drawer. Any decorating project becomes a fifteen-minute scavenger hunt before the actual decorating starts — and half the time you find the food coloring is dried out because nobody used it in two years.
One single open bin holding every decorating supply together turns a project into one trip. Sprinkles, extracts, food coloring, brush, turntable discs — all in one warm woven bin that comes out the moment a recipe calls for any of them.
- Pick one open woven seagrass or matte-cream ceramic bin sized to hold all decorating gear loosely
- Move every sprinkle jar, extract bottle, food coloring set, and decorating brush into the bin in one pass
- Add a small clear pouch inside the bin for piping bags and disposable couplers so they do not crush
- Audit the bin every six months — extracts go off, food coloring dries, sprinkles fade
- Store the bin in the baking zone but high enough that small hands cannot dig sprinkles unattended
Hang Silicone Mats and Cooling Racks Inside a Cabinet Door
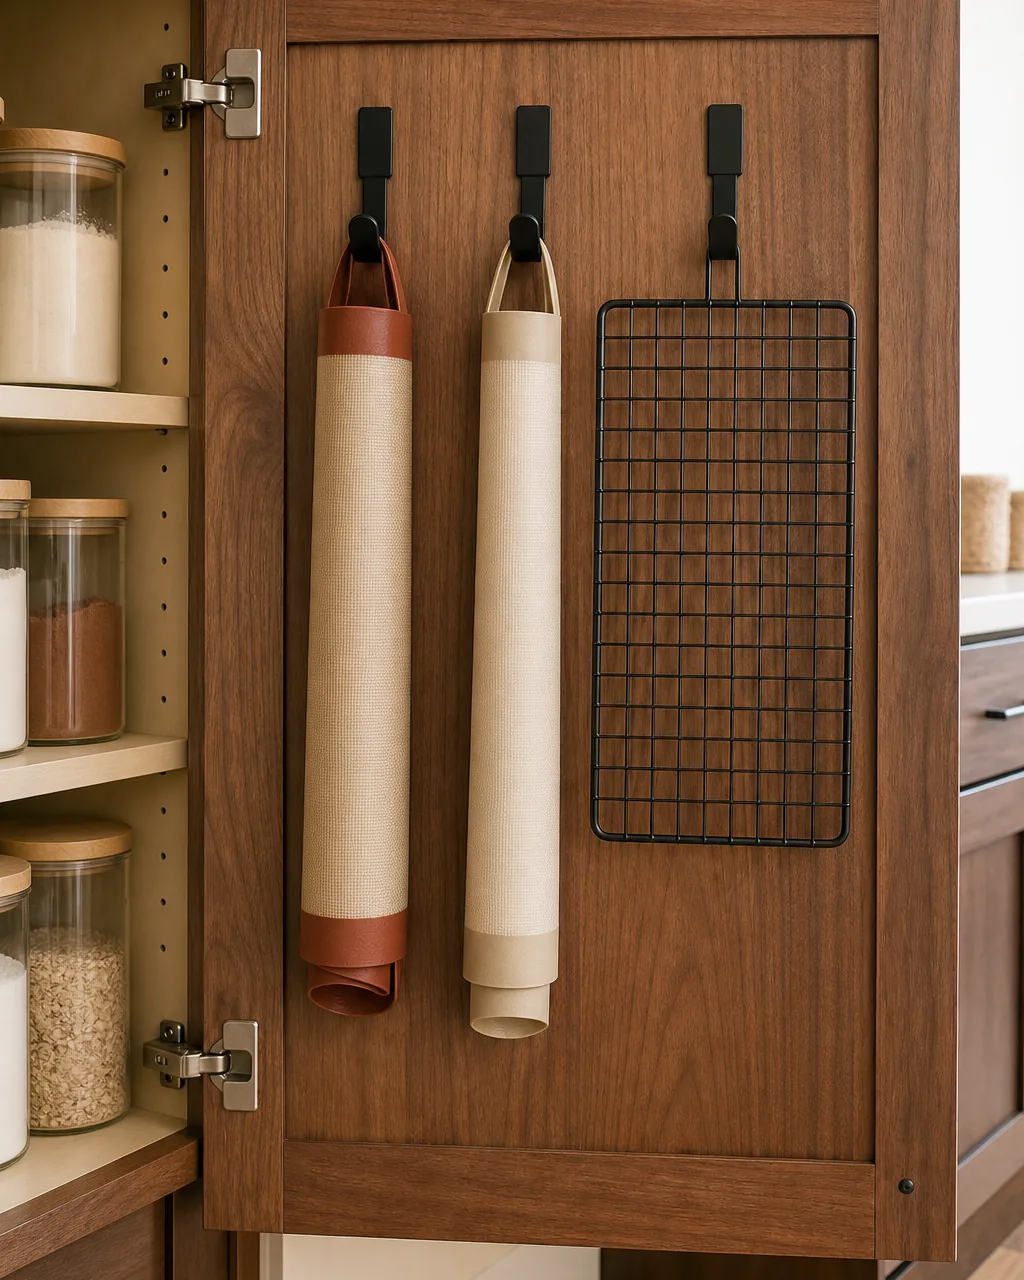
Silicone baking mats and small cooling racks are awkwardly flat — too thin to file vertically, too floppy to stack neatly, and they always end up rolled in the corner of a cabinet getting dust. They are also the items you need first, before the dough even comes out of the mixer.
Three matte-black wire hooks on the inside of a cabinet door reclaim a vertical surface most kitchens ignore. Rolled silicone mats slip onto two hooks; one small cooling rack hangs on the third. The mats stay clean, flat, and visible the second the door opens.
- Use stick-on wire hooks rated for the weight of a rolled mat — avoid printed brand-name strip text
- Mount three hooks vertically down the inside of the cabinet door closest to the oven
- Roll silicone mats loosely before hanging; tight rolls crease the silicone over time
- Hang the cooling rack flat against the door, not at an angle, so it does not bow
- Keep the door hooks under five pounds total; heavier loads strip the adhesive from the door
Park a Lazy Susan of Leaveners in the Cabinet Corner
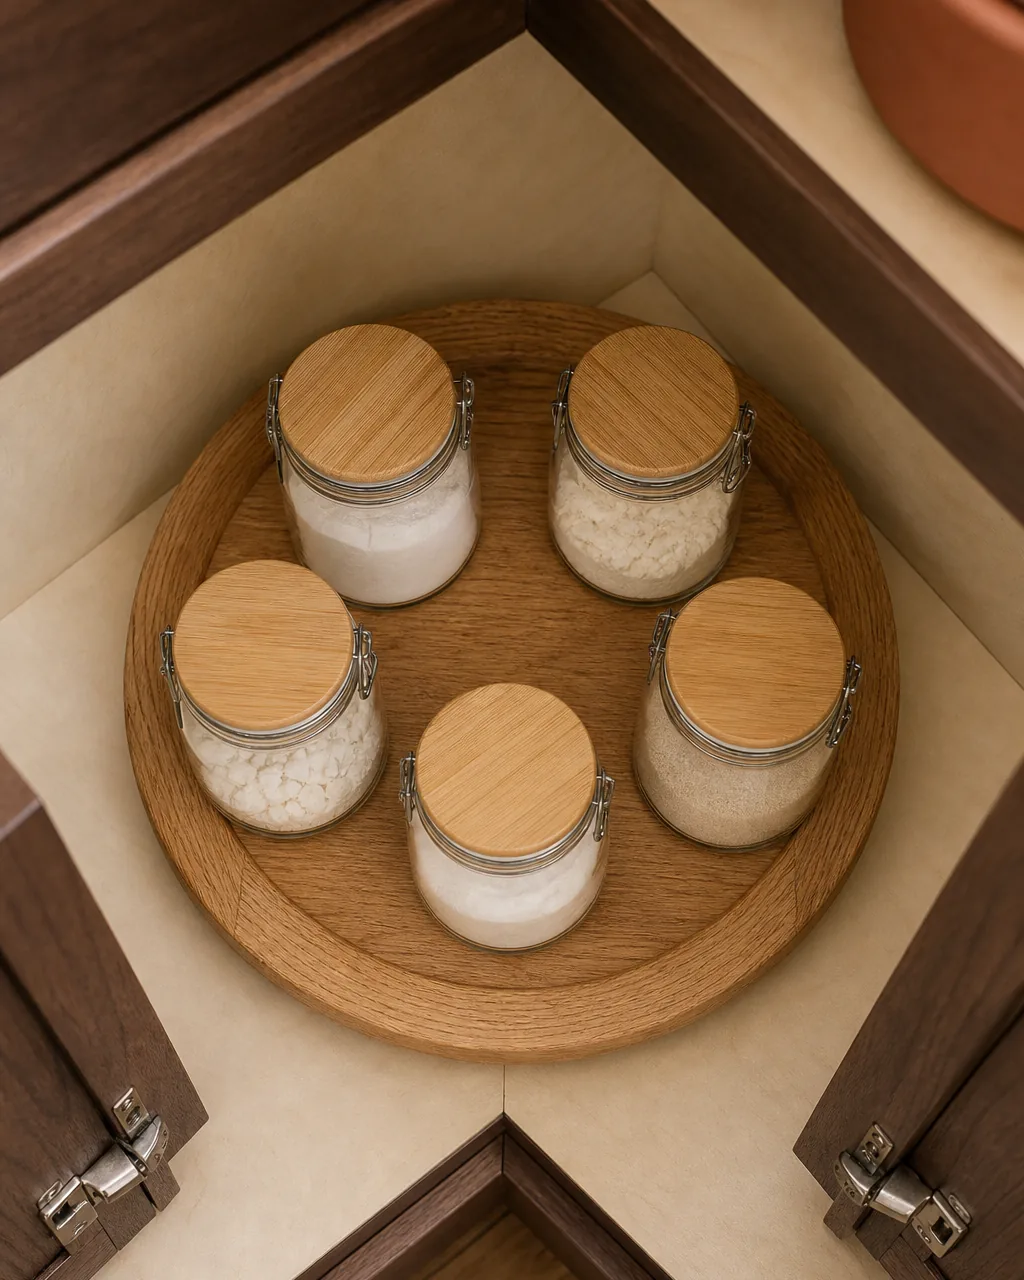
Every kitchen has one cabinet corner where things go to disappear. The deep dead corner takes the small leaveners — baking soda, baking powder, cornstarch, cream of tartar, yeast — and turns them into a forgotten archaeology site. You buy a new tin of baking powder, find two more behind it three months later, and the cycle repeats.
A small wooden lazy Susan in that corner makes the dead space fully usable with one spin. The five small jars become five visible options at the front of the turntable, not five buried jars behind something else.
- Pick a single warm-oak or warm-walnut turntable sized to fit the cabinet corner with rotation clearance
- Decant baking soda, powder, cornstarch, cream of tartar, and active yeast into matching small clear-glass jars
- Arrange the jars around the turntable rim, not the center, so each rotates to the front
- Label the lids with the contents only if the glass is opaque; clear glass identifies itself
- Spin the turntable to date-check leaveners once a quarter — baking powder loses potency long before it looks bad
12 baking supplies moves, one system that ends the recipe-day hunt
- 1Carve out a dedicated baking zone near the ovenA defined ~32-inch run of counter beside the oven holding rolling pin, spoons, and canisters cuts setup time in half.
- 2Decant flour, sugar, and cocoa into uniform clear airtight canistersMatching clear glass jars make levels obvious and keep flour fresh; no more digging through three twisted paper bags.
- 3File sheet pans and cooling racks vertically in a tall cabinet dividerStanding them up like books makes every pan reachable and stops the warping that comes from a stacked pile.
- 4Use a tiered shelf riser inside the baking cabinet for canister visibilityA simple wooden two-tier riser lifts the back row about four inches so every canister reads at a glance.
- 5Divide a drawer for rolling pin, spatulas, and piping tips by tool shapeCustom bays sized to each tool keep piping tips upright, rolling pin straight, and spatulas separated.
- 6Set an open caddy of measuring cups and spoons beside the ovenA small ceramic crock at arm-reach of the oven means grab-pour-return takes seconds, not a drawer dig.
- 7Group decorating supplies in one labeled project binSprinkles, extracts, food coloring, and pastry brush together in one bin make any decorating project a single trip.
- 8Hang silicone mats and cooling racks inside a cabinet doorThree wire hooks on the inside of a cabinet door reclaim vertical space for flat baking items that never store flat well.
- 9Park a lazy Susan of leaveners in the cabinet cornerA small wooden turntable in the dead cabinet corner makes baking soda, powder, and yeast reachable with a spin.
- 10Keep stand mixer attachments in a caddy beside the mixerWhisk, paddle, and dough hook in an open caddy right next to the mixer ends the daily hunt through a tool drawer.
- 11Corral cookie cutters on a binder ring or in a flat tray drawerThreaded on a brass ring like keys, cookie cutters stop scattering across drawer bottoms and stay sortable.
- 12Stash active baking backstock in a sealed bin in the baking zoneWorking amounts of vanilla, chocolate, and nuts in a small sealed ceramic bin keep recipe day a single reach.
styledhomenotes.com
Keep Stand Mixer Attachments in a Caddy Beside the Mixer
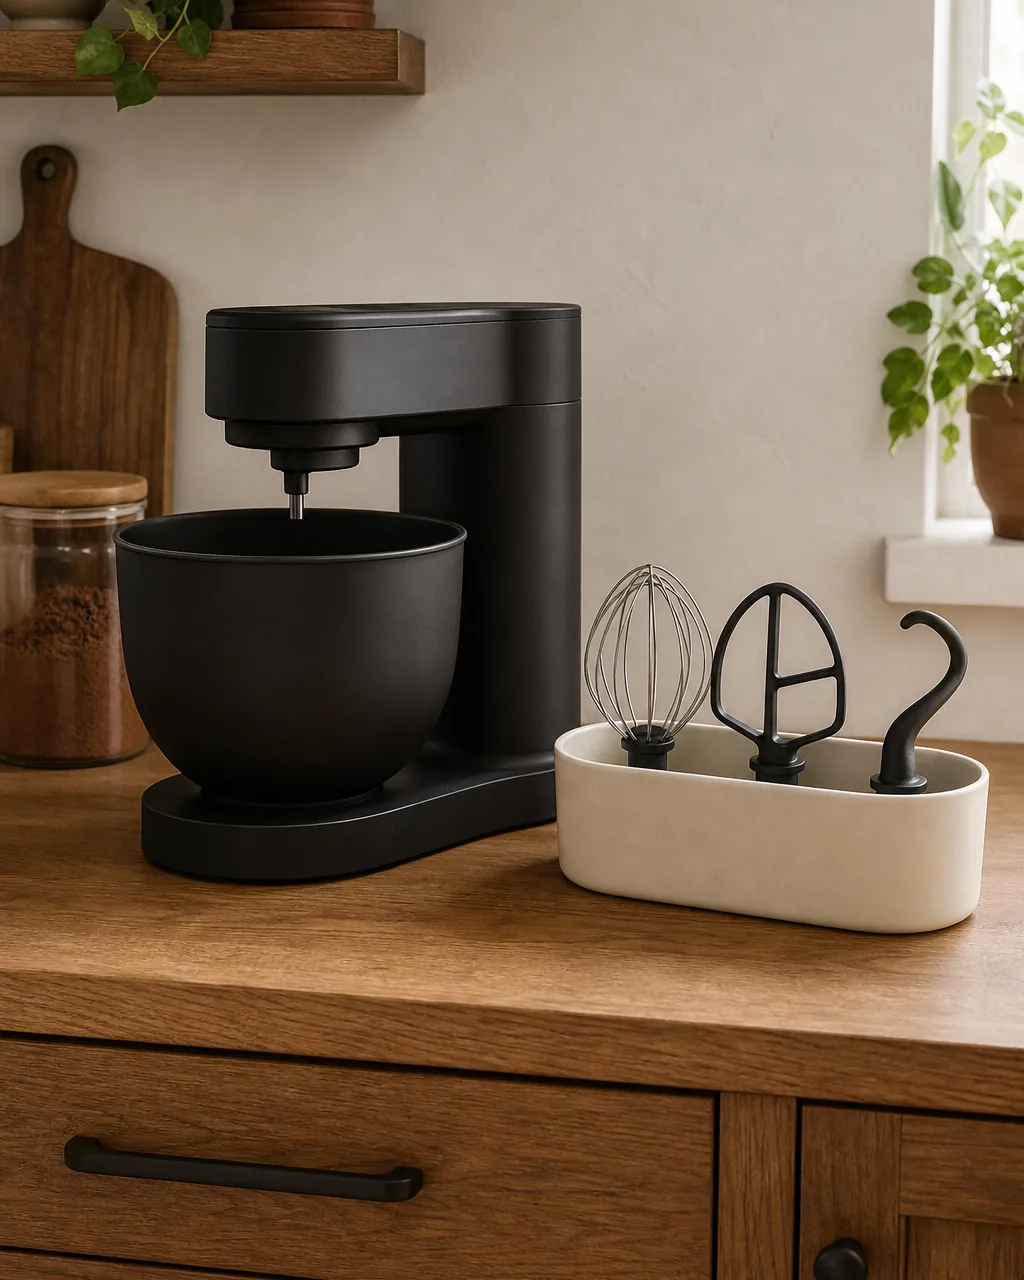
Stand mixer attachments stored in a drawer five feet away from the mixer means every recipe involves a walk. Wire whisk for whipped cream — walk. Dough hook for bread — walk. Paddle for cookies — walk. The mixer sits on the counter for ease of use, and the attachments live where ease of use goes to die.
A single small caddy beside the mixer holding the three attachments handle-up turns the swap into a one-second motion. The whisk-paddle-hook trio is the entire attachment system most home bakers use; everything else is a once-a-year accessory that can stay in a drawer.
- Pick a small open matte-cream ceramic caddy or warm-walnut tray sized to nest three attachments upright
- Store whisk, paddle, and dough hook handle-up so the bowl-end stays clean off the counter
- Position the caddy within twelve inches of the mixer base so the swap is one motion
- Move once-a-year attachments — pasta roller, meat grinder — to a separate drawer to keep the caddy clean
- Wipe attachments after every use before they return to the caddy; dried batter glues to the wires fast
Corral Cookie Cutters on a Binder Ring or in a Flat Tray Drawer
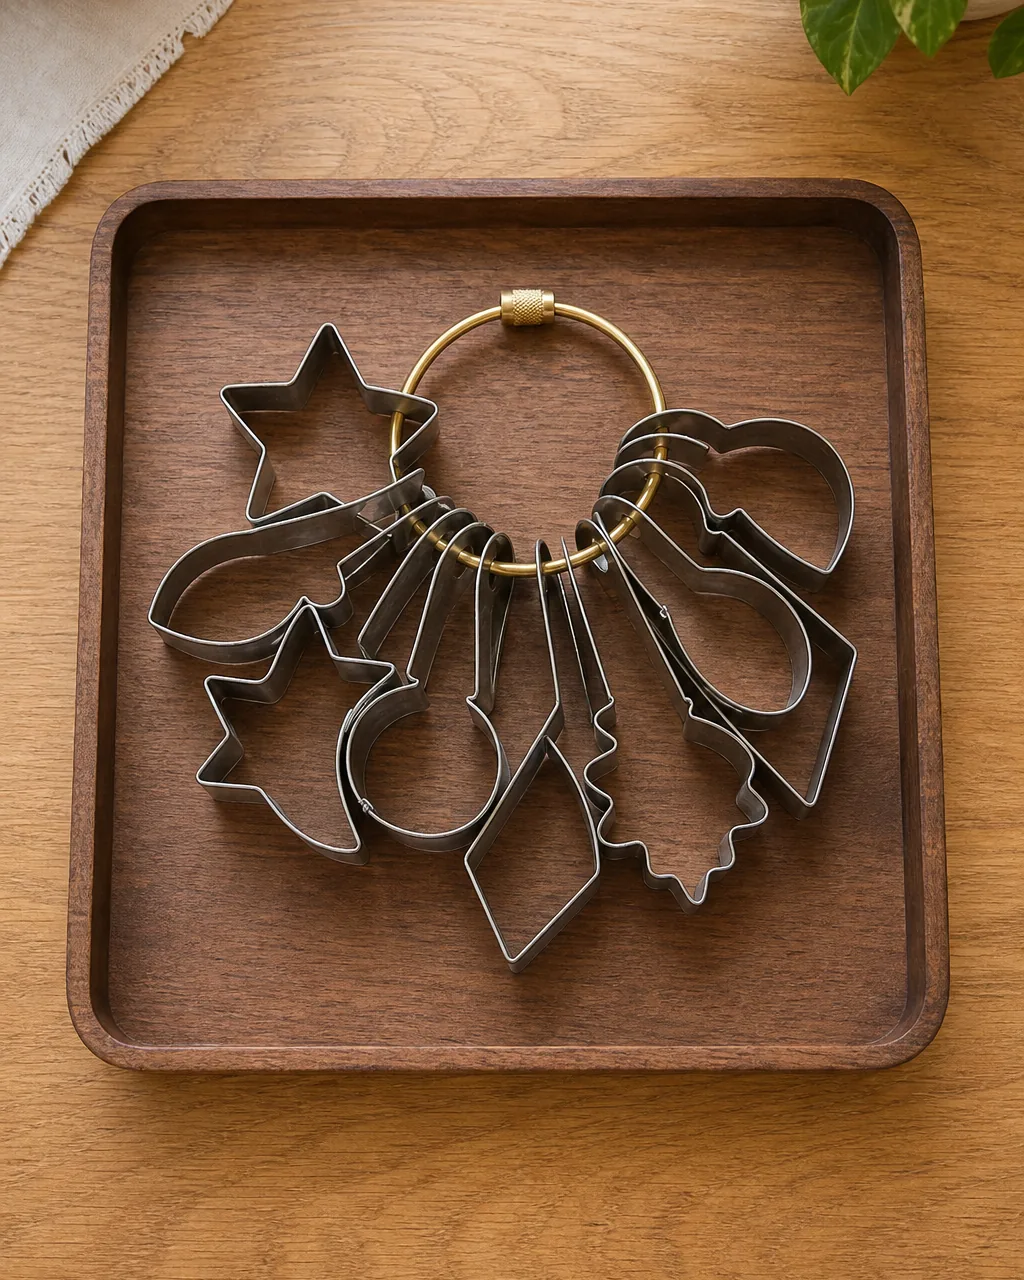
Cookie cutters are the worst-behaving small object in any baking kitchen. They nest weirdly, scatter into drawer corners, and the metal edges scrape against everything else. By the third cookie project, half the cutters have gone missing and you bake one shape instead of three.
A single brushed-brass binder ring threaded through every cutter solves this for under five dollars. The whole set hangs together like keys on a keyring — fan it open, pick the shape, slide it off, slide it back. Or skip the ring and use a shallow flat tray drawer if you prefer a flat layout.
- Pick a brushed-brass binder ring two to four inches in diameter — sized to thread through any cutter’s handle hole
- Thread every cutter onto the ring in one pass; do this once and the system holds for years
- Hang the ring on a small hook in the baking zone or store it flat in a shallow drawer
- Skip themed cutter sets you only use once; they cost ring space and never come off the ring
- Swap to a shallow tray drawer instead if the cutter collection grows past about twenty pieces
Stash Active Baking Backstock — Vanilla, Chocolate, Nuts — in a Sealed Bin in the Baking Zone
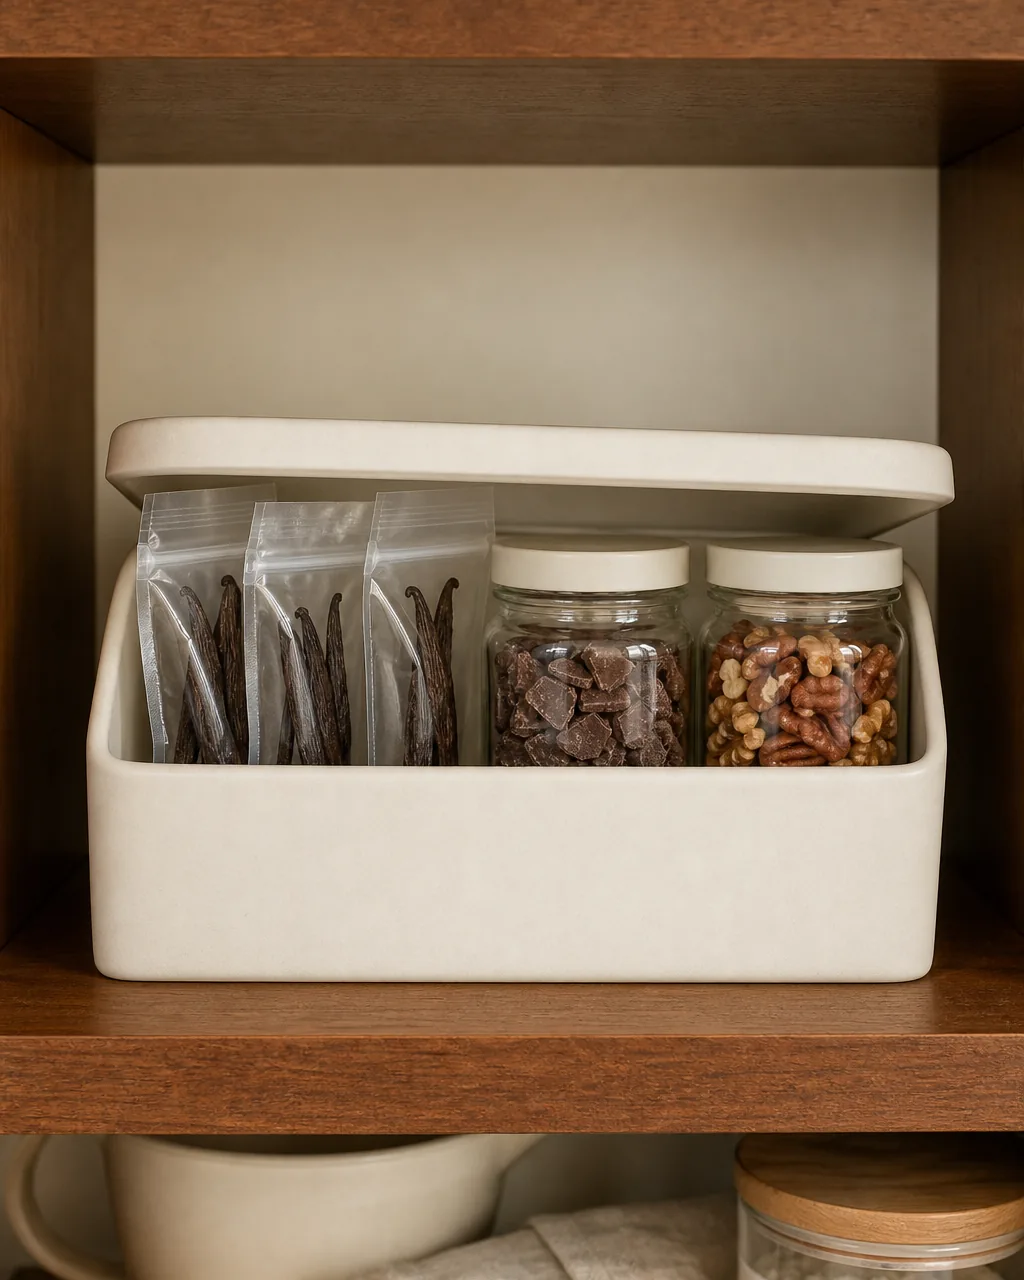
Vanilla beans, chopped chocolate, toasted nuts, and dried fruit live awkwardly between the pantry and the baking zone. Stored in the pantry, they require a separate trip every recipe. Stored loose on the baking counter, they go stale or get knocked over. Stored deep in a drawer, they get forgotten and turn rancid.
A small sealed ceramic bin in the baking zone holding working amounts of the high-value baking add-ins solves all three problems. Bulk bags stay in the pantry; the working bin holds enough for two recipes and gets refilled when it runs low.
The principle of staging working amounts close and bulk amounts far is the same logic that runs our pantry organization ideas — the pantry holds the reserve, the baking zone holds the active amount.
- Pick a single small matte-cream lidded ceramic bin about eight inches wide that seals well
- Decant working amounts of vanilla beans, chopped chocolate, toasted nuts, and dried fruit into small clear pouches inside the bin
- Refill from the pantry bulk bags the moment any pouch drops below half
- Keep the bin sealed between uses; nuts and chocolate absorb moisture and odors fast
- Date the pouches in the bin; toasted nuts go rancid in about three months even sealed
Baking gear that holds together does one thing: every recipe starts with everything within arm-reach of the oven. Pick the two or three moves that match where your kitchen breaks down first — usually the canisters and the sheet pans — and the rest of the system will pull itself into place across the next few baking projects.

Nora writes about small, livable systems for real apartments. Her own baking zone is a thirty-two-inch run of oak counter beside a wall oven, with flour and sugar in matching clear canisters and a single binder ring of cookie cutters — which is why every move in this guide gets pressure-tested against a small kitchen, a real Saturday afternoon, and a genuinely impatient batch of chocolate chip cookies before it shows up here.
Nora Ellis edits Styled Home Notes. Visit the Nora Ellis author page. More from Nora: kitchen organization ideas, pantry organization ideas, spice drawer organization ideas.