11 Kitchen Countertop Organization Ideas That Clear the Clutter Without Hiding Everything
Kitchen countertops collect clutter because people use them more than any other surface in the home. The problem is rarely a lack of cabinet space. It is that the items you reach for ten times a day need to stay out, and without a system they spread.
These 11 ideas organize what stays on the counter rather than hiding everything behind a cabinet door. Each one gives a specific zone or item type a contained home so the surface reads as intentional, not chaotic.
Start with the idea that matches your biggest pain point. If the stove area is the mess, jump to the tray station or the spice riser. If the sink zone migrates, start with the caddy.
1. Group Daily Essentials on a Single Tray
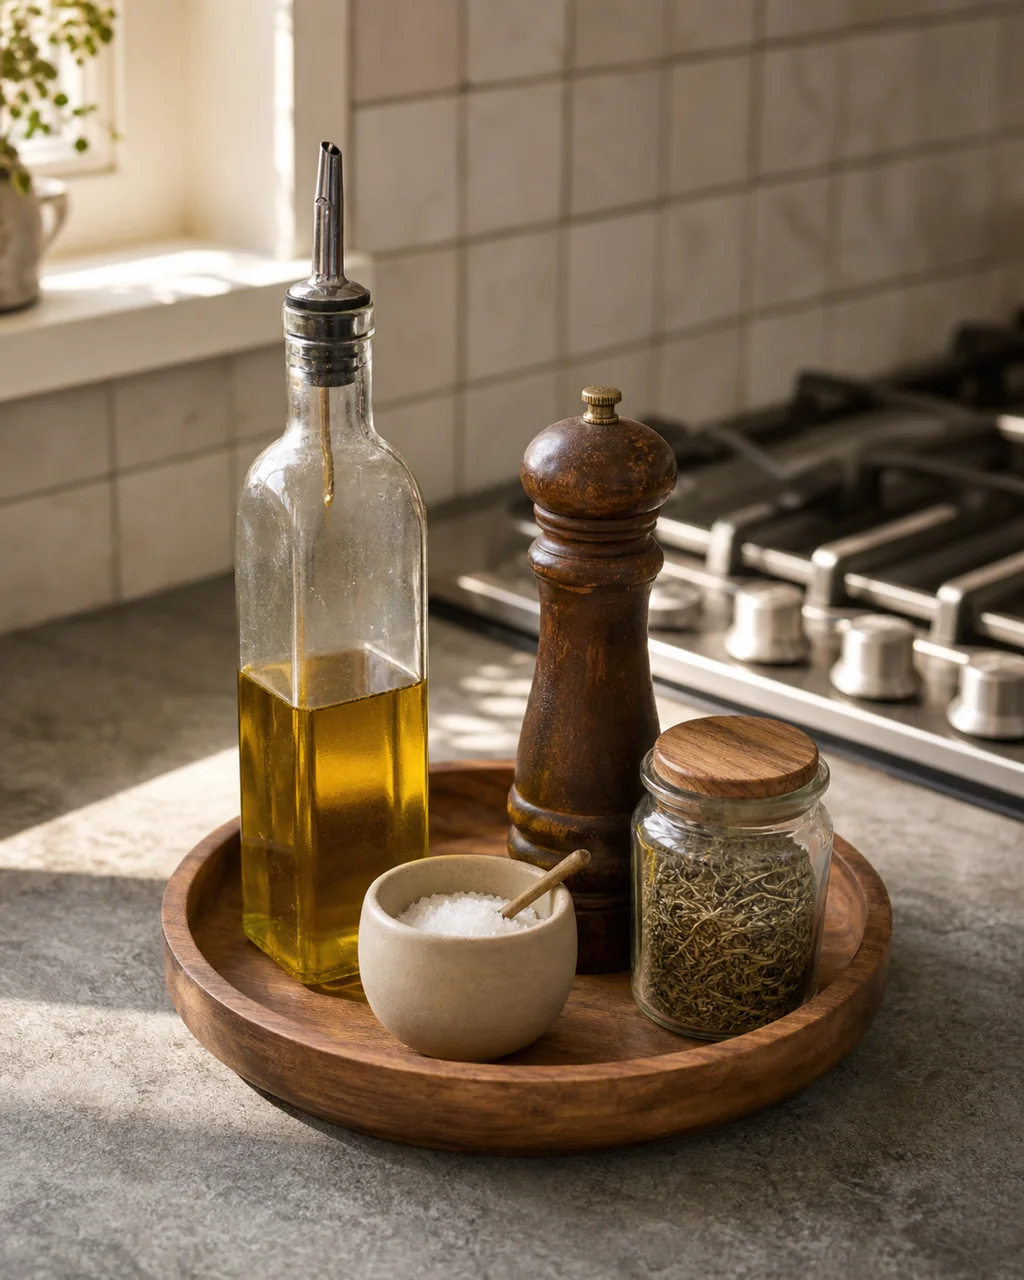
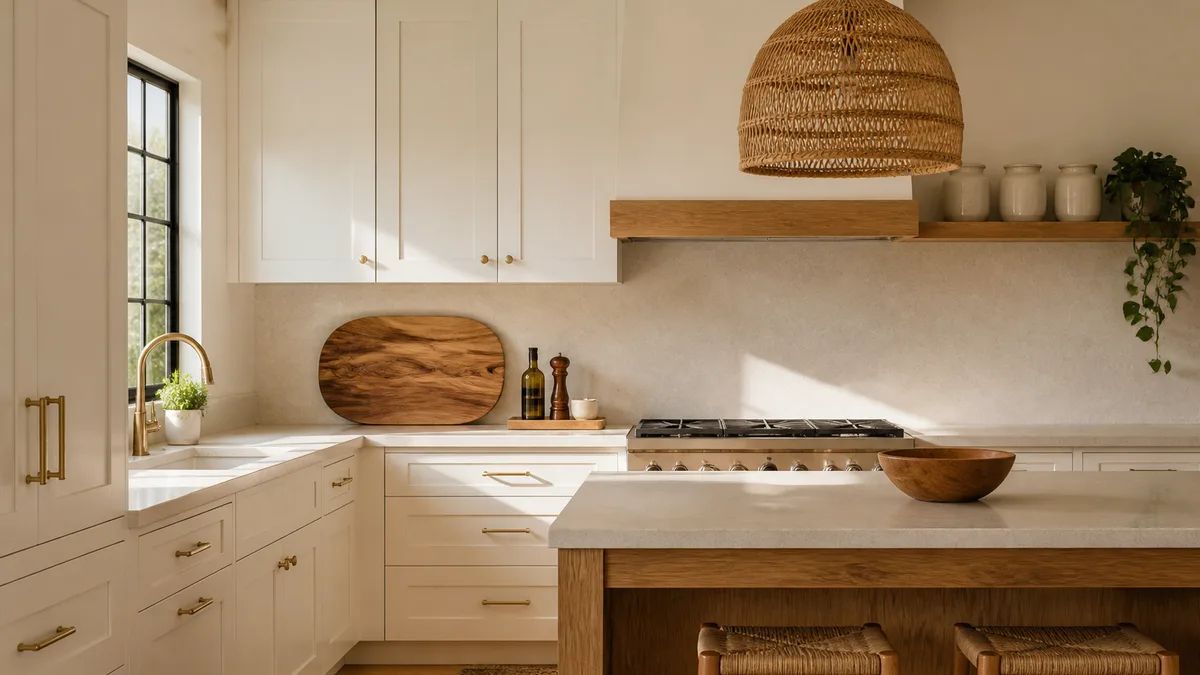
Scattered bottles and jars near the stove read as clutter even when every item belongs there. A single round or rectangular tray corrals oil, salt, a pepper mill, and one herb jar into a unit that registers as one curated object instead of four loose ones.
The tray works because it draws a visible boundary. Everything inside the lip is cooking essentials. Everything outside is clear counter. That boundary makes wiping down the rest of the surface a ten-second job instead of a shuffling project.
- Pick a tray no wider than 14 inches so it sits between the stove and wall without blocking prep space
- Choose a material that contrasts the counter — wood tray on stone, marble tray on butcher block
- Limit contents to five items maximum; anything beyond that recreates the clutter you started with
- Wipe under the tray weekly because it becomes a grease trap near the stove if ignored
- Swap seasonal items in and out — a balsamic bottle in summer, a honey jar in winter
2. Stack Vertically with a Tiered Corner Shelf
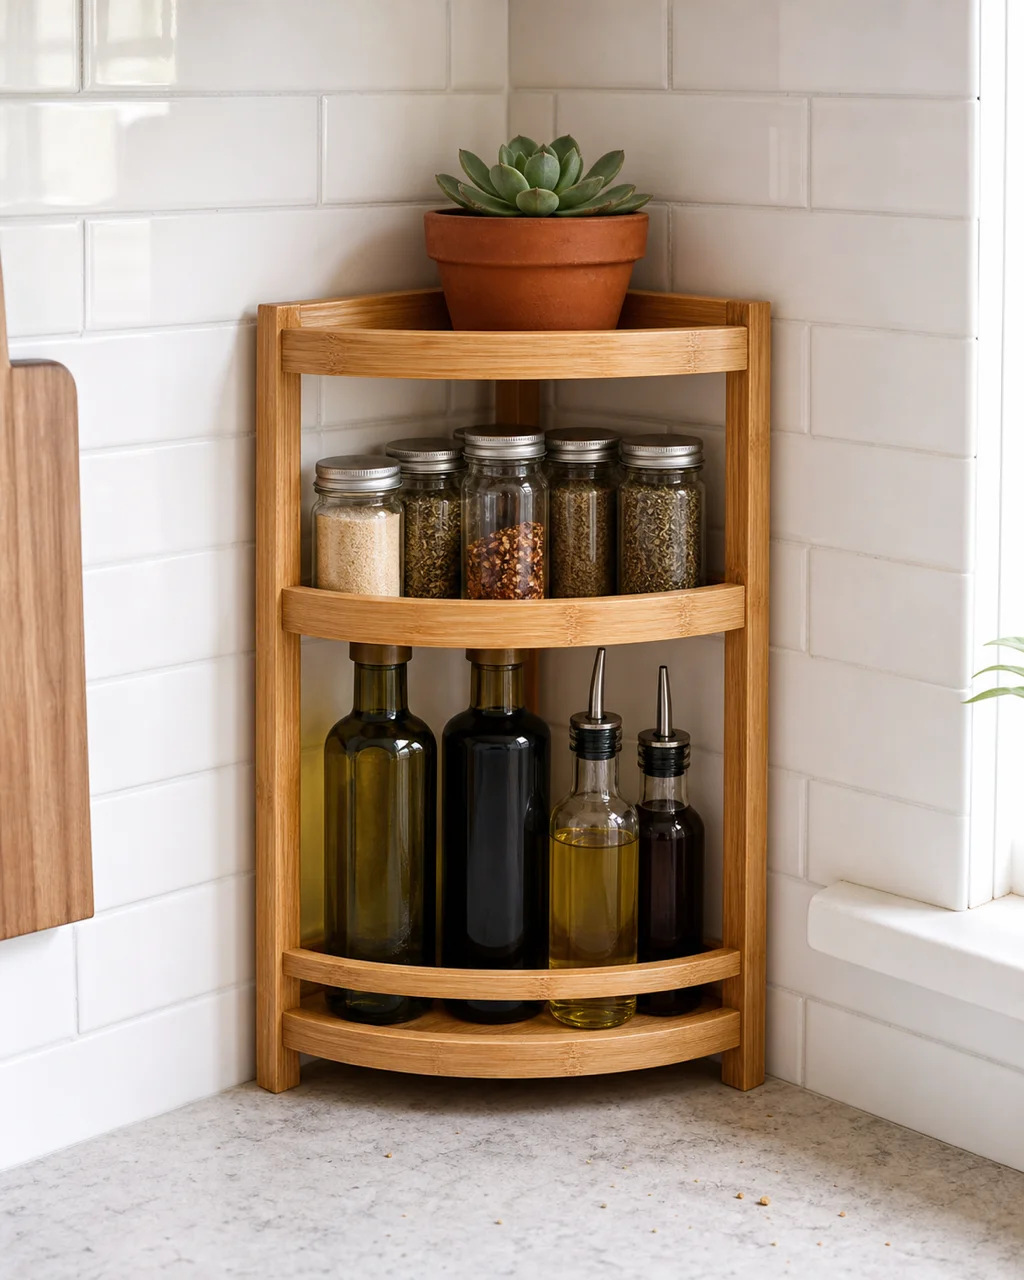
Dead corners collect random jars because nothing fits there properly. A tiered corner shelf stacks items vertically, reclaiming the footprint for actual prep. The key is finding a unit with open sides so you can slide items out without lifting the whole structure.
This works in kitchens where L-shaped or U-shaped layouts leave a deep corner that never gets used. The shelf turns dead space into arm-reach storage without any wall mounting or drilling.
- Measure the corner depth before buying — most shelves assume 10-inch standard depth
- Metal wire shelves drain better near the sink; bamboo looks warmer near the window
- Keep heaviest items on the bottom tier and lighter ones up top to prevent tipping
- Avoid stacking more than three tiers or the top becomes unreachable dead storage
- Wipe shelves when you restock because layered grime is harder to clean than a flat counter
3. Mount a Magnetic Knife Strip on the Wall
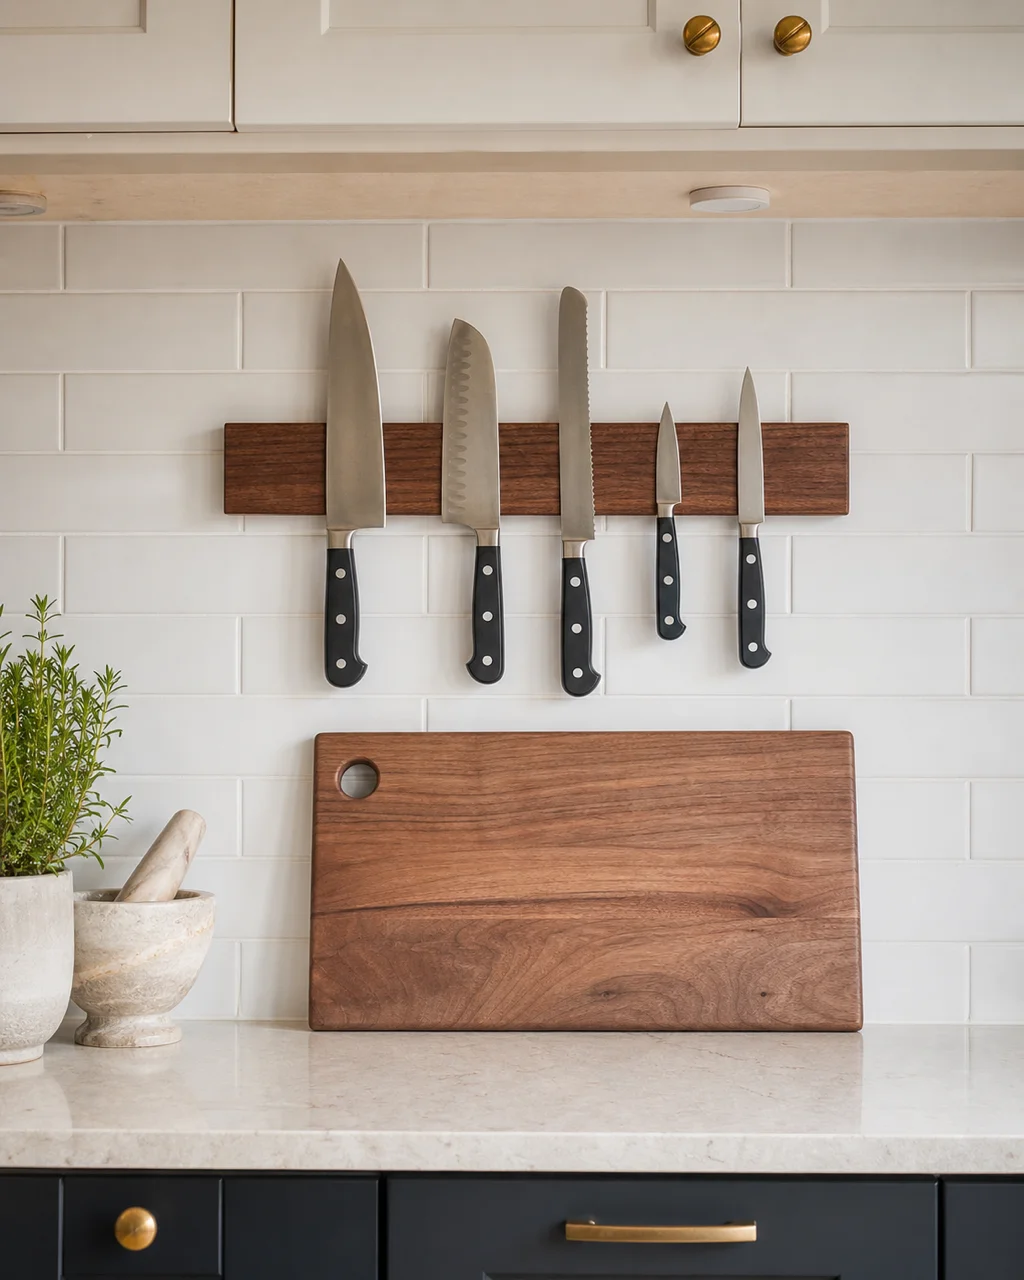
A knife block eats a full cutting-board footprint of counter space and traps moisture between blades. A magnetic wall strip lifts every knife to eye level, frees the surface, and lets blades air-dry between uses.
Install the strip on the backsplash between the counter and upper cabinets. The best placement is 12 to 14 inches above the counter so handles clear the backsplash edge and you can grab any knife without reaching.
- Choose a strip long enough for your five most-used knives with 2 inches between each
- Wood-faced magnetic strips protect blade edges on contact and feel warmer than bare stainless
- Store only knives you use weekly — a magnetic strip is working storage, not an archive
- Keep the strip away from the stove side to avoid grease buildup on blade faces
- Mount into a stud or use heavy-duty toggle bolts because five knives pull hard on drywall
4. Attach a Paper Towel Holder Under the Cabinet
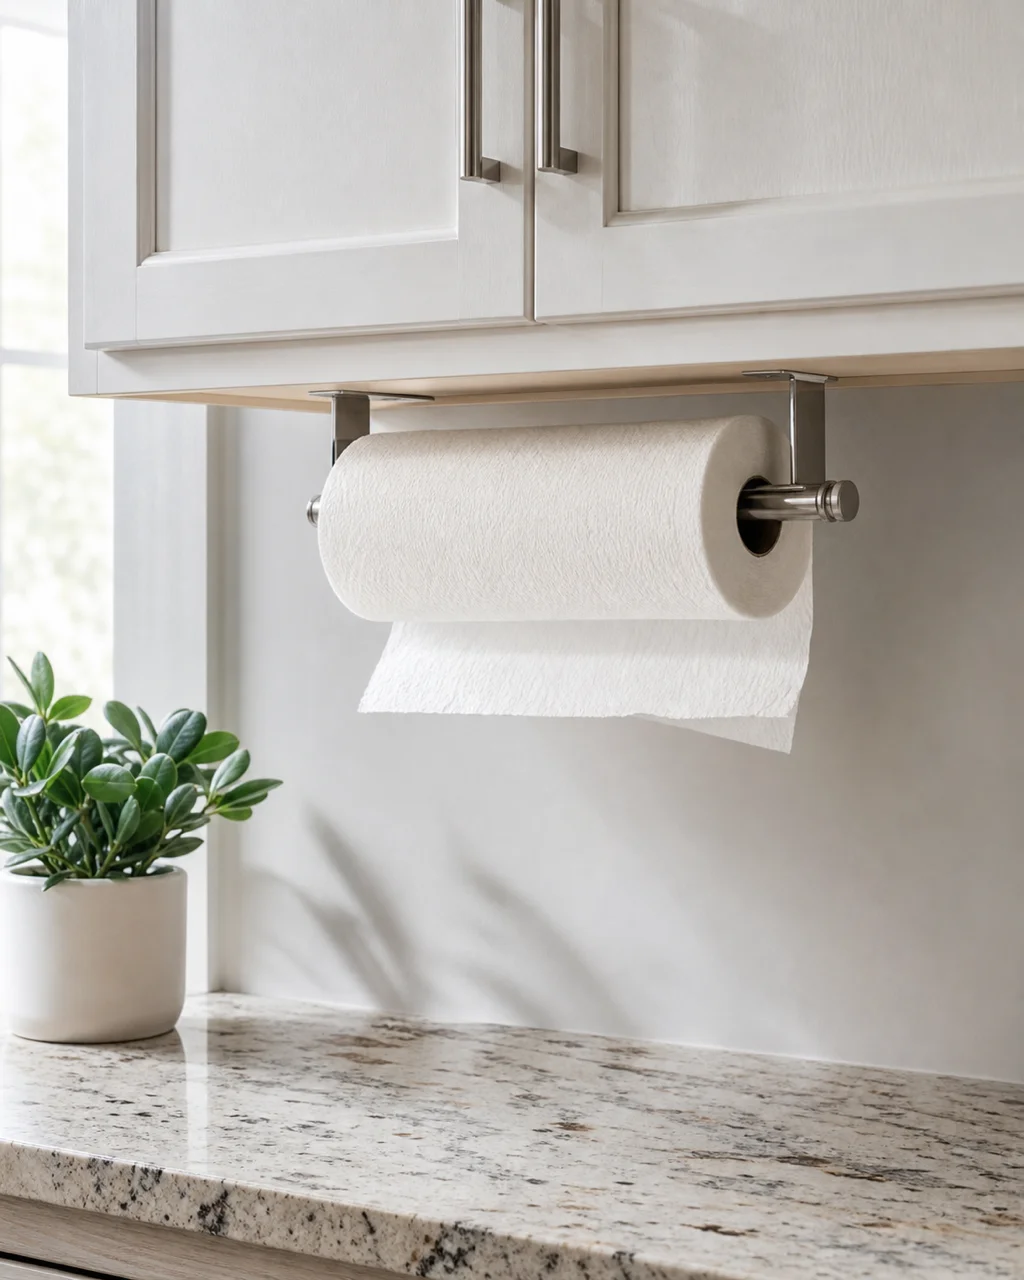
A paper towel roll takes up as much horizontal space as a small appliance on a narrow counter. An under-cabinet mount — screw-in or adhesive — holds the roll horizontal beneath the cabinet face where it tears one-handed without wobbling off a countertop stand.
The swap is immediate: install the holder, reclaim the footprint, and the counter looks cleaner without losing any access to paper towels. Position it within arm's reach of the sink but not directly above the stove.
- Adhesive-mount holders work on smooth cabinet bottoms; textured or painted surfaces need screw mounts
- Choose a holder with a tension arm or spring bar so single-hand tears come out clean
- Leave at least 2 inches of clearance below the roll so it does not block the backsplash outlet
- Replace adhesive strips every 6 months because dried adhesive loses grip and drops the roll
- If your upper cabinets are frameless, check that the bottom panel is at least half an inch thick for screws
5. Create an Appliance Garage for the Toaster and Mixer
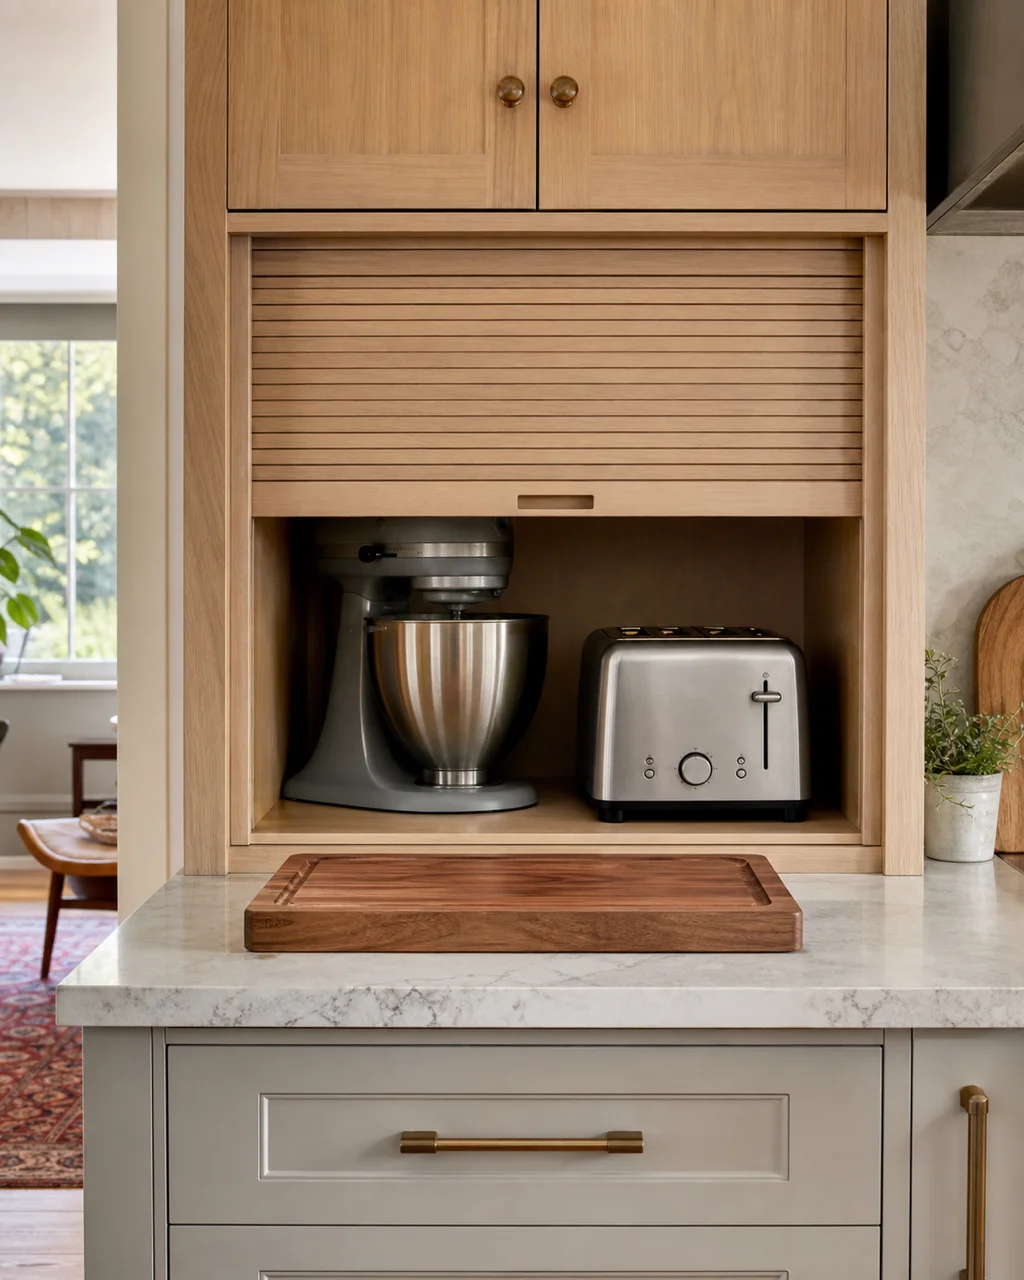
Appliances you use daily still need a home when they are not running. An appliance garage — a cabinet-depth nook with a tambour door or a flip-up panel — keeps the toaster and mixer plugged in and accessible but visually off the counter between uses.
The garage works best against a wall near an outlet. A tambour roll-up door costs more but opens without needing clearance above, which matters when your upper cabinets sit low. Even a fabric curtain on a tension rod achieves the same visual break.
- Dedicate one 24-inch stretch of counter near an outlet for the garage
- Leave the back open or install a pass-through outlet so cords stay plugged in permanently
- Limit the garage to two appliances — three or more turns a nook into a cluttered cubby
- Wipe the interior monthly because crumbs migrate behind closed doors faster than on open counters
- If retrofitting, a freestanding breadbox-style cover achieves a similar effect without construction
6. Keep Sink Supplies in a Caddy with a Drip Tray
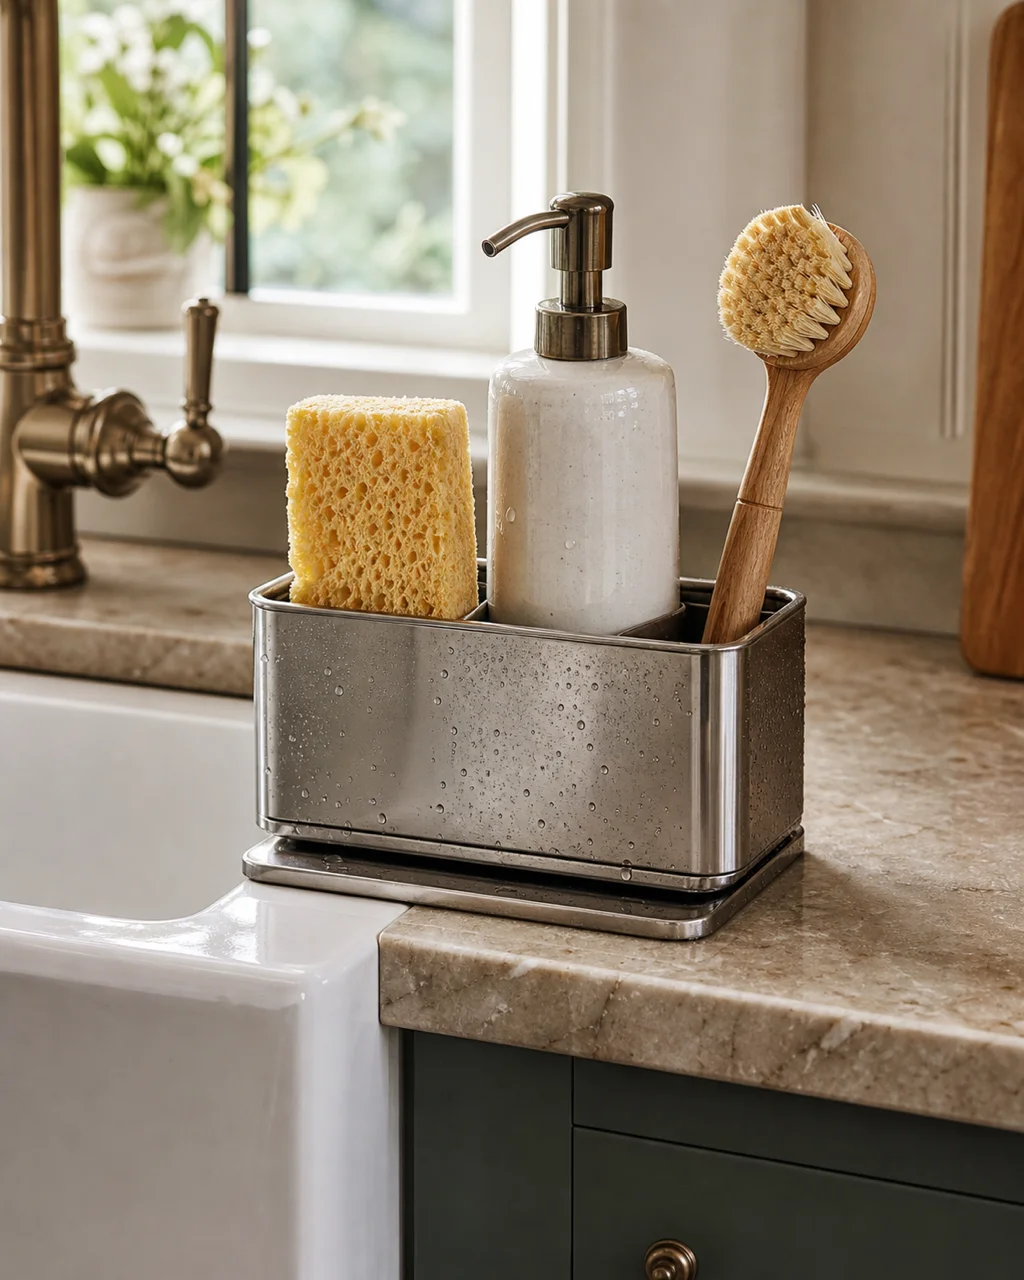
Sponge, dish soap, and brush left loose near the sink migrate across the counter by the end of the day. A contained caddy with a drip tray gives each item a slot and catches runoff. Place it right at the sink edge, not six inches away where the drip trail becomes a smear.
The caddy's job is containment. Three items, one boundary. Everything outside the caddy stays dry. This single change makes the kitchen organization effort feel tangible because the sink zone is what you see every time you walk in.
- Choose a caddy with drainage holes in the bottom and a removable tray for easy cleaning
- Stainless steel or silicone caddies resist mildew better than ceramic or bamboo at the wet zone
- Size the caddy for three items maximum — sponge, soap dispenser, brush
- Empty and rinse the drip tray every other day to prevent biofilm buildup
- Position the caddy on the side of the sink closest to the dishwasher for workflow logic
7. Bridge a Cutting Board Across the Sink
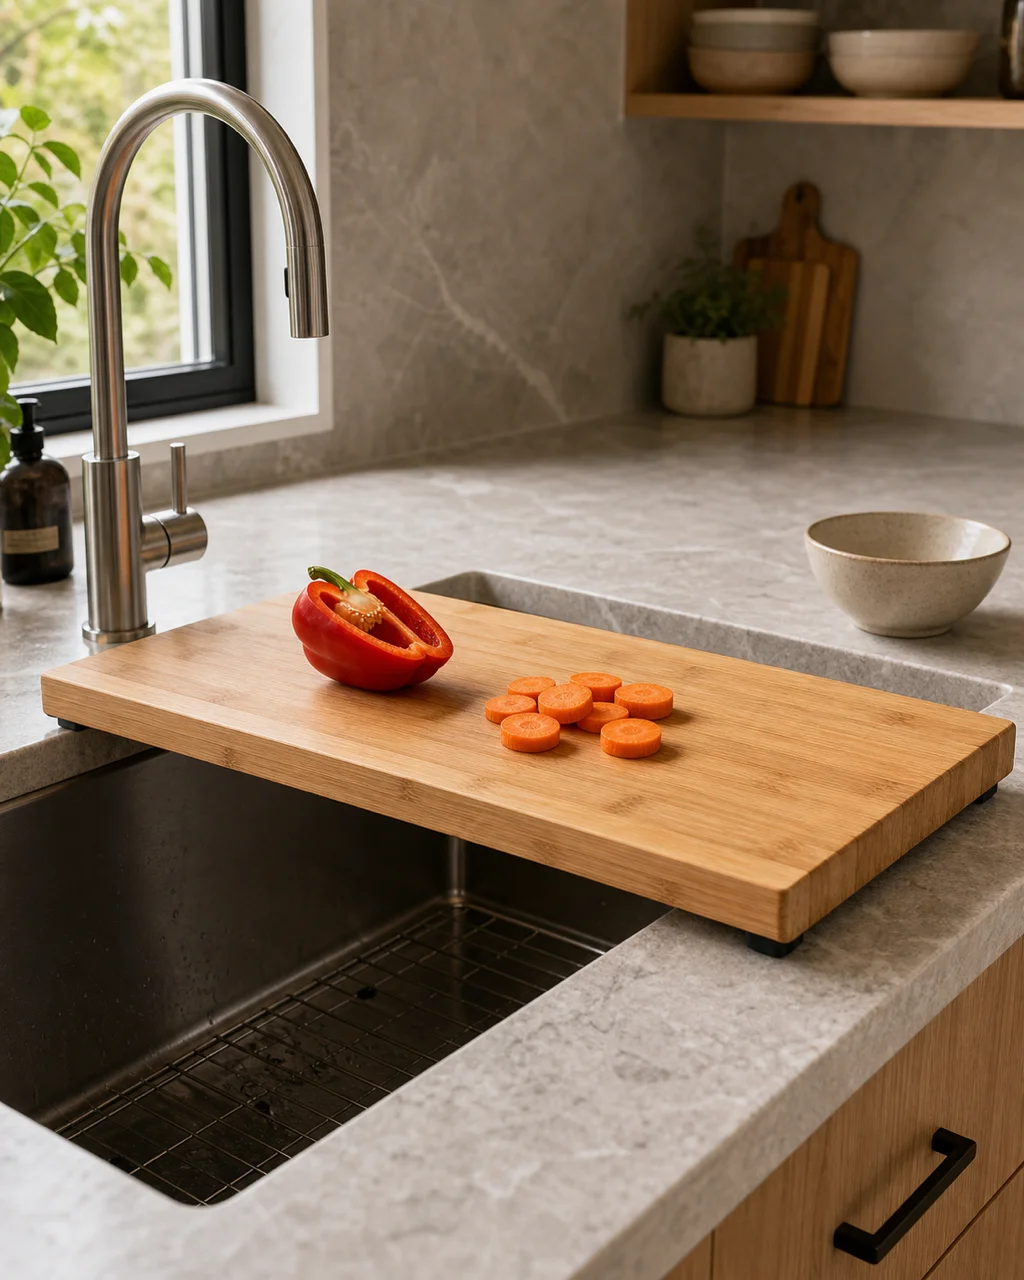
A cutting board that spans the sink basin creates prep surface on demand and stores vertically when done. It works best in kitchens where counter space next to the sink is tight or nonexistent, which is most galley and apartment kitchens.
The bridge board turns the sink into a dual-purpose zone. Prep on top, scraps fall straight into the basin below. When you finish, rinse it directly over the sink and stand it vertically in a cabinet divider to air-dry.
- Measure your sink width at the rim and add 2 inches on each side for a stable bridge
- Use a board with rubber feet or silicone strips on the underside to prevent sliding
- Choose a board at least three-quarters of an inch thick so it handles chopping force without flexing
- Store the board vertically in a cabinet divider or on a wall-mounted rack so it air-dries fully
- Bamboo resists water better than most hardwoods and weighs less for daily lifting on and off
8. Line Cooking Spices on a Riser Behind the Stove
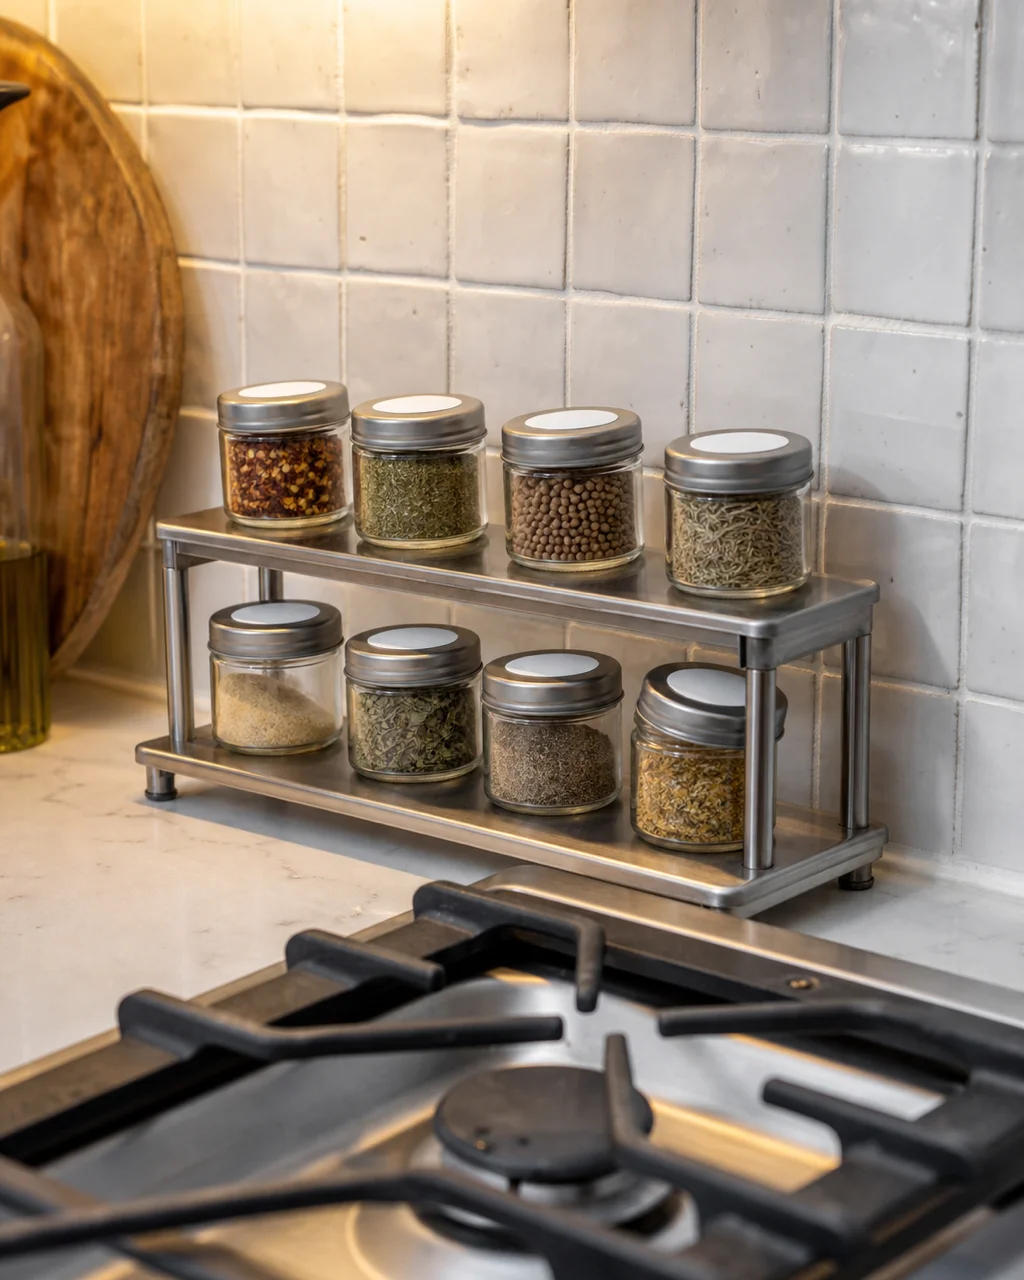
The strip of counter between the stove and the backsplash is often too narrow for anything except a row of jars. A narrow tiered riser turns this dead strip into arm-reach spice storage without stealing any prep space.
This idea pairs naturally with a small kitchen where every inch of counter matters. The riser keeps daily spices within arm's reach while cooking, which means you stop opening and closing the cabinet door ten times per meal.
- Measure backsplash-to-stove depth — most risers need 3.5 to 4 inches of clearance
- Choose a riser with non-slip feet so vibrations from the range hood do not walk it off the edge
- Arrange spices by frequency: daily staples on the front tier, occasional ones behind
- Use uniform jars with top labels so you read names looking down instead of squinting at sides
- Wipe the riser and jars weekly because stovetop grease coats everything within 18 inches
9. Transfer Daily Staples into Clear Canister Sets
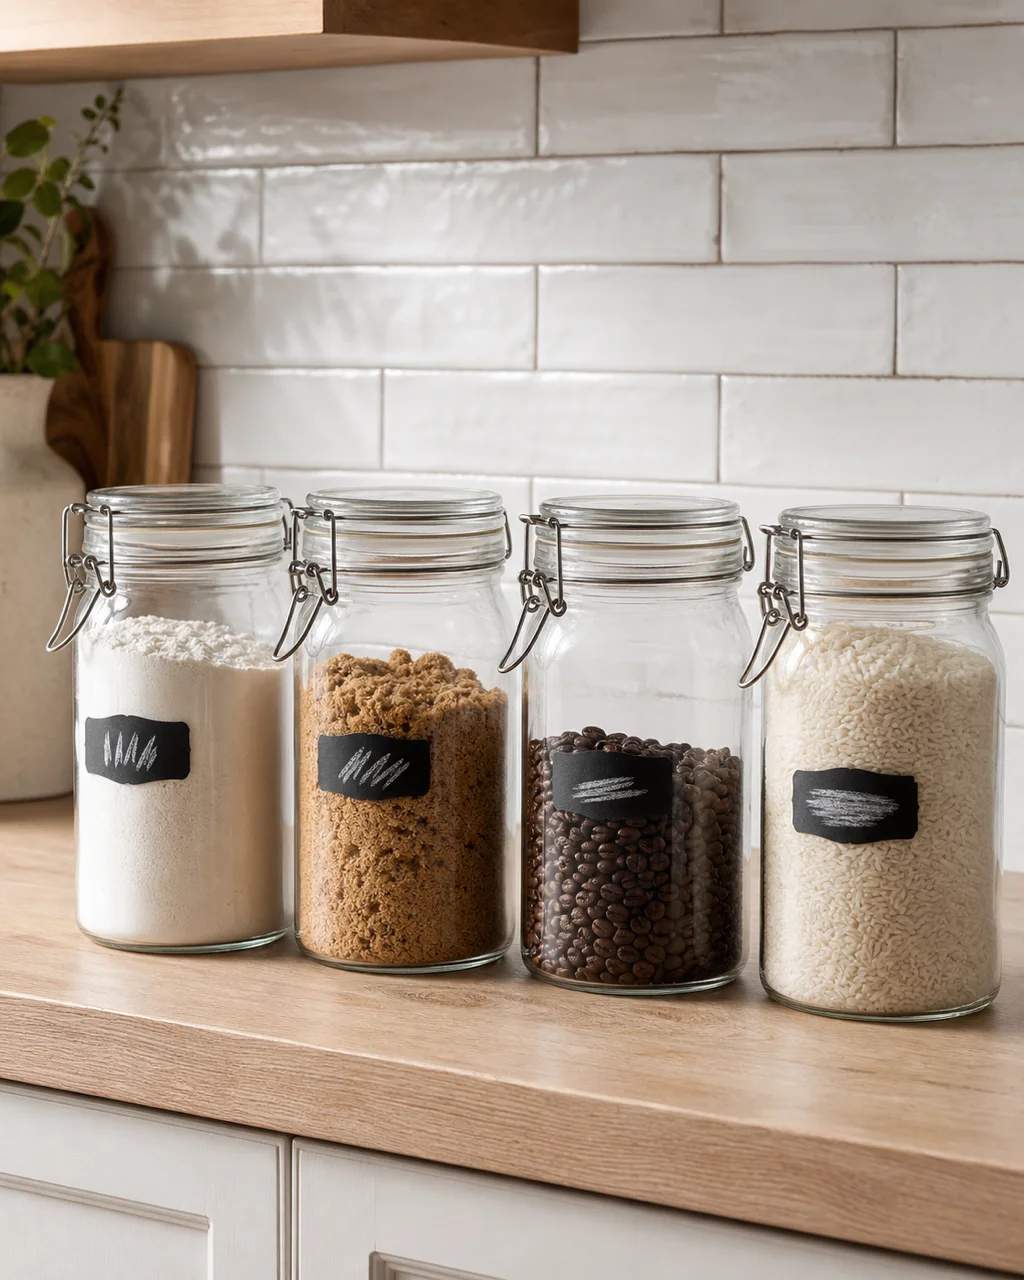
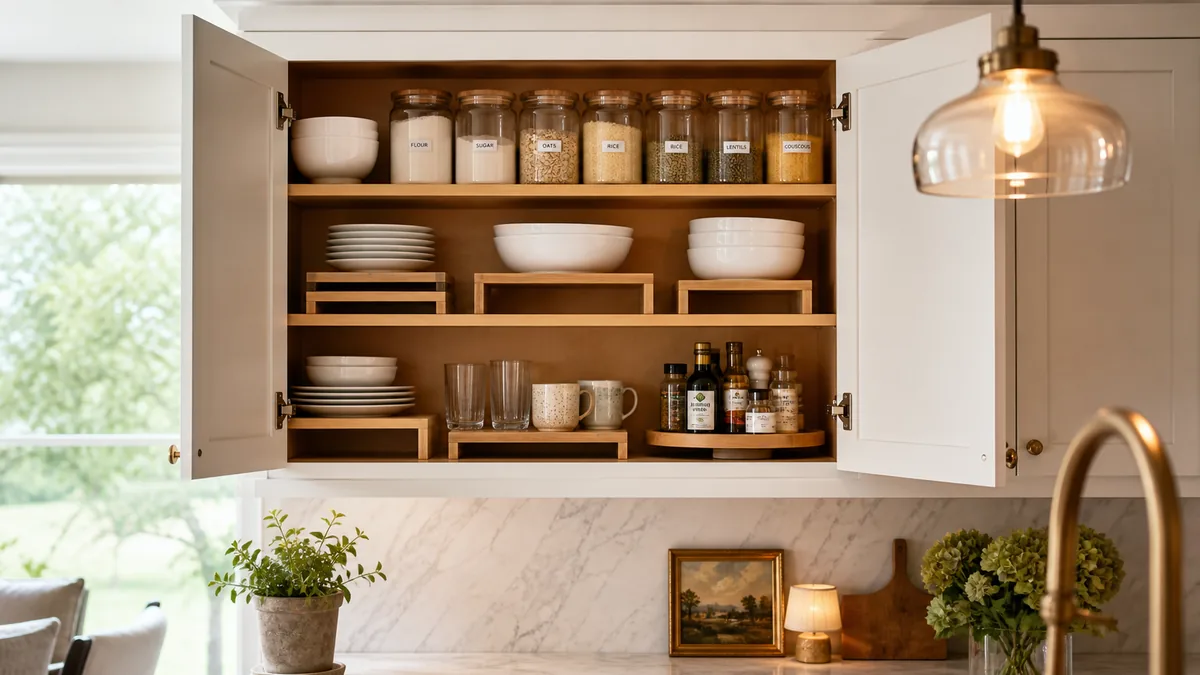
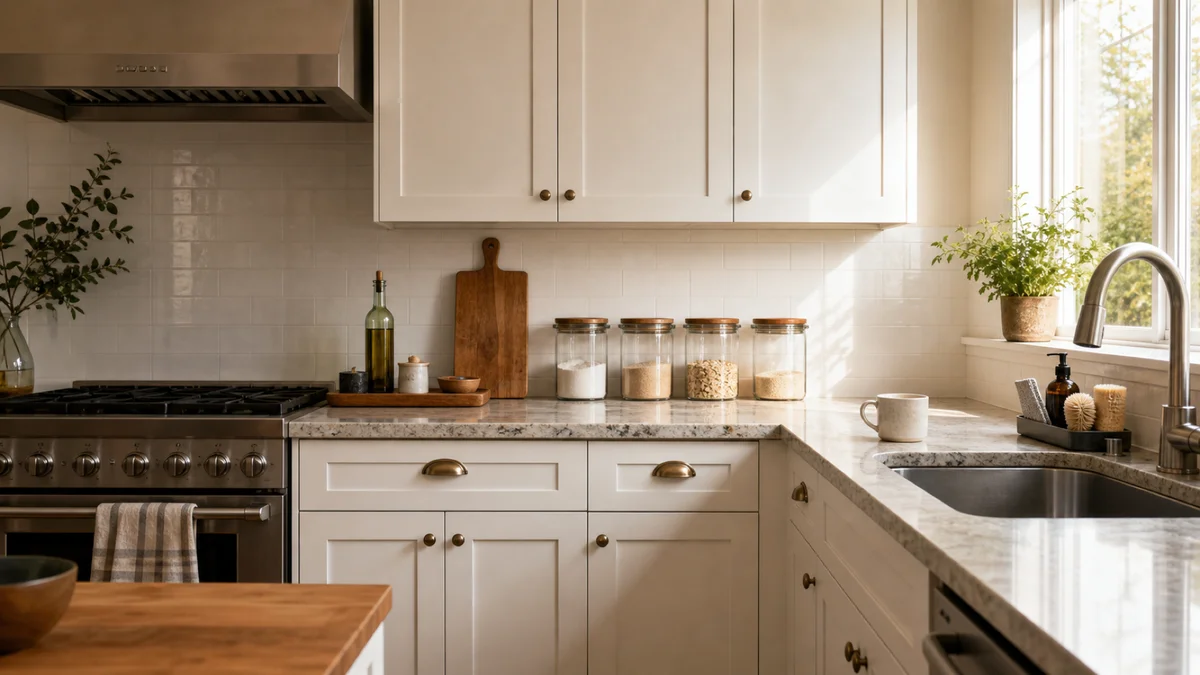
Bags of flour, sugar, and coffee tear, tip, and leak. Uniform clear canisters show fill levels at a glance, seal out moisture and pantry moths, and replace visual chaos with a calm row. The swap takes ten minutes and the counter looks different immediately.
Canisters work best as a counter set when you limit them to four or five — the staples you use daily. Everything else stays in the pantry. The row looks intentional because the jars match, the fills vary, and the labels are consistent.
- Choose canisters with airtight silicone-gasket lids — snap or clamp closures beat screw tops for daily use
- Label each canister with a removable tag or chalk pen so guests do not guess wrong
- Square or rectangular canisters pack tighter than round ones on a narrow counter
- Refill canisters when they hit one-quarter full to avoid half-empty rows that look abandoned
- Keep the counter set to your true dailies — flour, sugar, coffee, rice — and nothing aspirational
10. Install a Pegboard or Rail System on the Backsplash
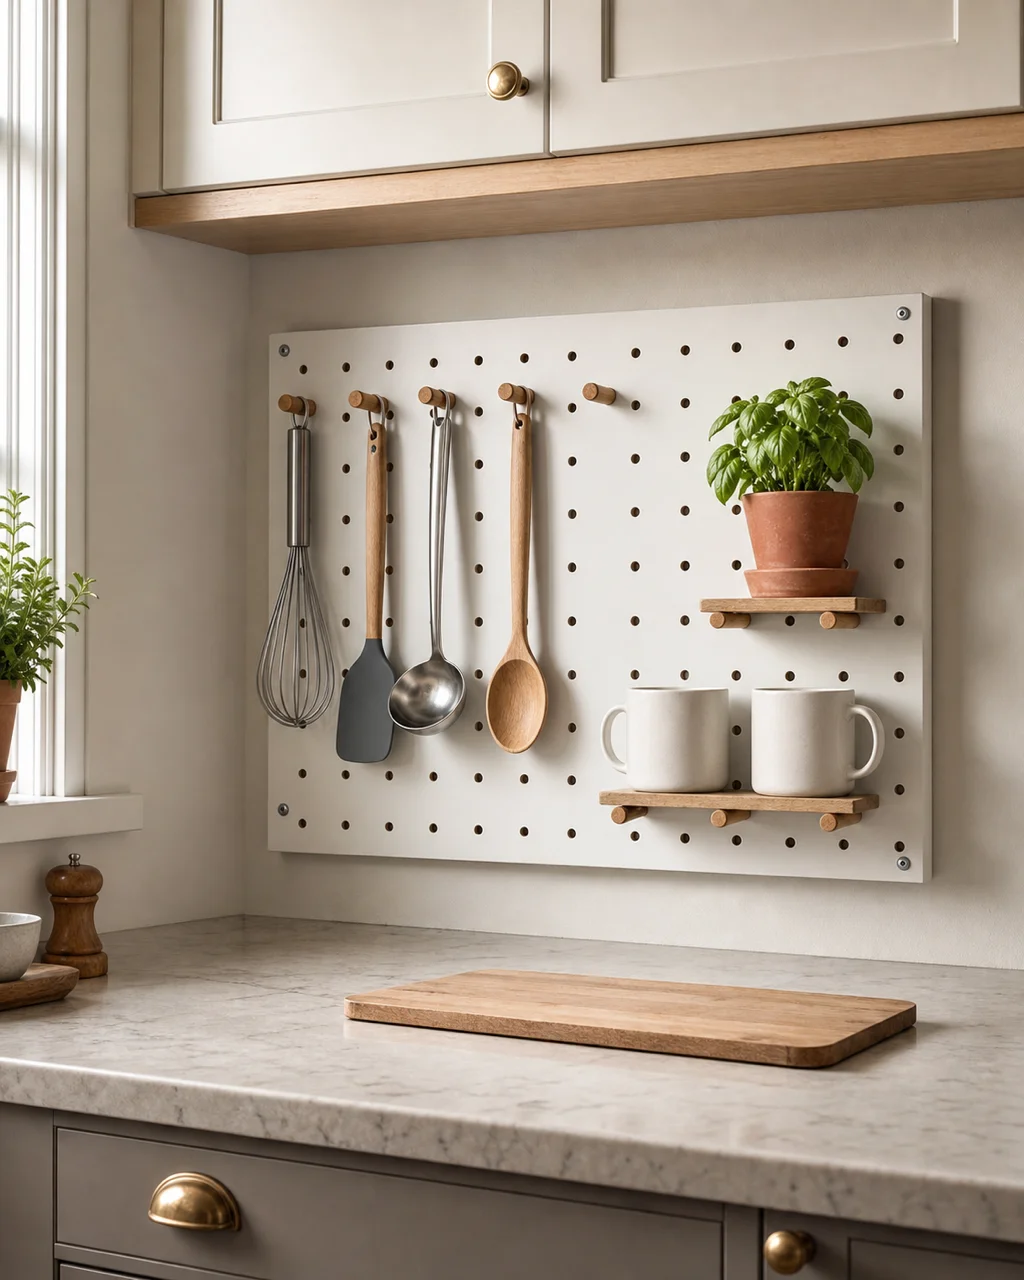
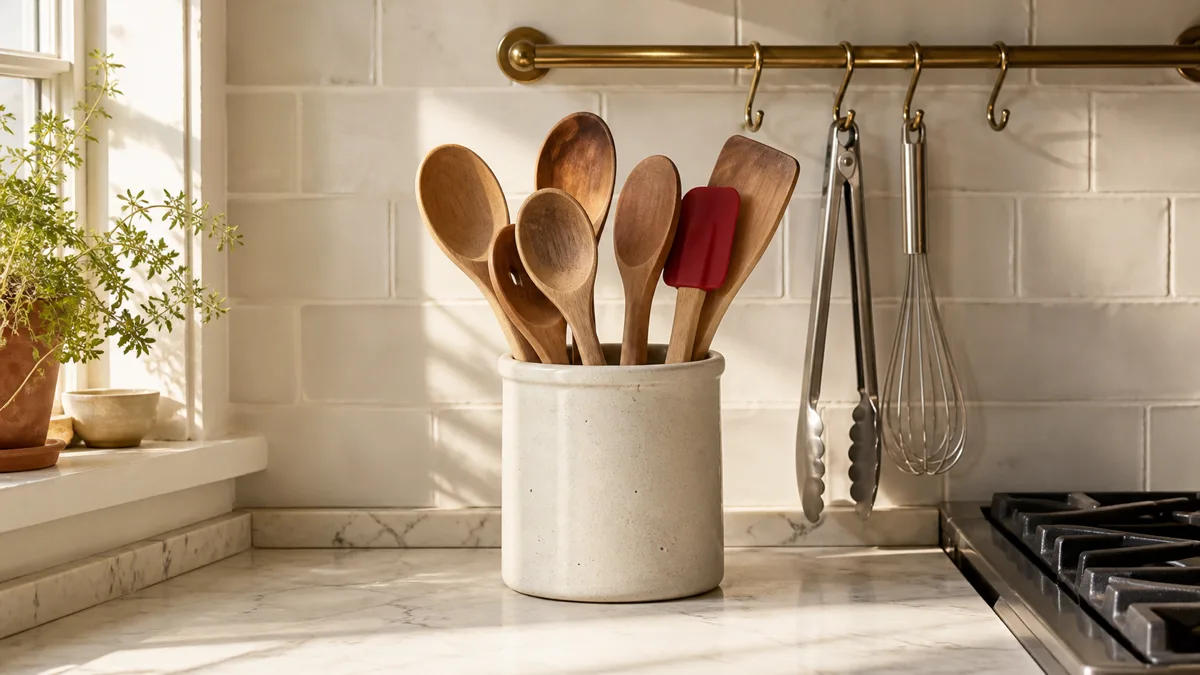
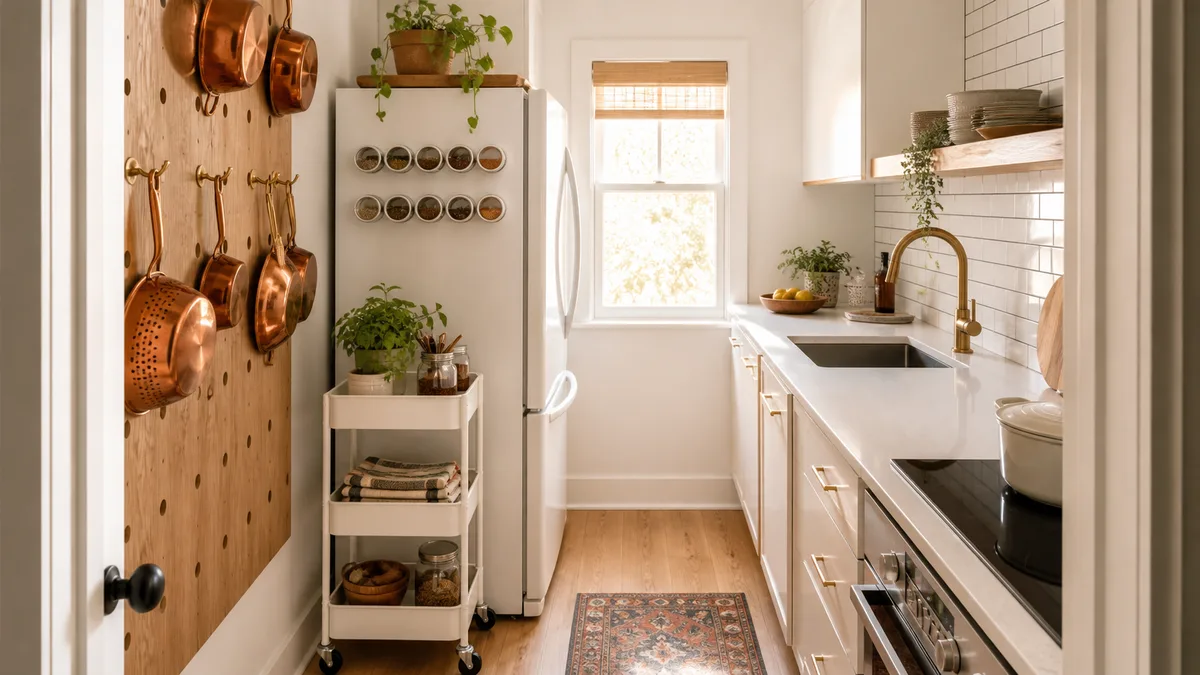
A pegboard or rail with hooks and small shelves lifts utensils, mugs, and small tools off the counter onto the wall. It turns a flat backsplash into working vertical storage, and if you use removable mounting the whole system comes down without wall damage.
The pegboard works because it makes vertical space do the job that counter space was doing. Every utensil hung is a utensil no longer sitting in a jar on the surface. If you already organize your kitchen cabinets well, the pegboard handles overflow that does not fit inside doors.
- Measure the backsplash height between counter and upper cabinet to size the panel
- Pegboard holes accept standard hooks, small shelves, and even tiny planters for fresh herbs
- Metal rail systems take less visual space and allow sliding repositioning without re-drilling
- Hang only items you use at least twice a week — decorative-only items defeat the purpose
- Leave 30 percent of pegs empty so the board reads as organized, not wallpapered with stuff
11 kitchen countertop organization ideas at a glance
- 1Grouped tray stationCorral stove-side essentials onto one tray so clutter reads as one object
- 2Tiered corner shelfStack vertically in the dead corner to reclaim flat prep space
- 3Magnetic knife stripMove the knife block off the counter and onto the wall
- 4Under-cabinet paper towelMount the roll underneath to free one more appliance footprint
- 5Appliance garageHide the toaster and mixer behind a tambour door, still plugged in
- 6Sink caddyContain sponge, soap, and brush in one drip-tray caddy at the sink edge
- 7Cutting board bridgeSpan the sink for on-demand prep surface that stores vertically
- 8Spice riserLine daily spices on a narrow riser behind the stove
- 9Clear canister setUniform jars for flour, sugar, coffee — visible fill, sealed tight
- 10Pegboard or railLift utensils and mugs off the counter onto the backsplash wall
- 11Landing zone trayOne tray near the door catches keys and mail before they spread
11. Set a Designated Landing Zone Tray Near the Entry Side
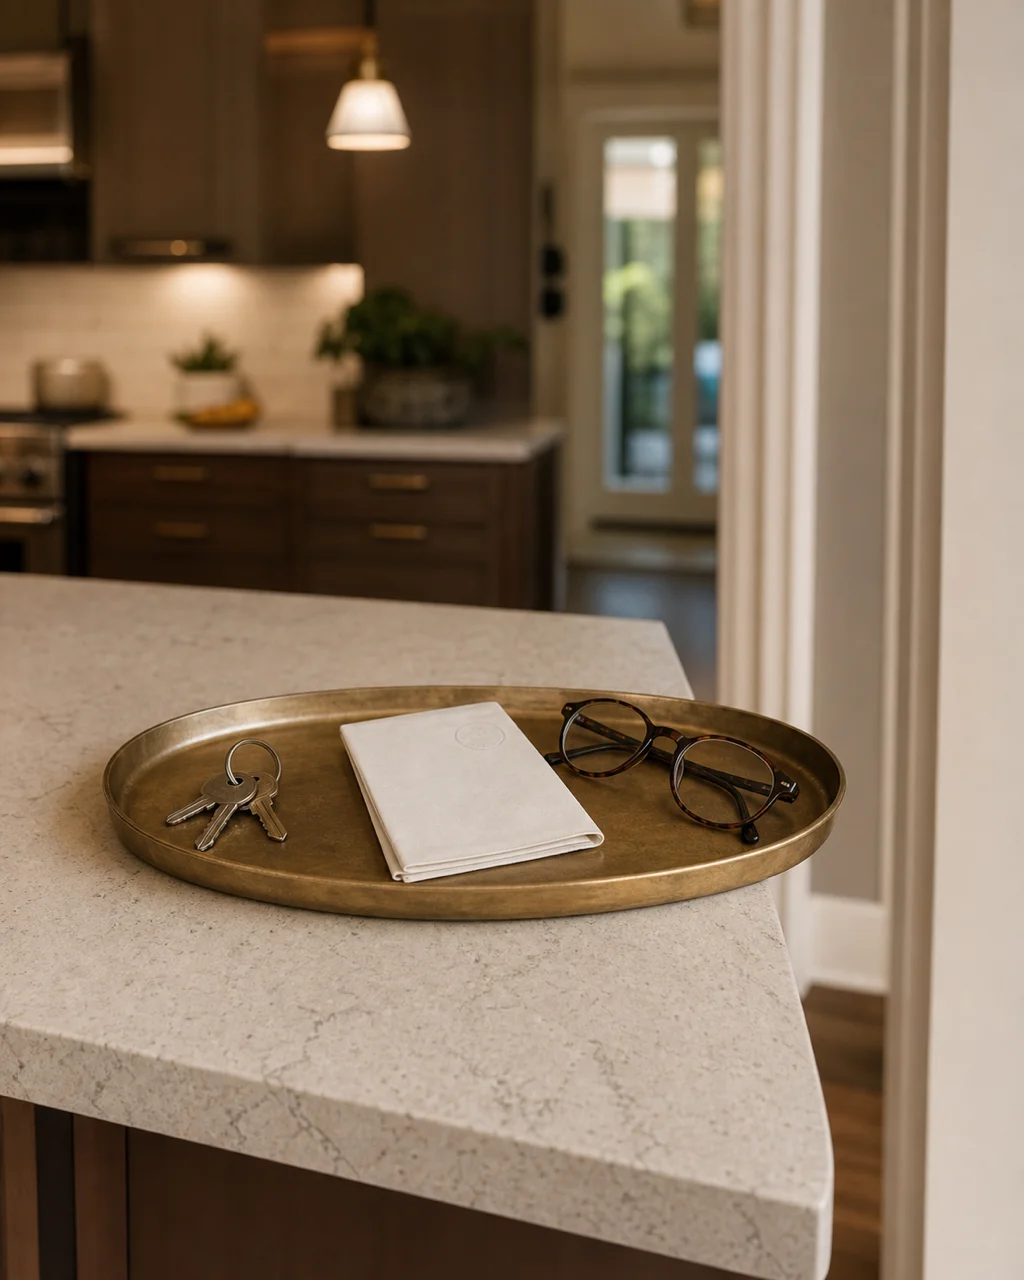
Keys, mail, and phones land on the counter closest to the kitchen entrance. Without a boundary they spread across the prep surface within hours. A single tray or shallow dish at the entry side gives transient items a parking spot that is easy to clear nightly.
The tray draws a line between kitchen items and passing-through items. Everything inside the brass oval is temporary. Everything outside is cooking. That separation prevents the counter from becoming a second entryway table, which is what happens in open-plan layouts where the kitchen island faces the front door.
If you want more ideas for keeping kitchen drawers and cabinets organized alongside your counters, that guide covers the inside-the-door half of the same problem.
- Position the tray on the counter nearest the door you use most when entering the kitchen
- Choose a tray with a distinct look — brass, leather-lined, or patterned ceramic — so it reads as intentional
- Keep the tray under 10 inches wide so it does not become a second junk drawer
- Empty the tray every evening as part of the kitchen-close routine
- Do not combine this tray with cooking supplies because mixing categories invites permanent clutter
A clutter-free counter does not mean an empty counter. It means every item on the surface has a defined zone and a reason to stay. Start with the one idea that matches your biggest daily frustration, set it up this weekend, and leave the rest for later. One contained zone changes how the whole kitchen feels.