How to Organize Kitchen Cabinets So Everything Has a Place
Most kitchen cabinet organizing starts with buying bins before anyone empties a shelf to see what's actually in there. That order gets you matching containers for clutter you never needed to keep.
Work the cabinets in this order instead: empty, sort, zone, then fit the storage to what's left. Nine steps, starting with the one most people skip.
Work through these in order the first time, then use them as a checklist any time a cabinet slides back into chaos.
1. Take Everything Out and Sort Into Three Piles
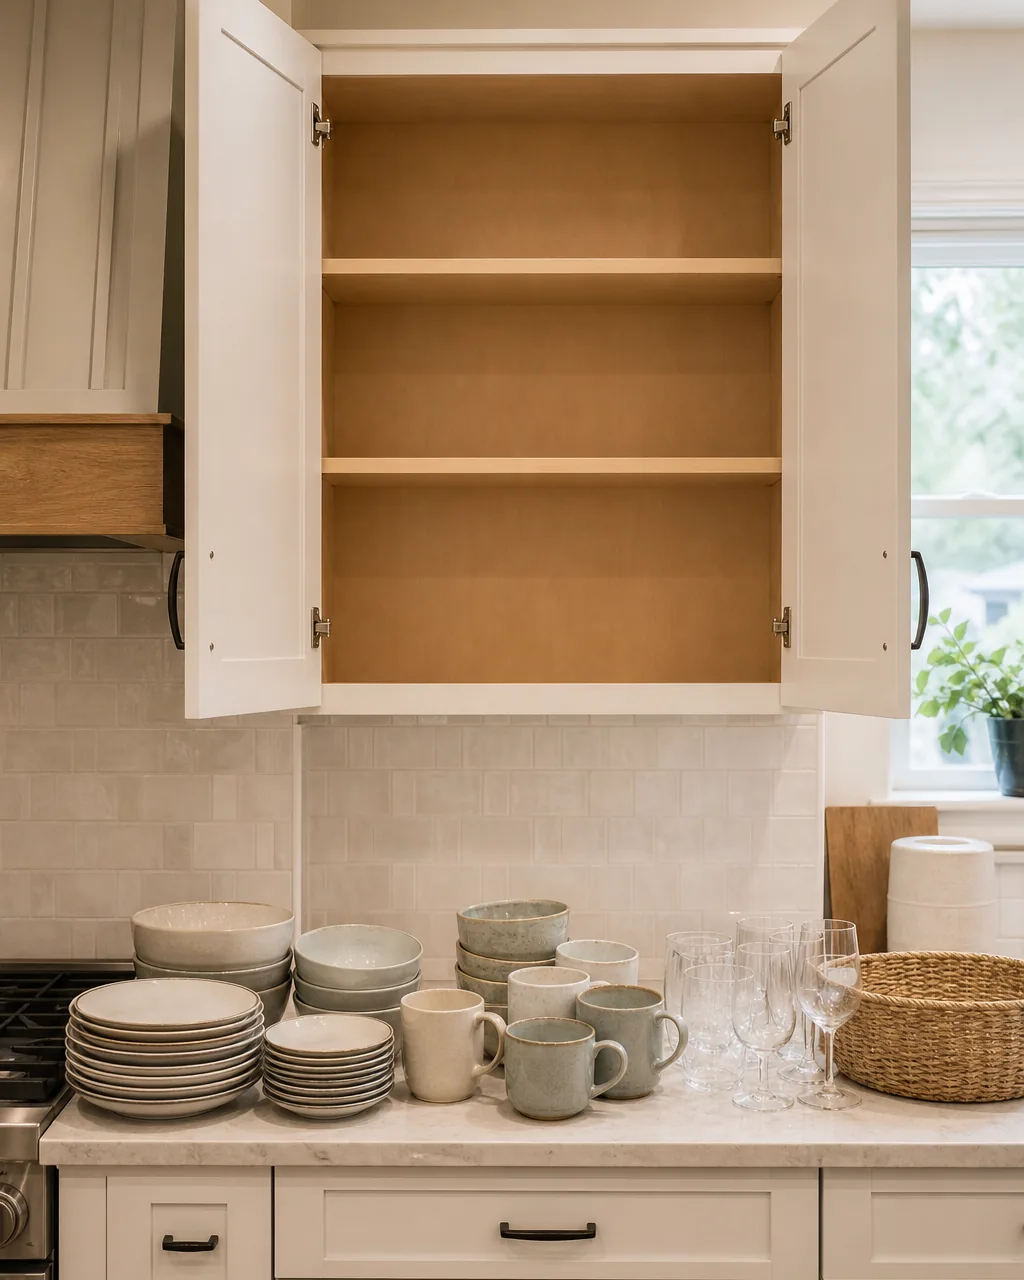
Pull every item out of one cabinet at a time and sort it into keep, donate, and toss before a single thing goes back in. A cabinet organized around what's actually inside it works longer than one organized around what you assumed was inside it.
2. Group Items by How You Actually Cook, Not by Type
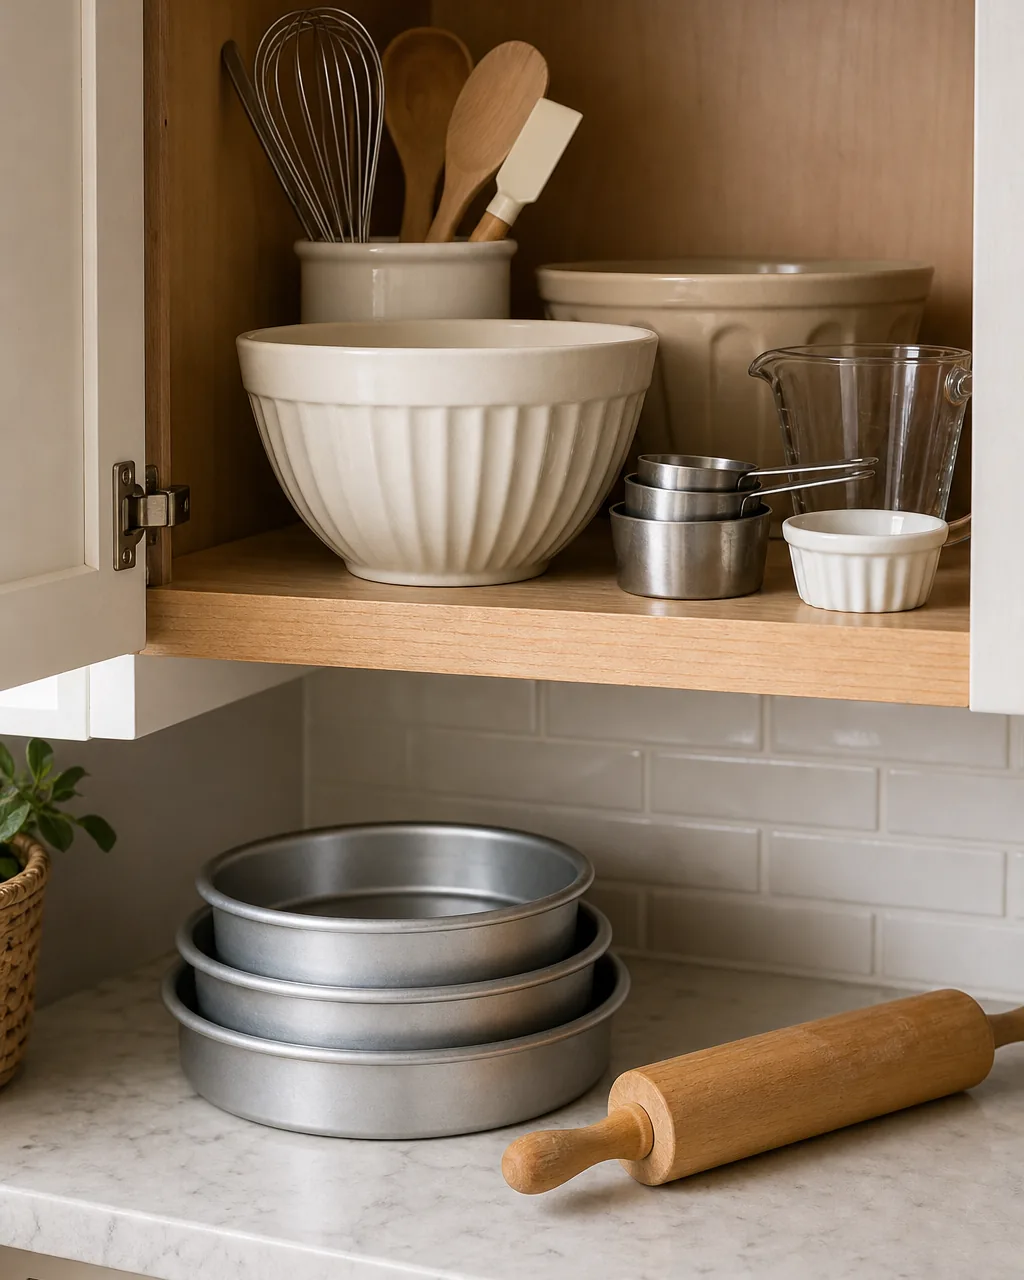
Grouping all bakeware together sounds tidy, but if your muffin tin lives across the kitchen from your mixing bowls, you'll walk back and forth every time you bake. Group by task instead: baking tools in one zone near the mixer, everyday cooking tools near the stove.
Every kitchen has one cabinet that's the worst offender. Start there instead of working through every cabinet in order.
3. Put Daily-Use Items at Eye Level, Everything Else Above or Below
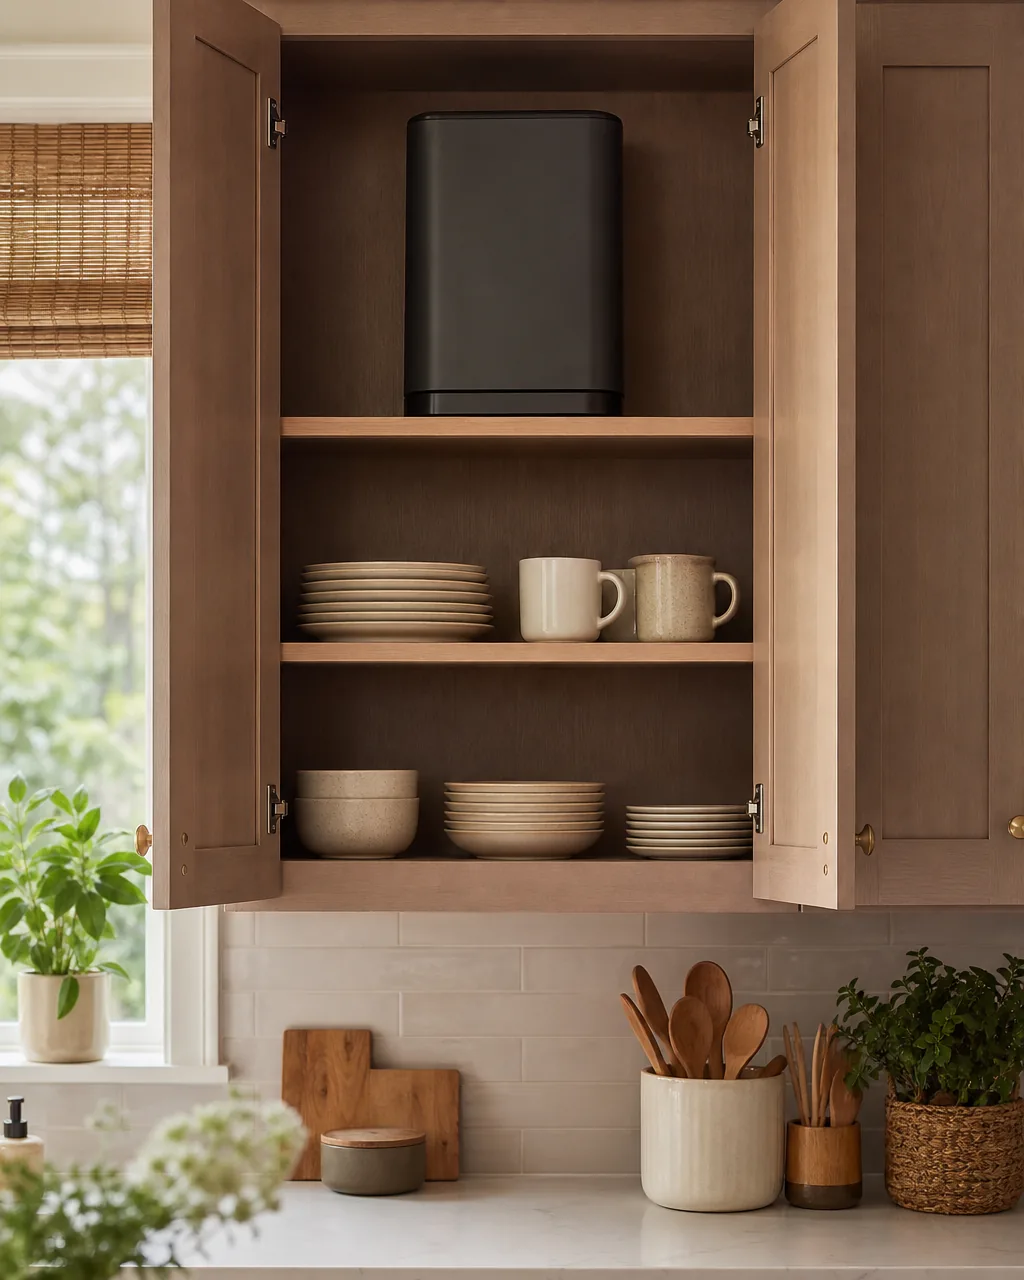
The cabinet shelves between waist and shoulder height are the ones you reach without bending or stretching, so that's where the pots, mugs, or plates you use daily belong. Reserve the very top shelf for the appliance you use twice a year and the very bottom for heavy items you can lift with your legs.
4. Add Stackable Risers to Stop Wasting Vertical Space
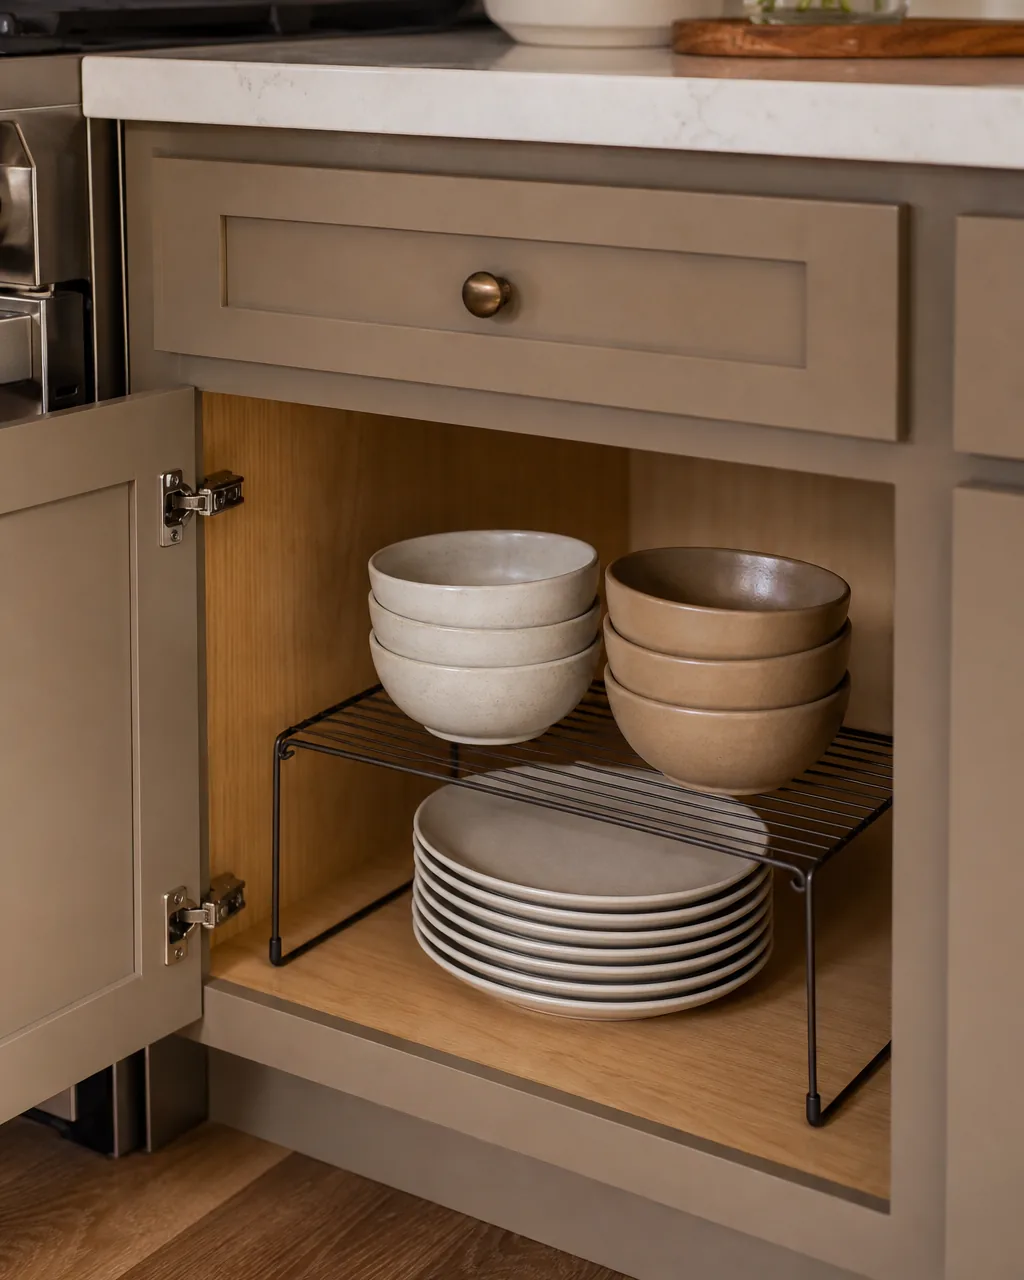
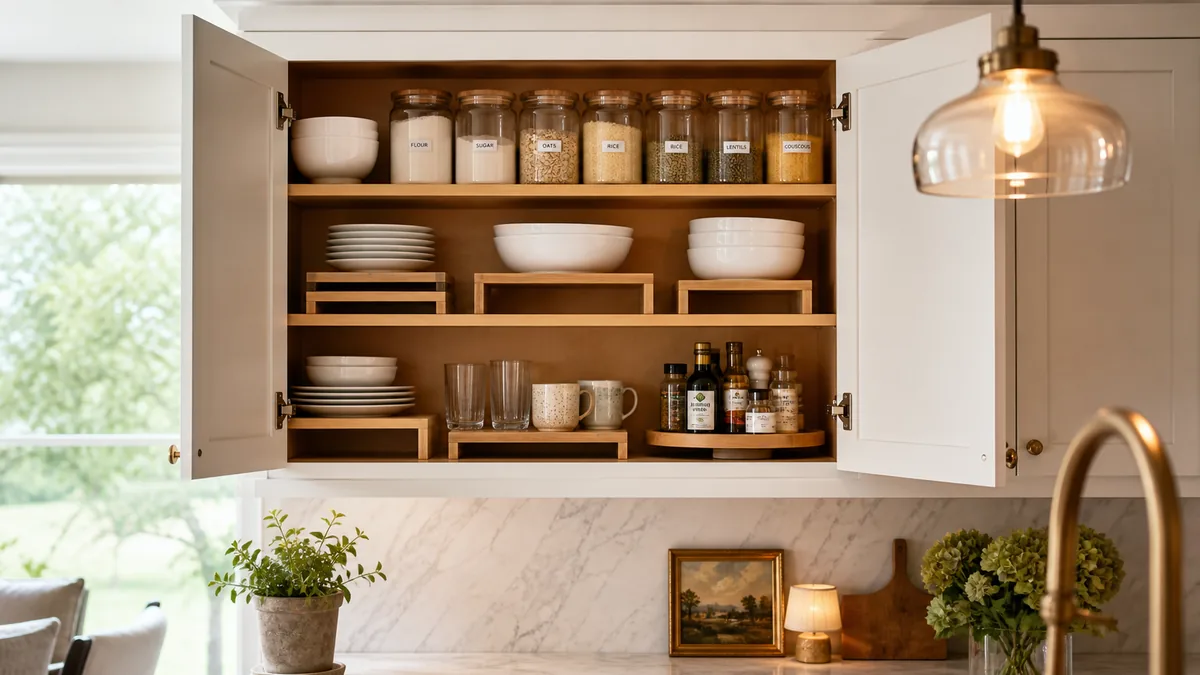
A shelf riser turns one flat layer of plates into two usable layers without touching the cabinet itself. Lower cabinets with tall, empty air above a single row of dishes are the easiest place in the kitchen to add capacity you're not currently using.
5. Fix the Corner Cabinet With a Lazy Susan or Pull-Out Tray
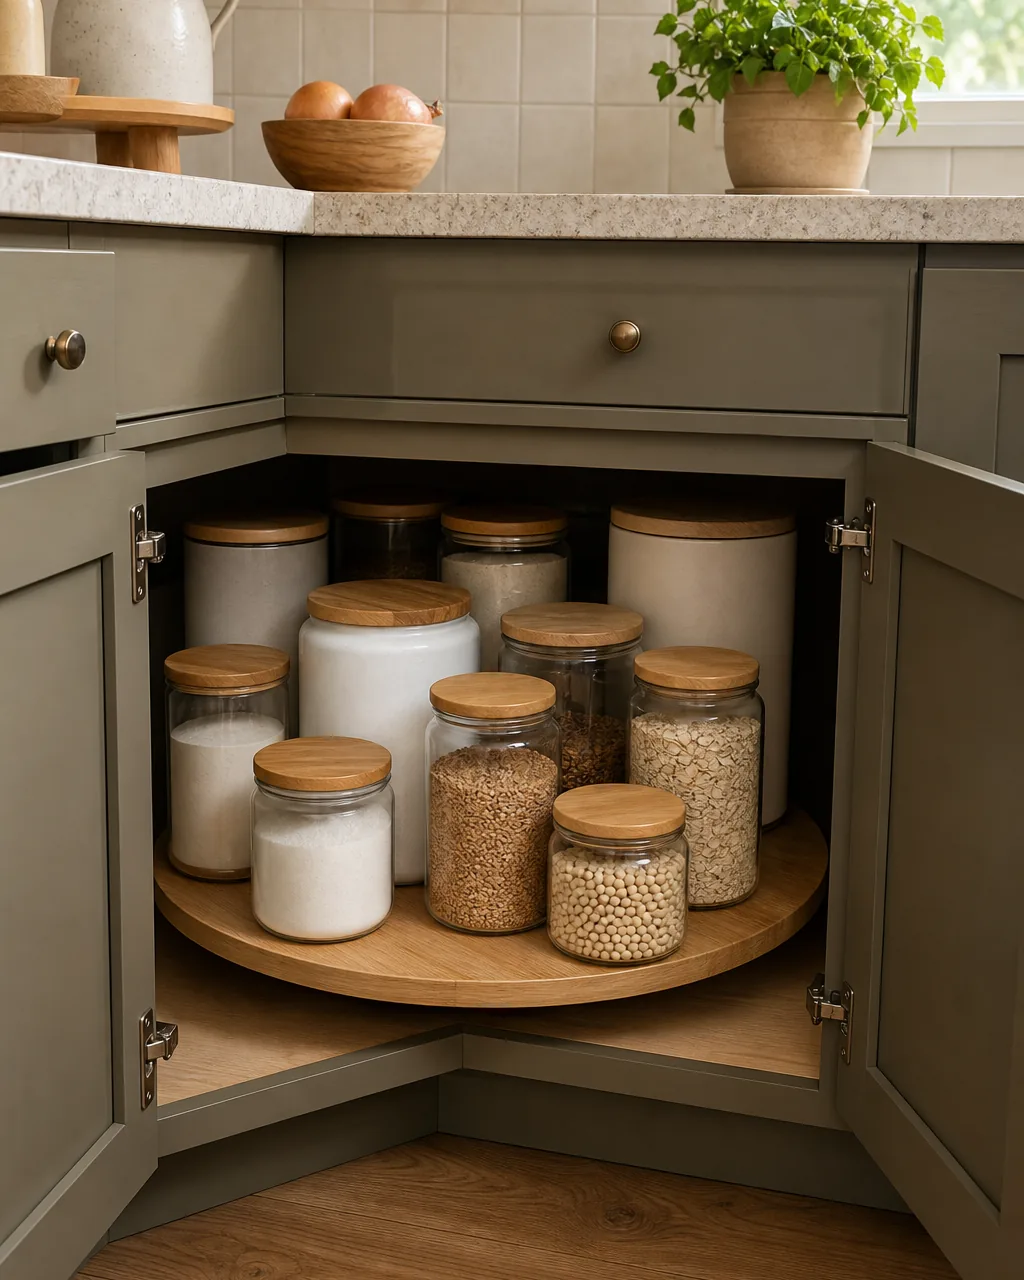
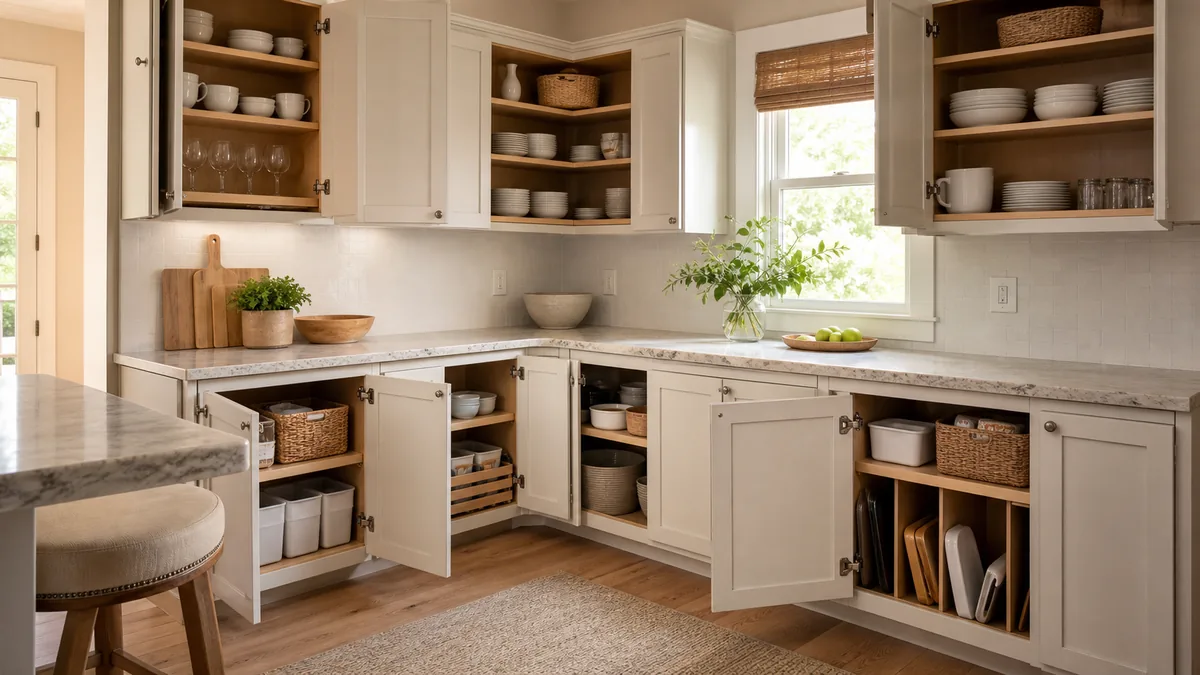
Corner cabinets waste more usable space than any other spot in the kitchen because the back third is nearly impossible to reach by hand. A lazy Susan or pull-out tray brings that dead zone to the front instead of leaving it as storage for things you forget you own.
These four rules are what separate a cabinet system that lasts from one that's tidy for a week and back to a mess by the next month.
6. Stand Lids and Trays Upright With a Vertical Divider
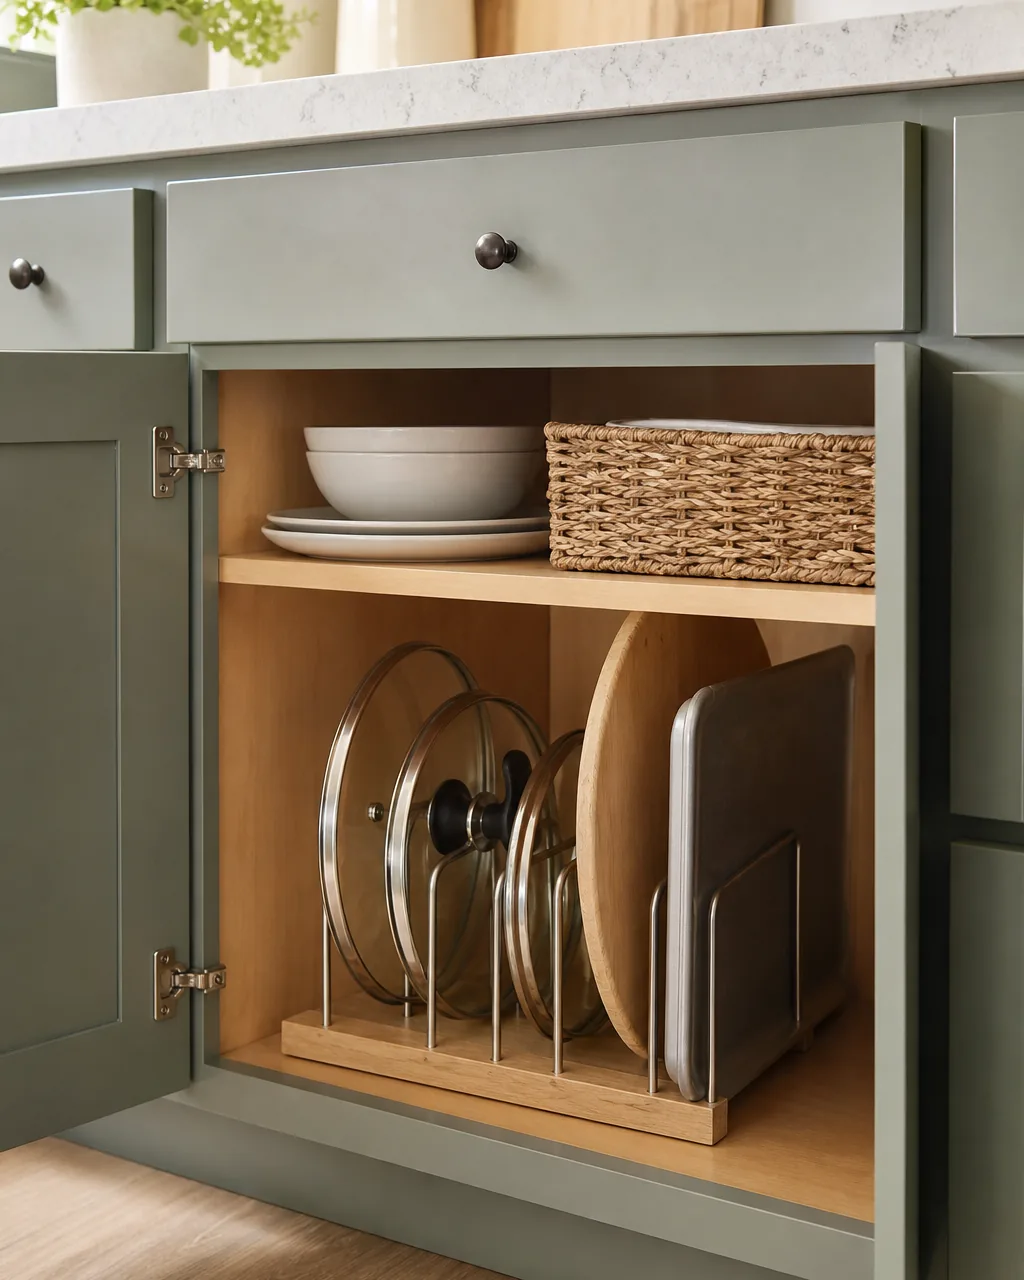
Pot lids, cutting boards, and baking trays stacked flat turn into a pile you have to unstack just to reach the bottom one. A vertical divider stands each piece on its edge so you can slide any one out without moving the rest.
7. Give Every Drawer One Job With a Drawer Organizer
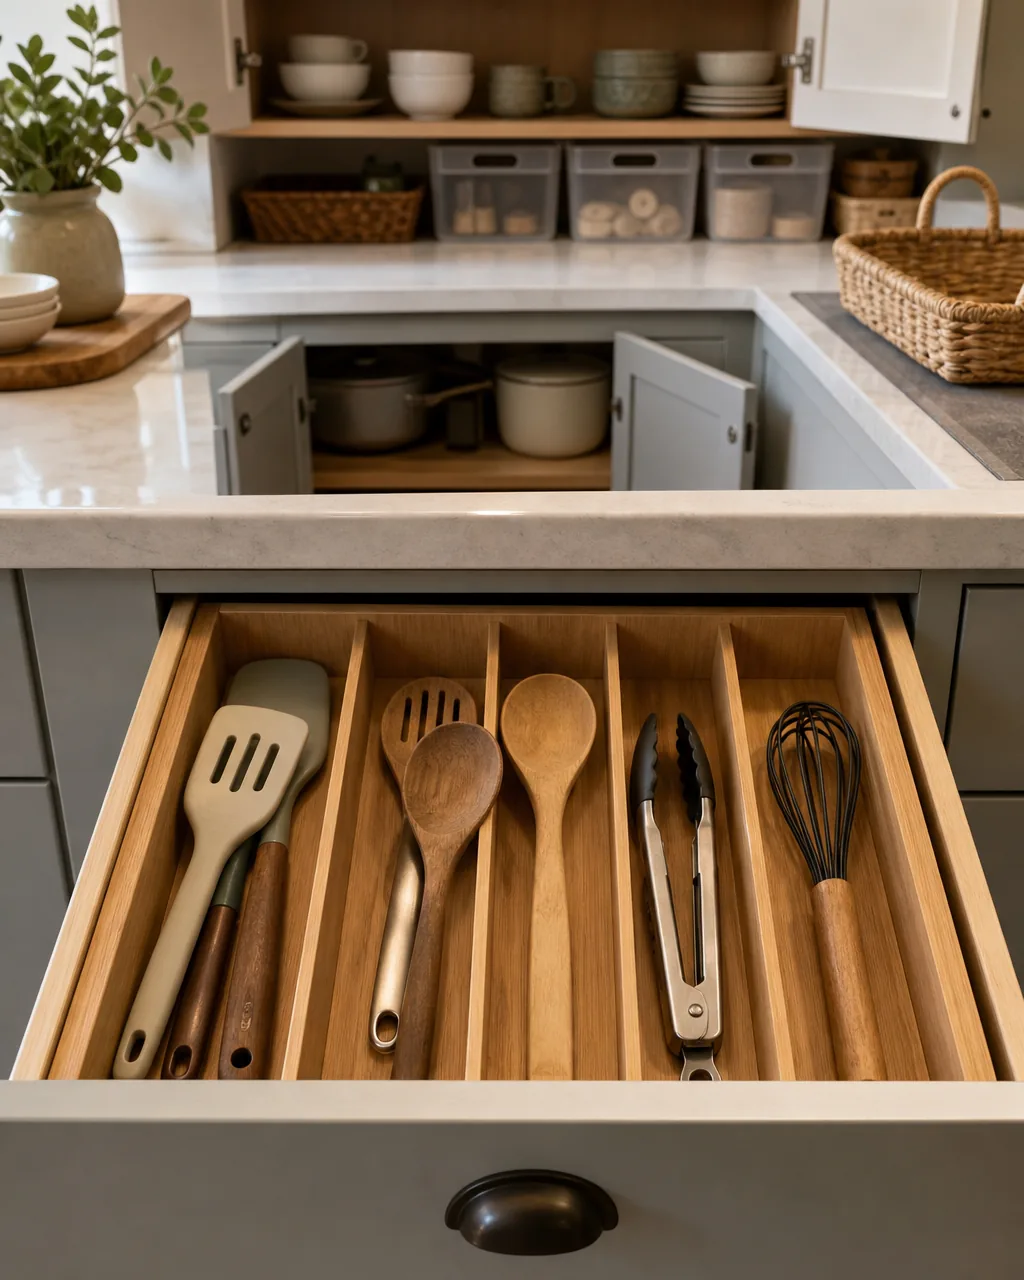
A drawer that holds spatulas, rubber bands, and takeout menus at the same time isn't really organized, it's just contained. A drawer organizer sized to one category, utensils or measuring tools, keeps that drawer from sliding back into a catch-all within a week.
How to organize kitchen cabinets in 9 steps
- 1Empty and Sort Into Three PilesSort every item into keep, donate, and toss before anything goes back in.
- 2Group by How You Actually CookZone items by task, not category, so related tools live near each other.
- 3Daily Items at Eye LevelKeep what you reach for daily between waist and shoulder height.
- 4Add Stackable RisersA riser turns one flat shelf layer into two usable layers.
- 5Fix the Corner CabinetA lazy Susan or pull-out tray brings the dead back third within reach.
- 6Stand Lids and Trays UprightA vertical divider lets you pull one piece without moving the rest.
- 7Give Every Drawer One JobA single-category organizer keeps a drawer from becoming a catch-all.
- 8Label Shelves and BinsA label lets anyone in the household put things back correctly.
- 9Recheck Every Few MonthsMove anything that's landed in the wrong zone back to where it belongs.
styledhomenotes.com
8. Label Shelves So Everyone Puts Things Back in the Right Spot
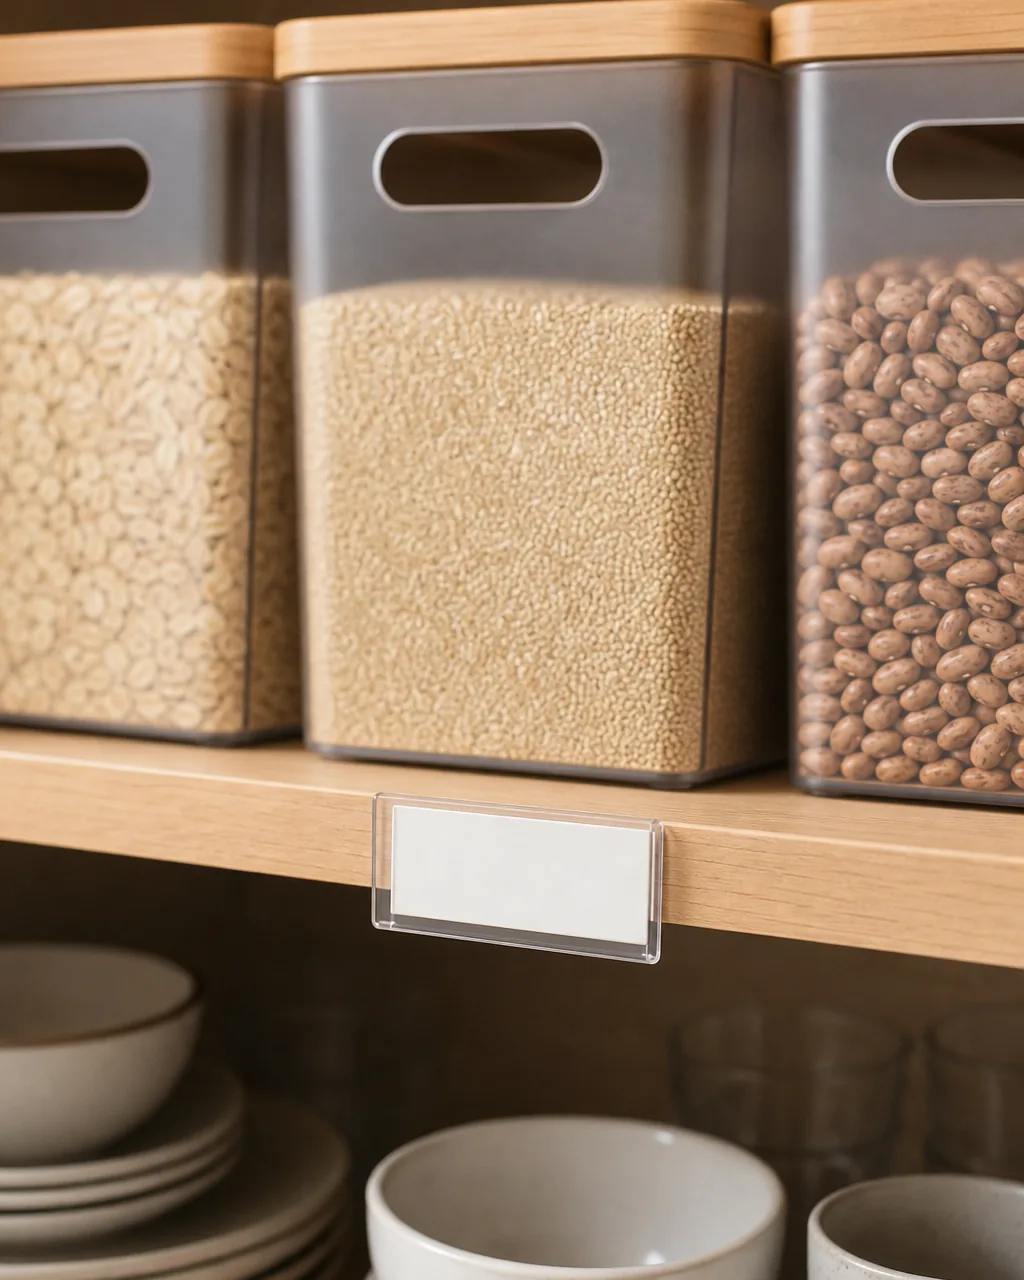
A system only you understand falls apart the first time someone else unloads the dishwasher. A small label on the shelf edge or bin front tells anyone in the household exactly where an item belongs, which is what actually keeps a system working past the first month.
9. Recheck the System Every Few Months and Adjust
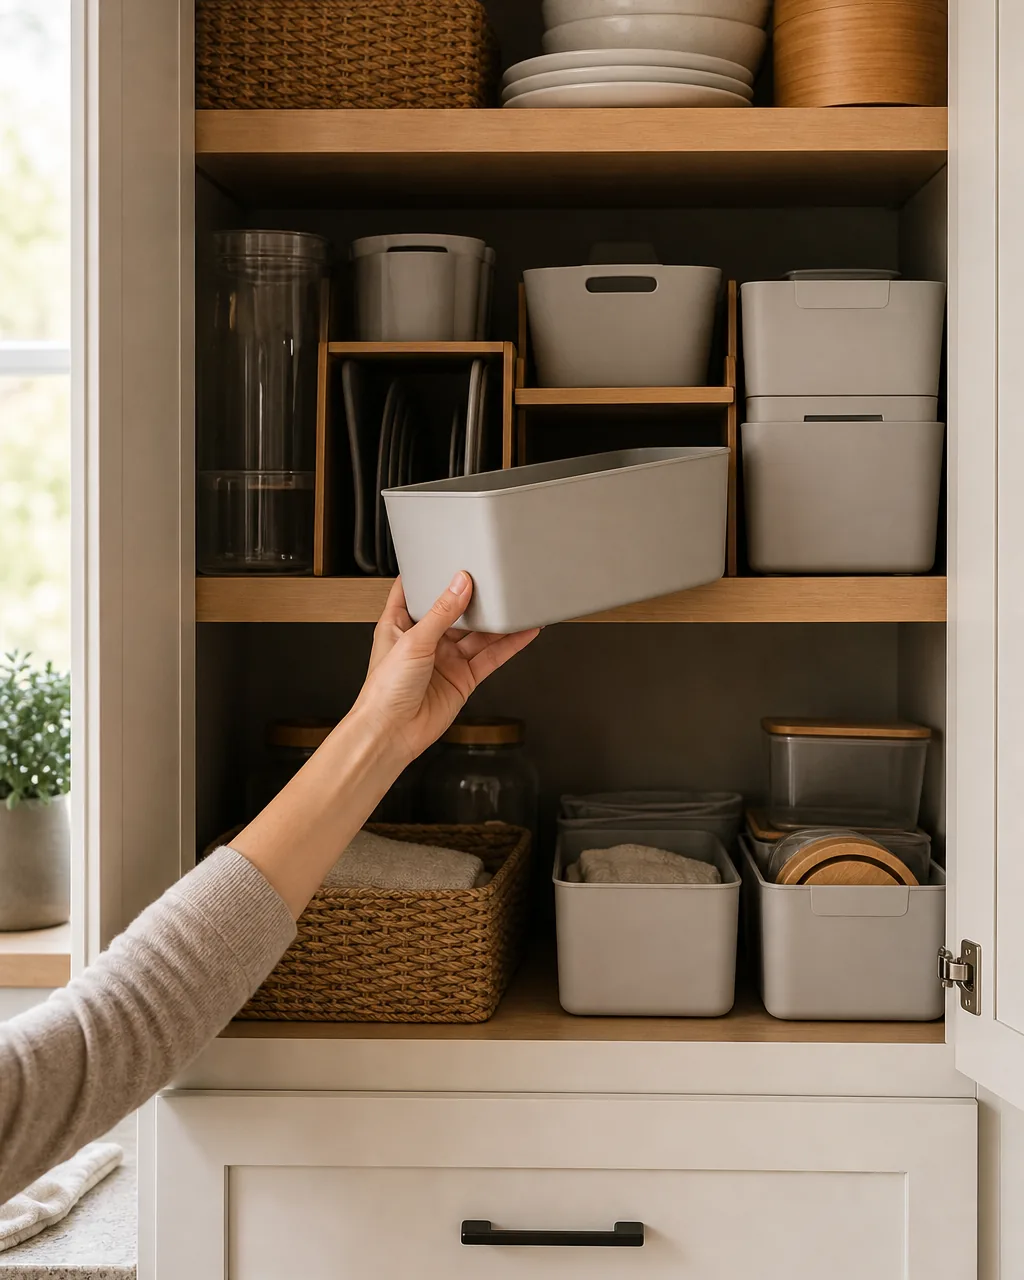
The zones that made sense when you set them up stop fitting once your cooking habits shift, a new appliance arrives, or a bin turns out to be the wrong size for what's in it. Walk through the cabinets every few months and move anything that's landed in the wrong zone back to where you'd actually look for it.
For more ways to make the kitchen easier to cook in, see the kitchen organization ideas for easier cooking guide, or start with kitchen countertop organization if the counters are the real bottleneck.

Nora writes about small, livable rooms for real apartments. She's re-sorted the same set of kitchen cabinets three times in three different apartments, and learned that the layout that worked in one kitchen never quite fits the next one without adjusting first. Every step here is tested against a real cabinet, not a showroom mockup.
Nora Ellis edits Styled Home Notes. More from Nora: kitchen organization ideas, kitchen countertop organization.