10 Small Kitchen Ideas That Make Every Inch Earn Its Keep
A small kitchen never gets bigger. What changes is how big it reads and how hard each inch works, and both of those are design decisions, not square footage.
Most advice for tight kitchens stops at bins and drawer inserts. Organizing helps, but the larger wins live one level up: where the cabinets end, what the surfaces do with light, and which fixtures give back counter space.
These ten ideas are the ones worth doing in a kitchen you own. Several cost real money, so each one explains what the spend actually buys.
Each idea targets one design decision that makes a tight kitchen read bigger or work harder.
1. Take the Cabinets All the Way to the Ceiling
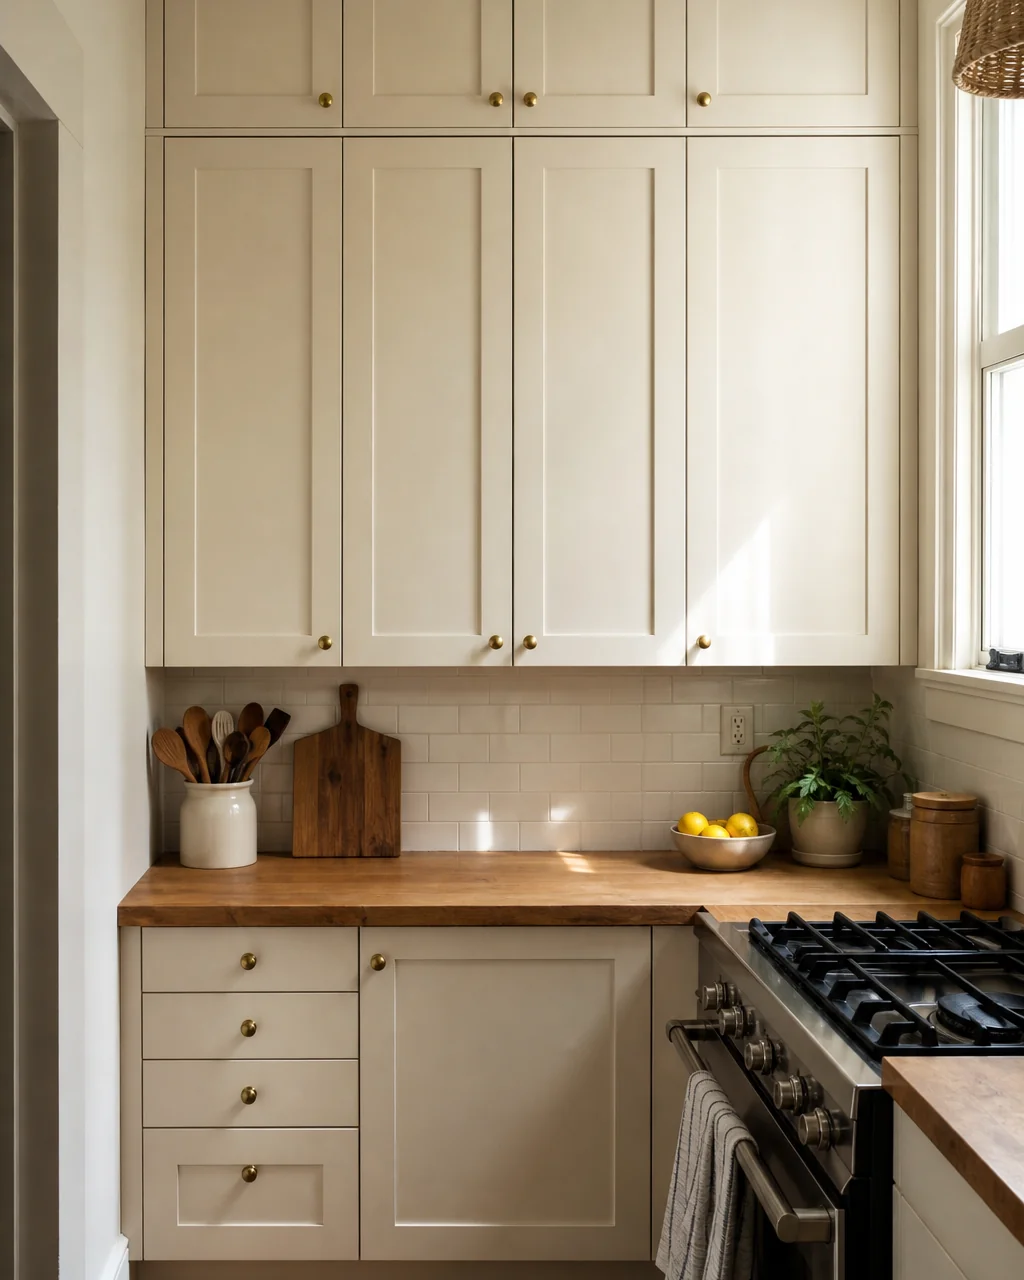
The foot of air above standard uppers is the most expensive dead space in a small kitchen. It collects grease film, it chops the wall into segments, and it stops the eye exactly where you want it to keep going. A second tier of shorter cabinets stacked to the ceiling turns that gap into a full storage shelf and one continuous vertical line.
The upper tier is not everyday storage, and that is the point. It holds the roasting pan, the stockpot, the platters that come out four times a year, which frees the reachable shelves for things you touch daily.
- Measure the gap first: anything over ten inches justifies a stacked second tier
- Match the new door style and paint to the existing run so the tiers read as one piece
- Put seasonal and entertaining pieces up top, never anything you use weekly
- Keep a folding step stool within two steps of the kitchen or the tier goes unused
- Skip crown molding in a low room so the doors meet the ceiling in a flat, clean line
2. Swap Two Upper Doors for Glass Fronts
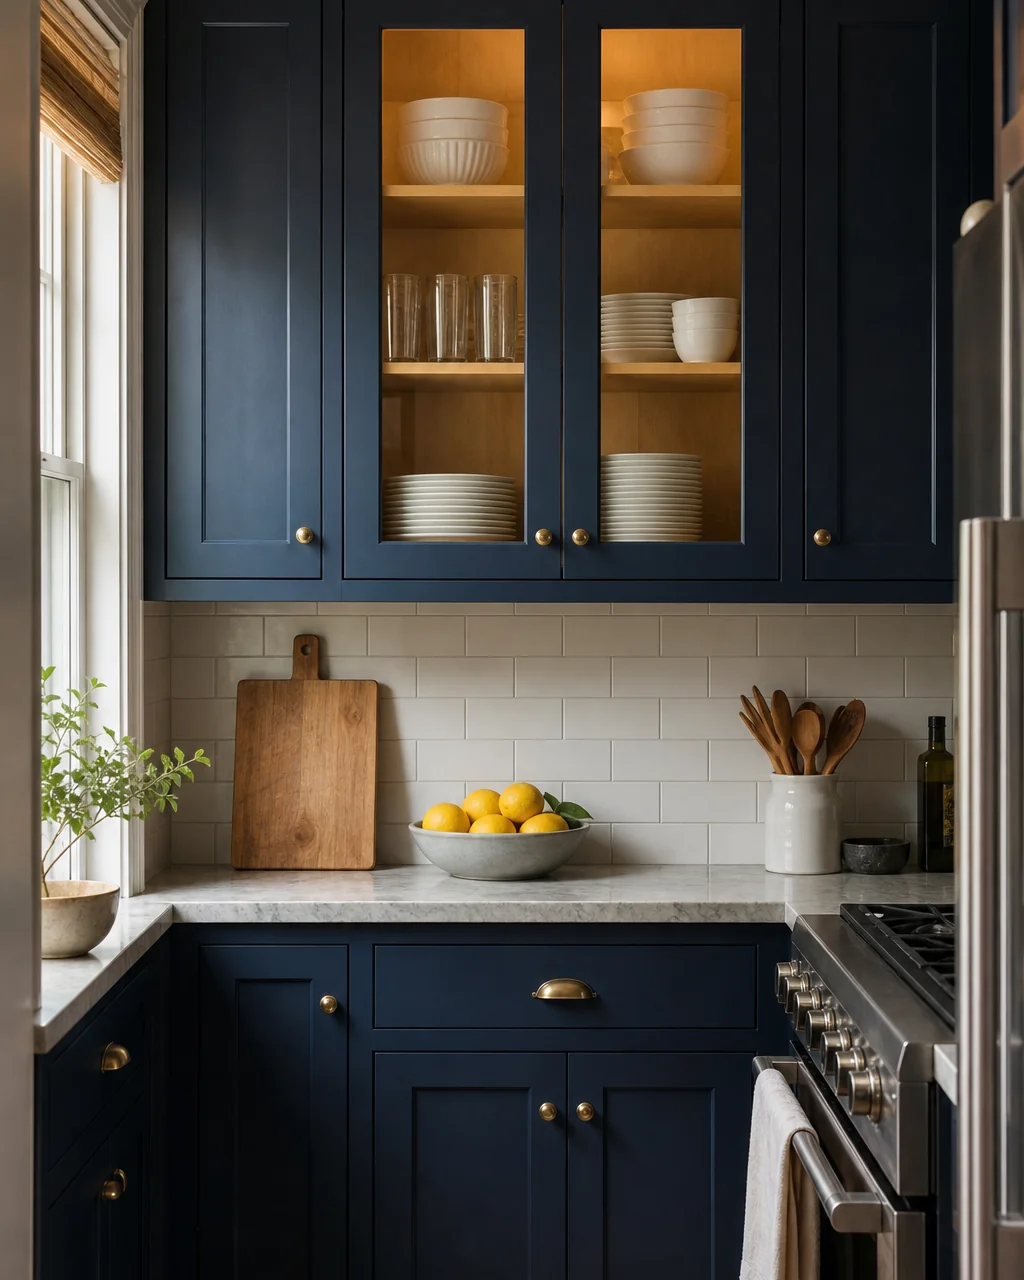
A solid wall of cabinet doors is one unbroken slab pressing toward you, and in a narrow kitchen that pressure is real. Two glass-front doors punch visual depth into the run because the eye travels through them to the back of the cabinet instead of stopping at the door face.
The discipline is keeping it to two. One glass door looks like an accident, and four glass doors demand four shelves of permanent tidiness. Two gives the depth without turning the kitchen into a display case.
- Convert the two doors flanking the window or sink, where the eye already lands
- Load glass-front shelves with one category only, like white dishware or glassware
- Add a battery puck light inside so the cabinet glows instead of reading as a dark hole
- Choose clear flat glass, since reeded and frosted styles block the depth effect
- Leave a third of each visible shelf empty so the interior reads calm, not packed
3. Paint the Cabinets and Walls the Same Color
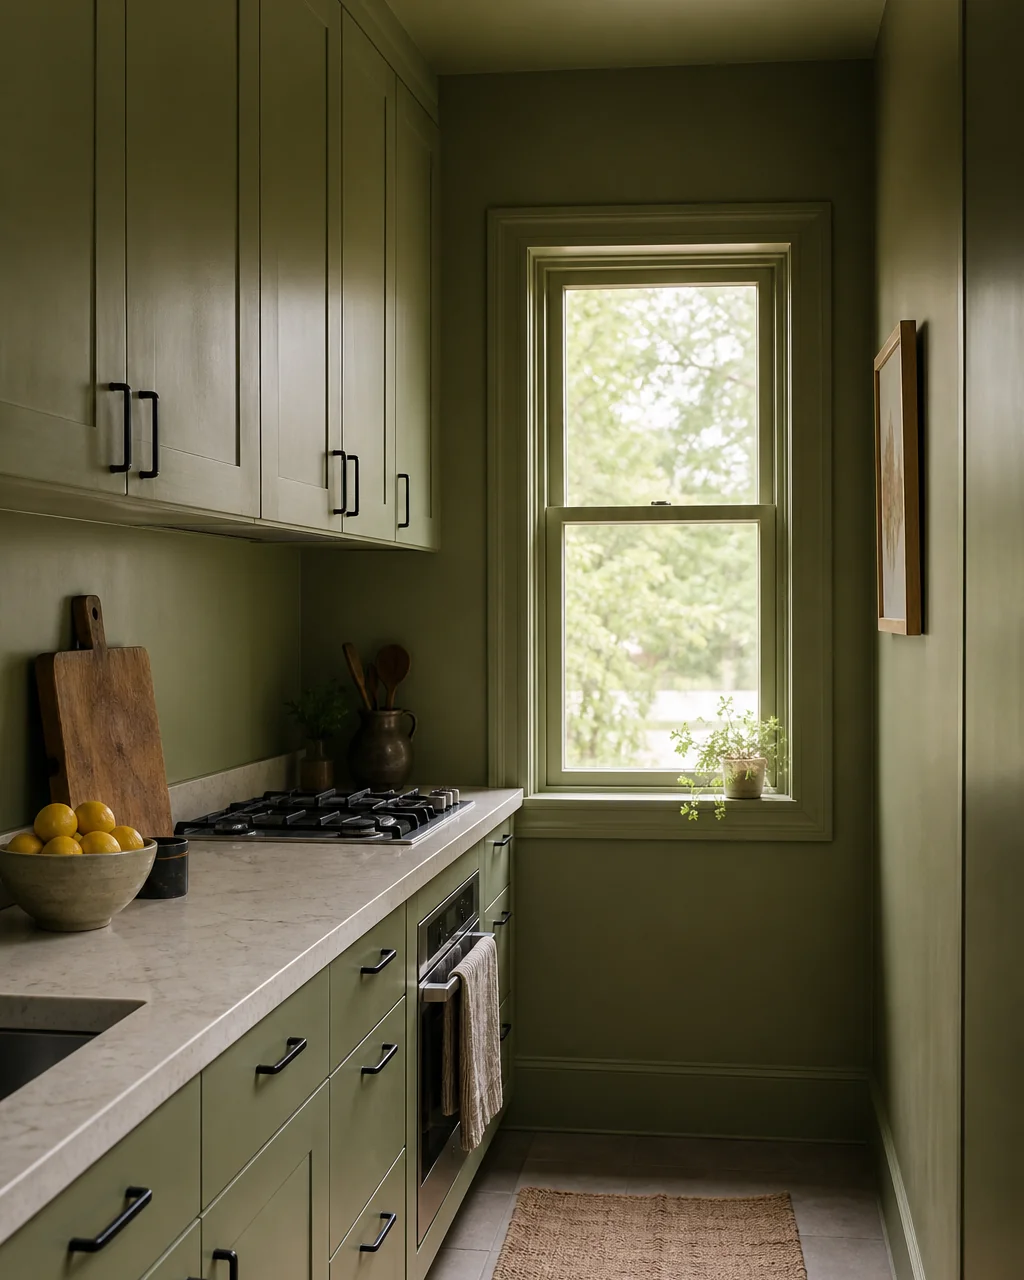
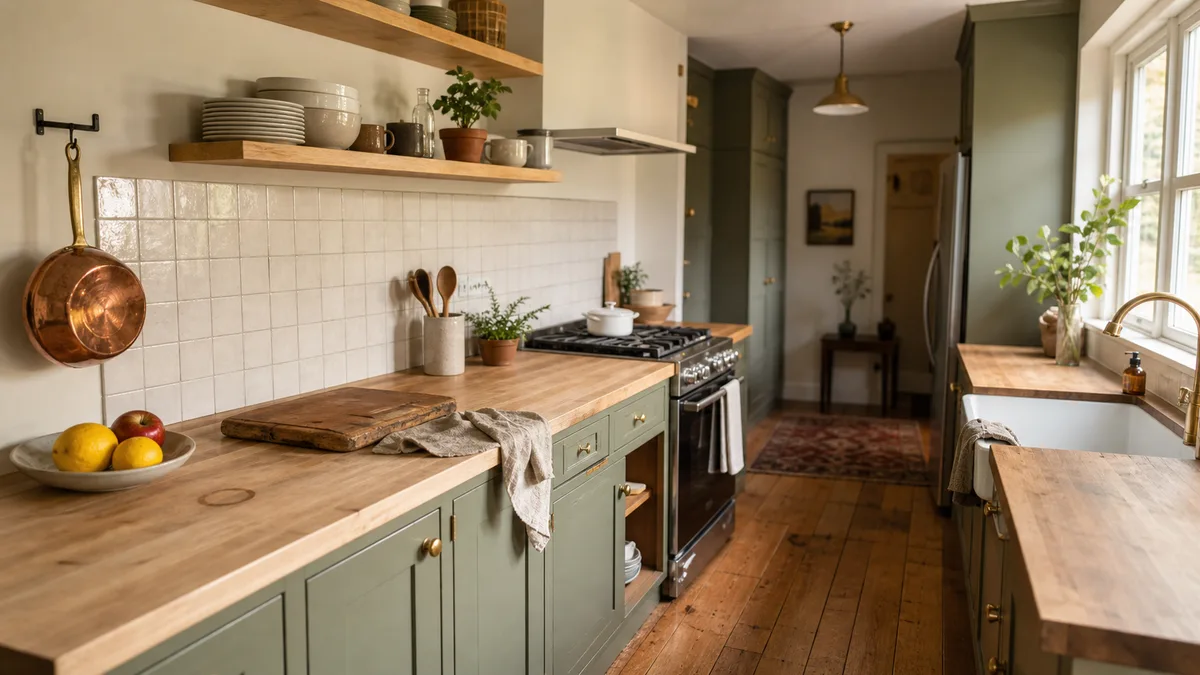
Every color break in a room is a line the eye has to stop at, and a small kitchen with white walls and colored cabinets has a break at every cabinet edge. Painting the cabinets, the walls, and the trim one color removes those stops, so the cabinetry stops reading as boxes hung on a wall and starts reading as the wall itself.
This is the rare small-space move that works better in a deep tone than a pale one. An olive or ink-blue drench turns the whole kitchen into one continuous volume, and depth of color reads as intent rather than as a cramped room painted safe.
- Carry one color across cabinets, walls, trim, and ceiling for the full effect
- Use the same sheen family, like eggshell walls with satin cabinets, to keep the seam quiet
- Choose matte black or aged brass hardware so the pulls read as jewelry, not interruptions
- Test the color on the darkest wall first, since a drench doubles whatever gloom exists
- Keep the counter pale to hold one horizontal band of light through the room
Every idea here costs something. This is the order that buys the most room per dollar.
4. Stack the Backsplash Tile Vertically
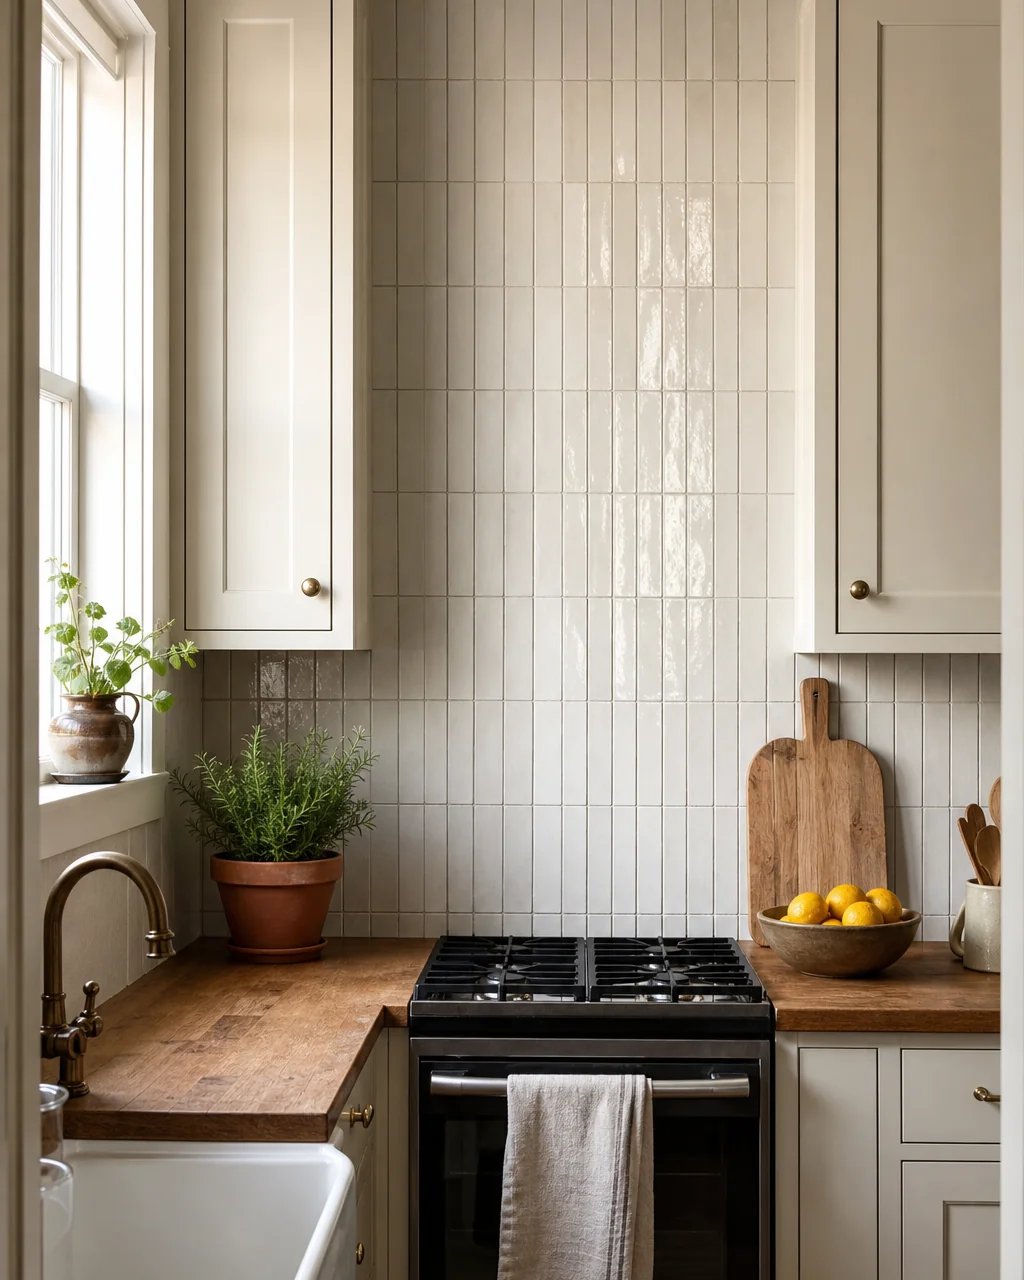
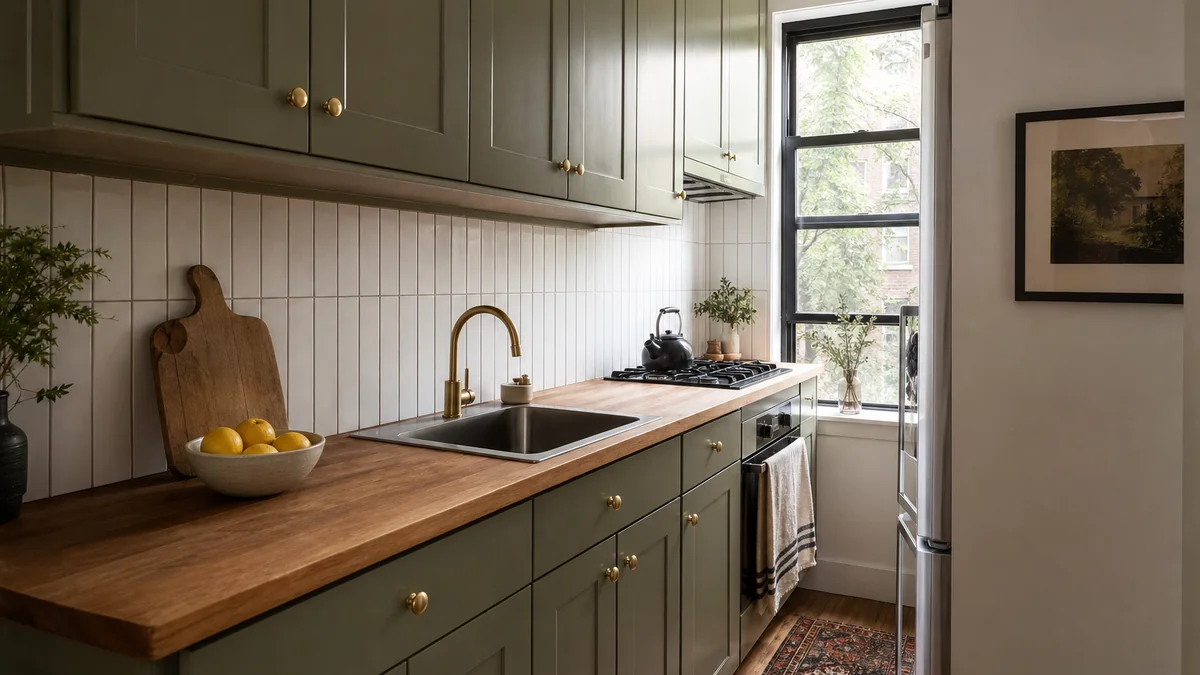
Subway tile laid horizontally draws stripes across the wall, and stripes emphasize width a small kitchen does not have. Turning the same tile vertical flips the direction of every grout line, so the wall reads as a series of uprights pulling the eye toward the ceiling.
Run it past the bottom of the upper cabinets, all the way up if the layout allows. A vertical stack that stops at the standard eighteen-inch band undercuts its own point.
- Choose a slim rectangular tile, two by eight or smaller, so the verticals repeat often
- Use straight stack bond, since offset patterns reintroduce the horizontal zigzag
- Pick a grout one shade darker than the tile to make the vertical lines legible
- Take the tile to the ceiling behind open wall sections and the range for full height
- Keep the tile finish glossy so raking window light catches each vertical edge
5. Put a Mirrored Backsplash Behind the Range
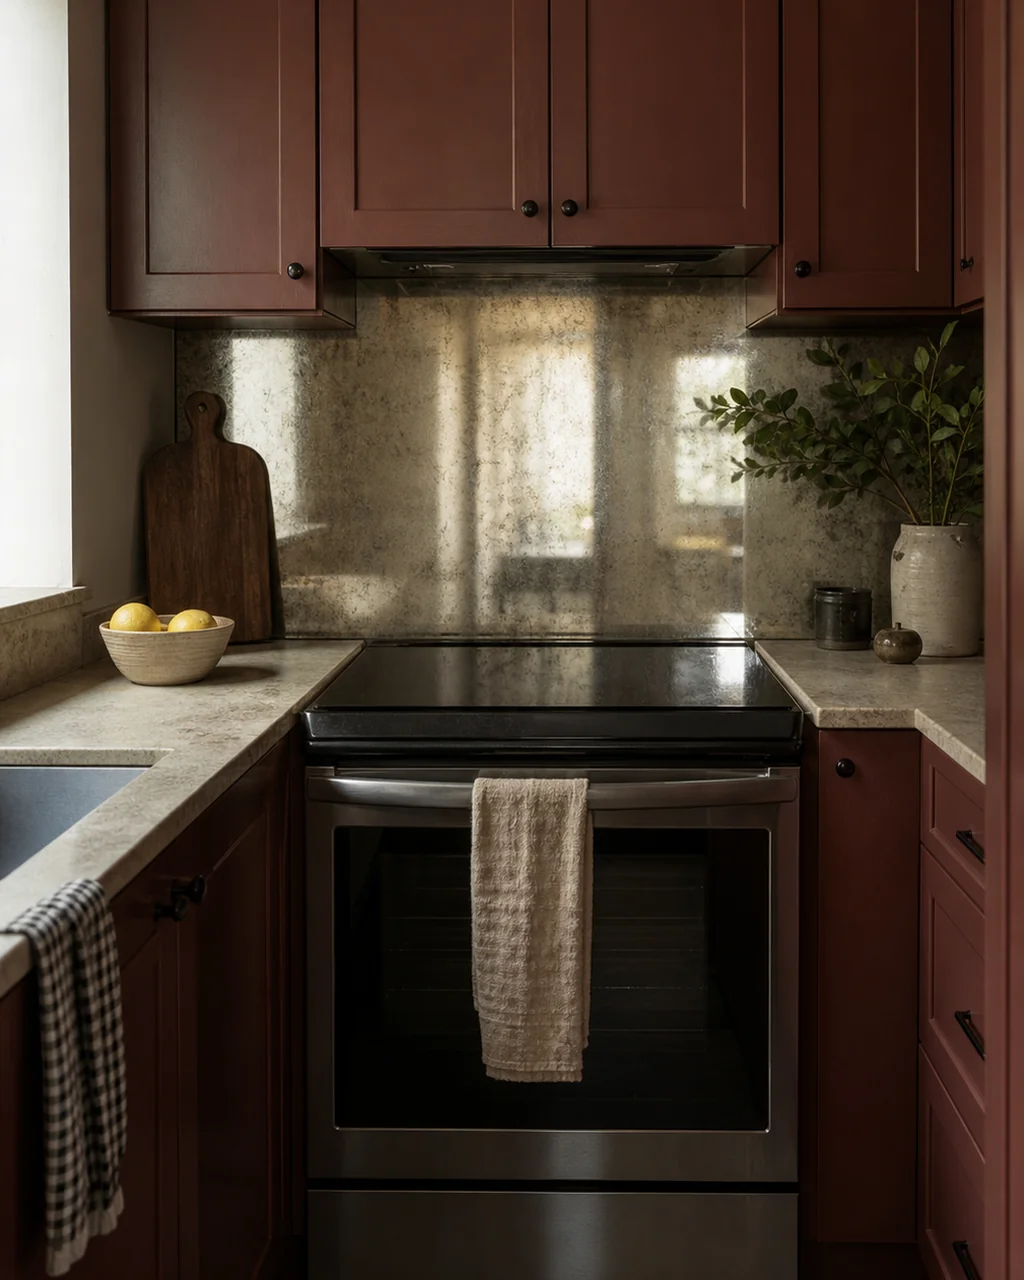
The range wall is usually the darkest stretch of a small kitchen, boxed in by the hood and the uppers. A mirrored panel behind the cooktop bounces the window light back into that corner and dissolves the one wall that most needed to disappear.
Antique or smoked mirror is the version that works in a real kitchen. It reflects light and the blurred shape of the room without turning the wall into a literal mirror you watch yourself cook in, and the mottled finish hides the spatter a polished mirror would broadcast.
- Use tempered antique mirror glass rated for the heat clearance behind a range
- Keep the reflection soft: smoked or mottled finishes flatter, polished finishes surveil
- Run one uncut panel instead of mirror tiles to avoid a grid of grout interruptions
- Wipe it weekly with glass cleaner, since the aged finish forgives daily spatter
- Pair it with deep cabinet colors, where the bounced light shows up the most
Every idea on this list is one of these four rules wearing different hardware.
6. Fit a Counter-Depth Fridge Flush With the Run
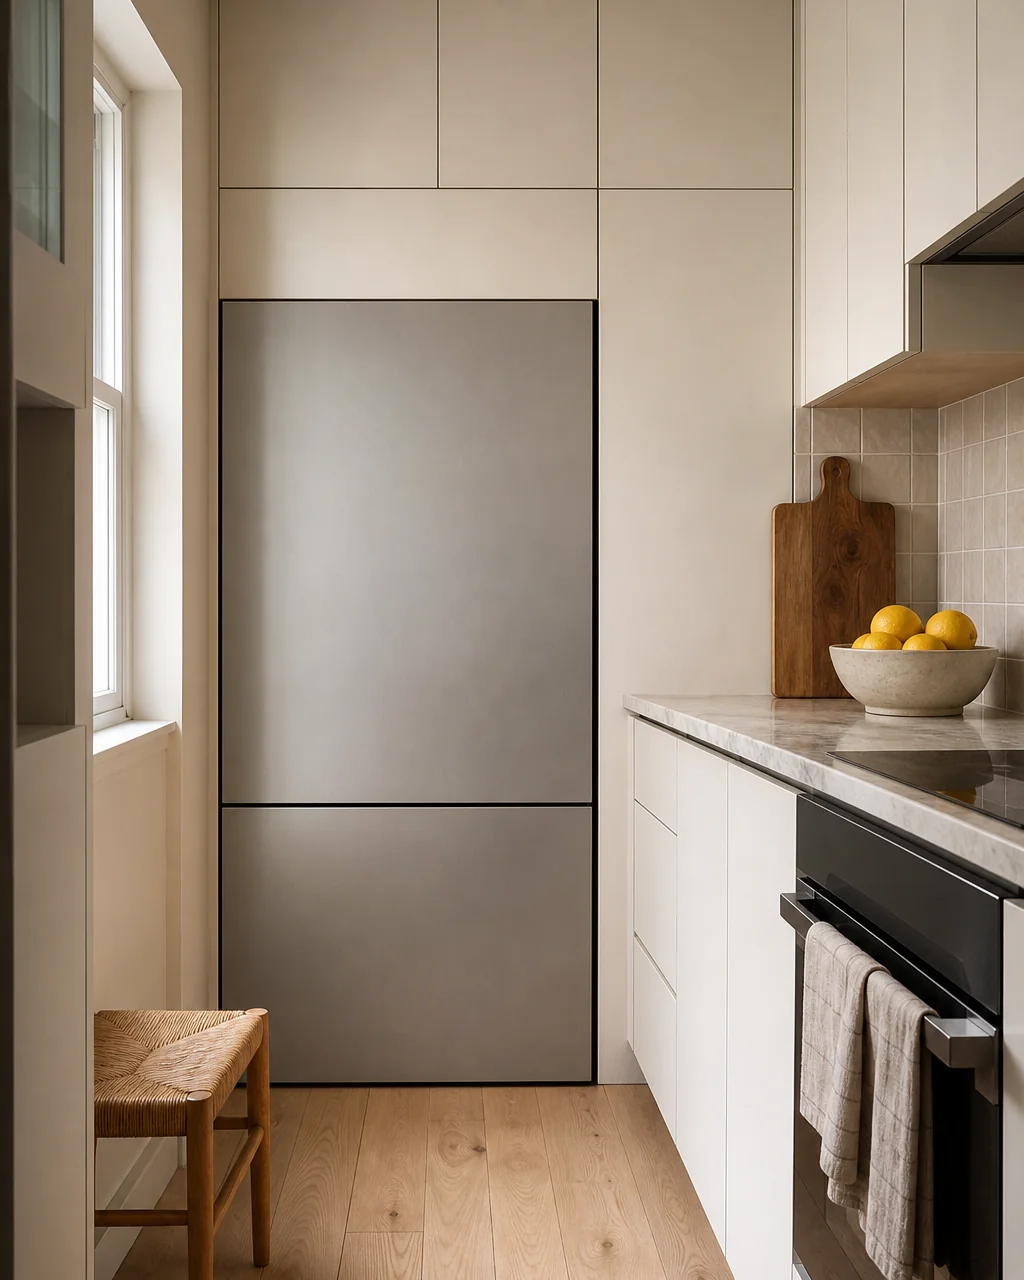
A standard fridge stands six to eight inches proud of the counters, and in a small kitchen those inches come straight out of the walkway. A counter-depth model sits flush with the cabinet faces, which returns the aisle and repairs the one bulge that breaks the line of the whole run.
The trade is capacity, and it is worth being honest about it. Counter-depth boxes run a few cubic feet smaller, which matters for a household of five and does not for a household of two that shops weekly.
- Measure the true aisle width first: under 42 inches is where flush depth pays off most
- Choose a flat-front model with recessed or integrated handles to keep the plane clean
- Check hinge clearance against the adjacent wall so the door opens past 90 degrees
- Consider a bottom-freezer layout, which keeps daily items at eye level in less depth
- Panel-ready versions disappear entirely if the budget reaches that far
7. Hide Small Appliances in an Appliance Garage
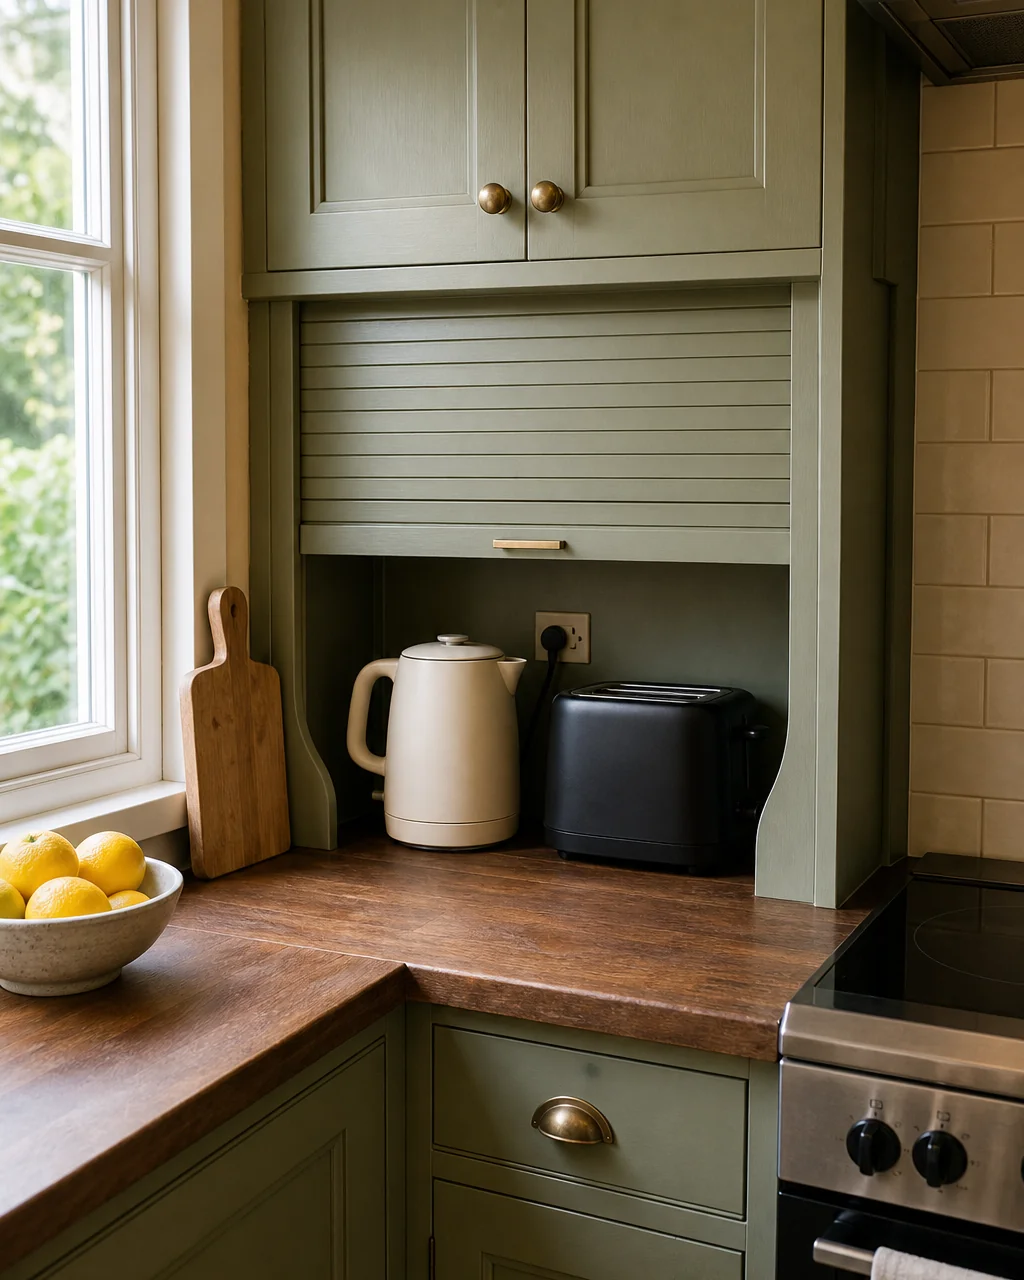
A kettle and a toaster claim a permanent square foot of counter each, and in a small kitchen that is the difference between a prep zone and a parking lot. An appliance garage, a corner cabinet with a lift-up or tambour door, parks them plugged in and ready while the counter in front stays a work surface.
The requirement that makes it work is the outlet inside the cabinet. Without it, every use means dragging the appliance out, and the garage quietly becomes a place things go to be forgotten.
- Put an outlet on the garage back wall so appliances stay plugged in where they sit
- Size the opening against your tallest appliance with the lid or handle fully raised
- A tambour or lift-up door needs no side clearance, which suits corner positions
- Limit it to the two or three appliances you use most and store the rest higher up
- If your kitchen cabinets are already zoned, treat the garage as the daily-use zone made physical
8. Pull Storage Out of the Toe-Kick
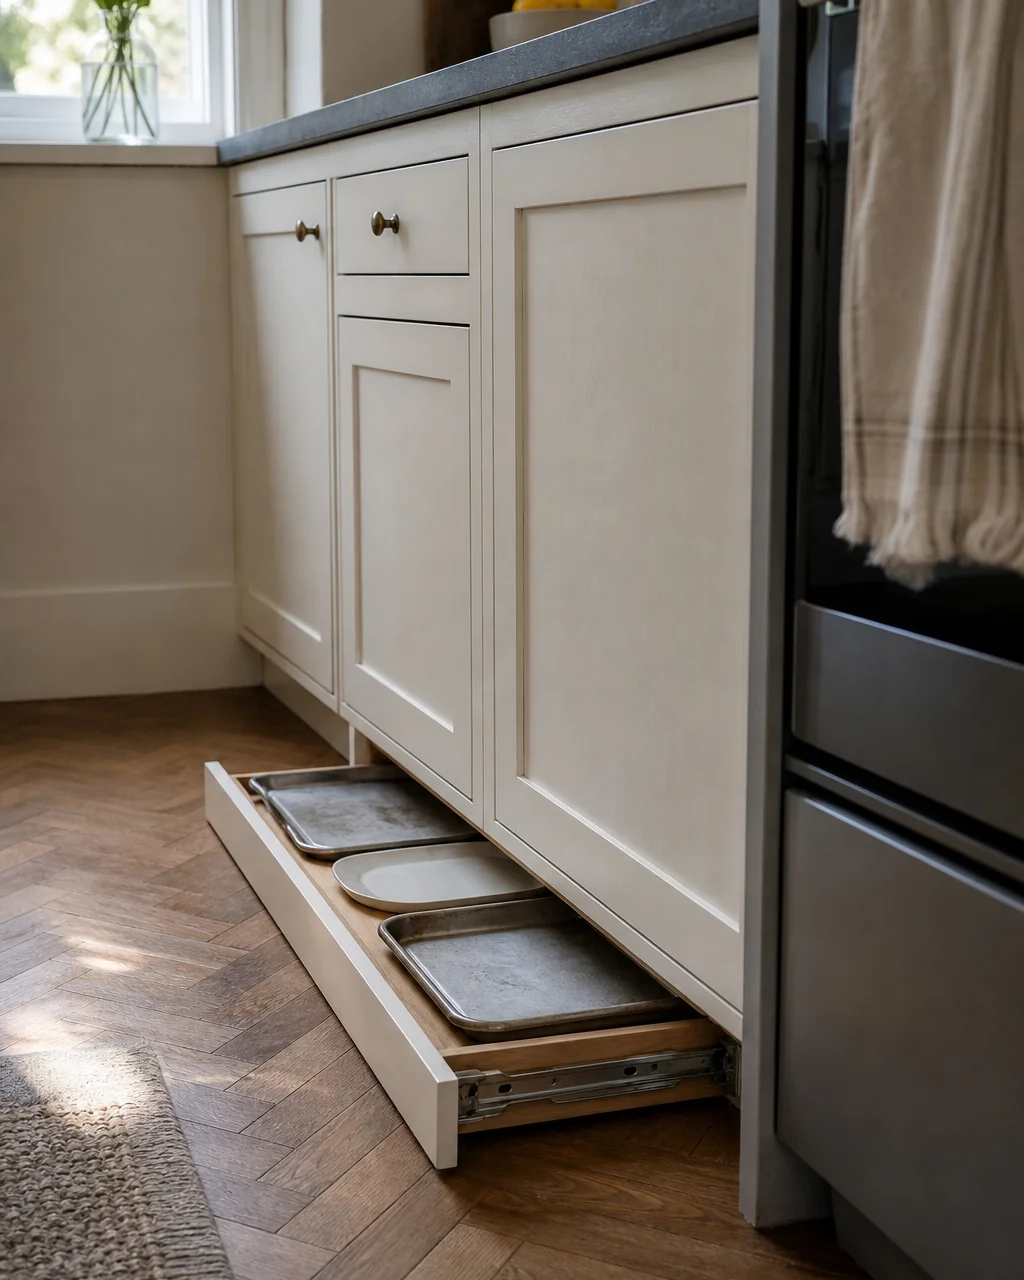
The recess behind the kick plate runs the full length of the base cabinets, four inches tall and nearly two feet deep, and in almost every kitchen it stores nothing. A toe-kick drawer turns that strip into exactly the flat storage a small kitchen lacks: sheet pans, cutting boards, platters, the serving pieces that jam every cabinet they are forced into.
- Fit drawers with full-extension glides so the back of the cavity stays reachable
- Face the drawer front in the same finish as the kick plate so it vanishes when closed
- Load it with flat items only, since four inches of height fits pans and not much else
- A push-to-open latch beats a visible pull at floor level, where hardware collects scuffs
- Order them as retrofit units sized to standard cabinet bases before paying for custom
Small Kitchen Upgrade List
- 1One-Color DrenchPaint cabinets, walls, and trim one color so the boxes read as architecture.
- 2Ceiling CabinetsStack a second tier over the uppers and store the four-times-a-year gear there.
- 3Vertical TileStack the backsplash straight up so every grout line pulls the eye toward the ceiling.
- 4Deep Single SinkSwap the divided double for one deep basin that takes a sheet pan flat.
- 5Toe-Kick DrawersFit the strip behind the kick plate with shallow drawers for pans and platters.
- 6Appliance GaragePark the kettle and toaster behind a lift door with an outlet inside.
9. Replace the Double Sink With One Deep Single
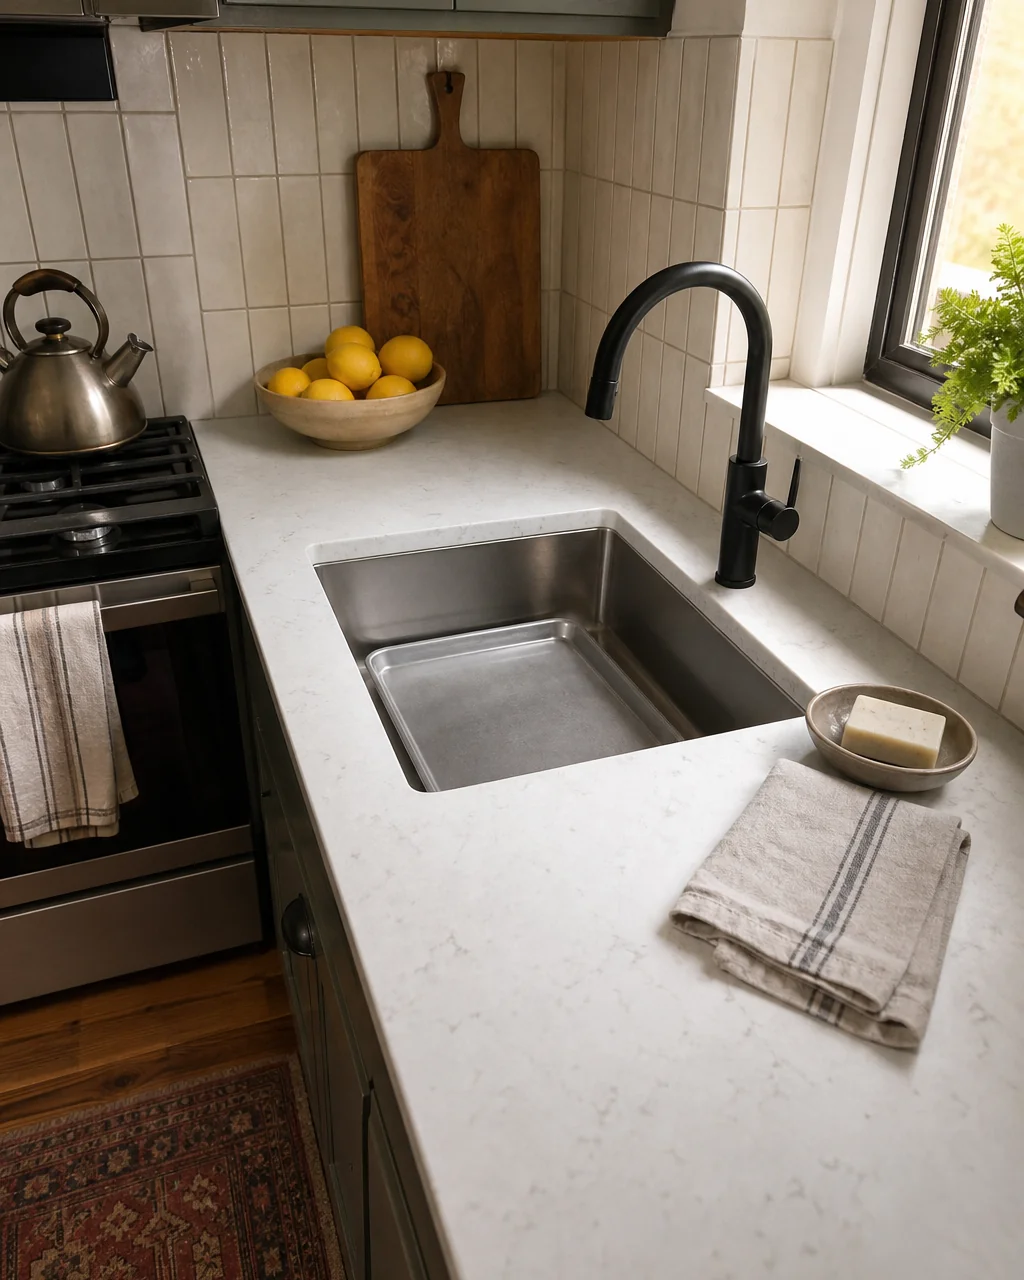
A double sink in a small kitchen gives you two basins that each fit nothing. The divider means the roasting pan soaks at an angle, the sheet pan never fits at all, and the second basin becomes a drying rack by default. One deep single basin swallows the largest pan flat and gives the counter back the width the divider wasted.
In the smallest kitchens the swap also shortens the sink cutout itself. A 24-inch single replaces a 33-inch double, and those nine inches come back as the prep counter a small apartment kitchen almost never has.
- Choose a basin at least nine inches deep so tall stockpots sit under the faucet
- An undermount installation keeps the counter wipeable straight into the sink
- Add a roll-up drying rack that lives over the basin and disappears when not needed
- Pick a workstation-style sink with a ledge if you want the cutting board to span it
- Match the faucet reach to the basin center or the stream hits the back wall
10. Line One Empty Wall With a Shallow Pantry
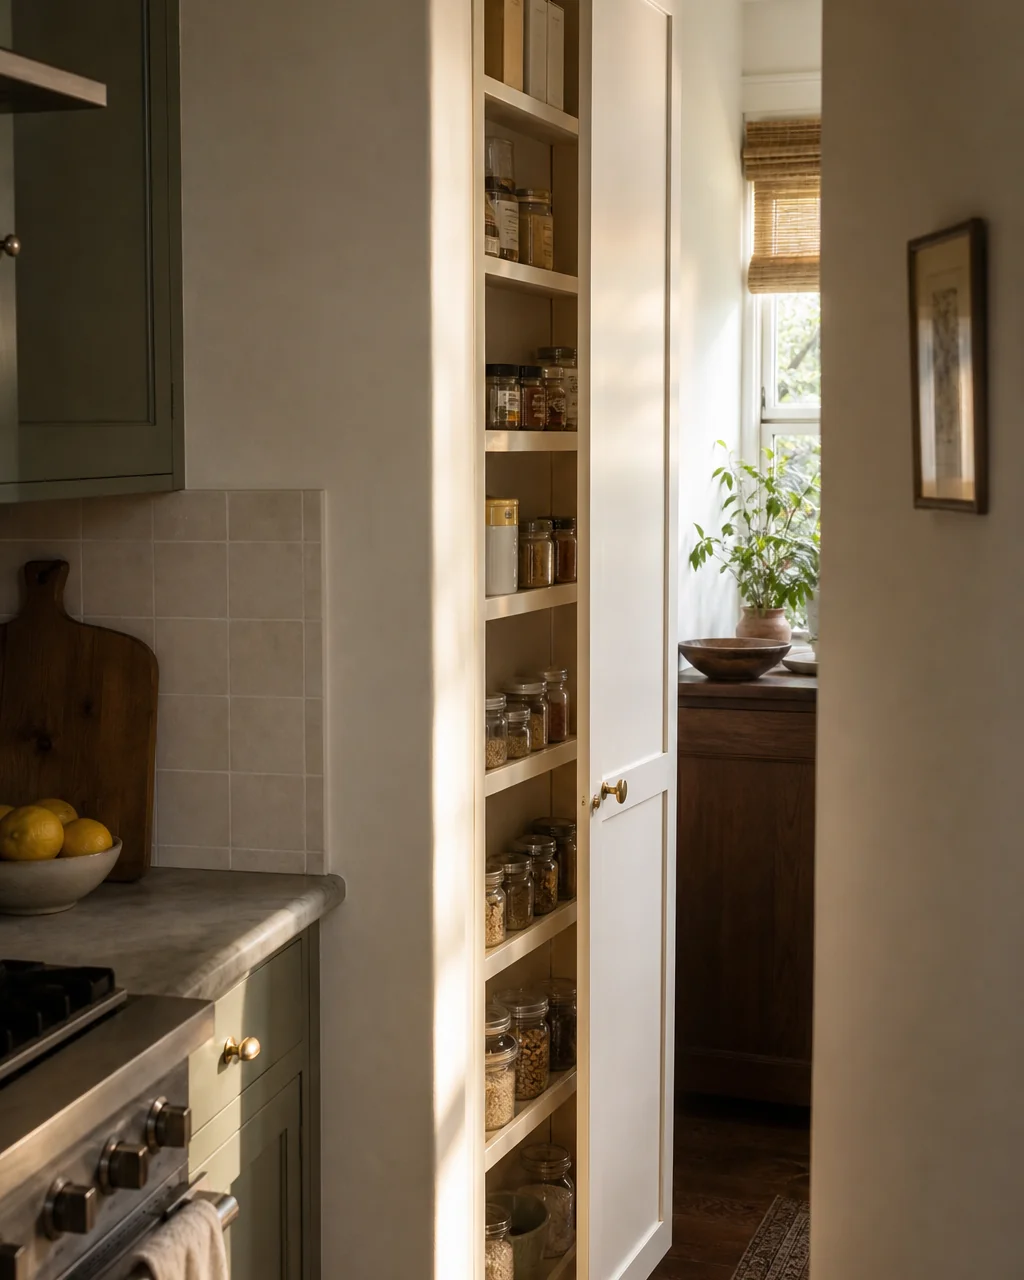
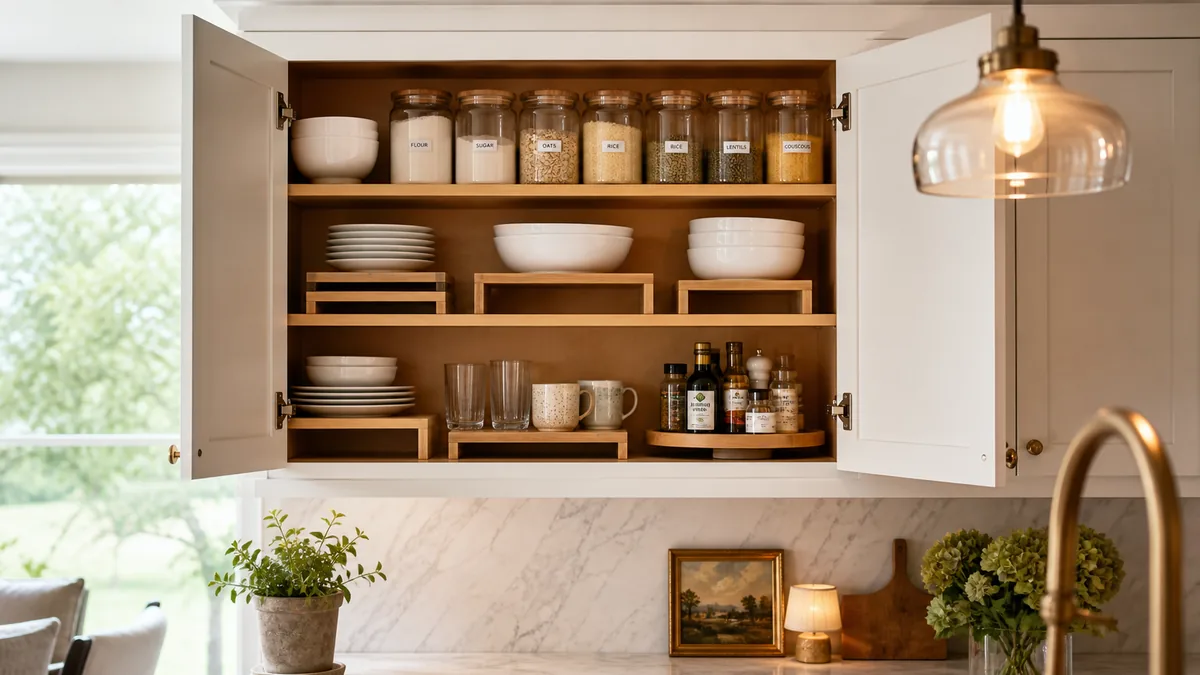
Most small kitchens have one wall too narrow for standard 24-inch cabinets, so it holds a calendar and nothing else. Cabinets built twelve inches deep change what that wall is for. The shallow run stores at eye level without pinching the aisle, and the open door barely projects past your shoulder.
Shallow is also the honest depth for food storage. A single row means every jar and box faces forward, so nothing expires in a back row that does not exist. Deep pantries hold more and hide more, and hidden food is bought twice.
- Twelve inches of depth clears a 36-inch aisle where a standard cabinet cannot
- Run the cabinets floor to ceiling so the narrow wall reads as one built-in piece
- Set shelves one can tall in the middle rows to double the face-forward count
- Reserve the lowest section for bottles and the top for backstock bought on sale
- Paint the run the wall color, the same drench logic as idea three, so it reads as architecture
A small kitchen rewards decisions more than it rewards stuff. Every idea here either sends the eye somewhere useful or claws back inches the floor plan already paid for, and none of them require moving a wall. Start with the paint, steal the toe-kick, and if the full list feels like a renovation, the twelve ideas that make cooking easier are the softer entry point.