12 Kitchen Ideas That Actually Make Cooking at Home Easier
Most kitchen advice assumes a full remodel. The kitchens where people actually enjoy cooking usually got there through a handful of targeted changes, not a renovation.
The difference between a kitchen that fights you and one that flows comes down to where things live and how light hits the counter. Small repositions, a strip of LED tape, a magnetic bar, a cart with wheels.
These twelve ideas each take less than a weekend, and most of them work whether you rent or own.
Each idea reduces friction in daily meal prep without a full renovation.
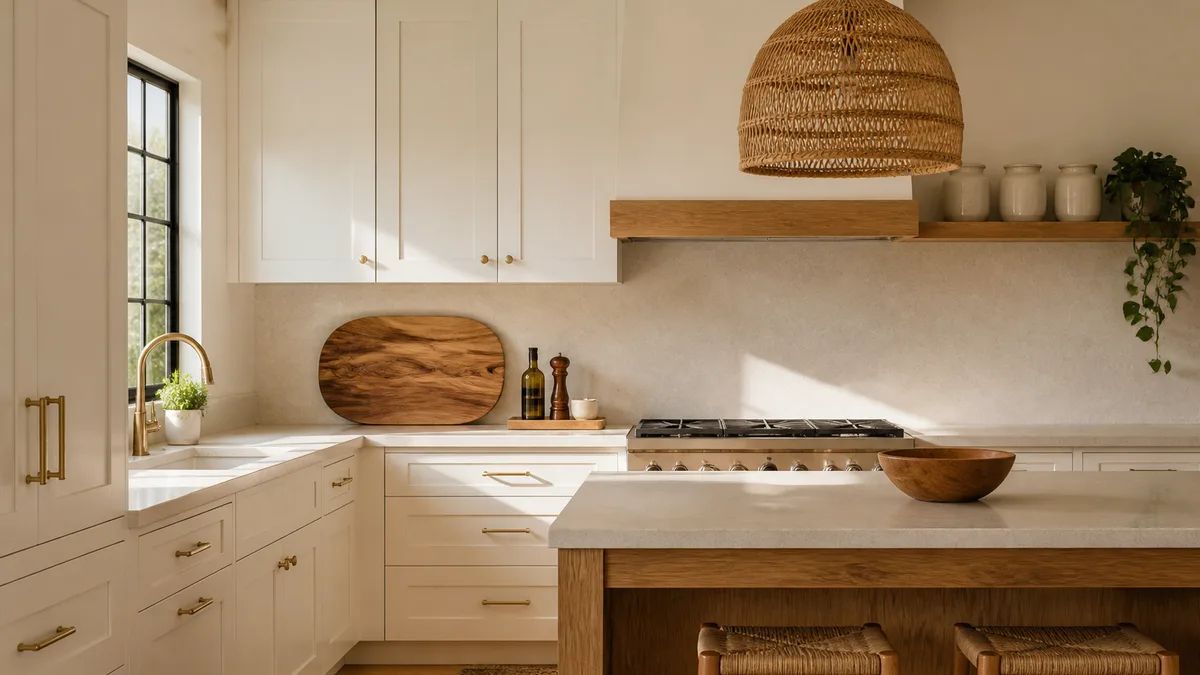
1. Mount Open Shelving for Everyday Dishes
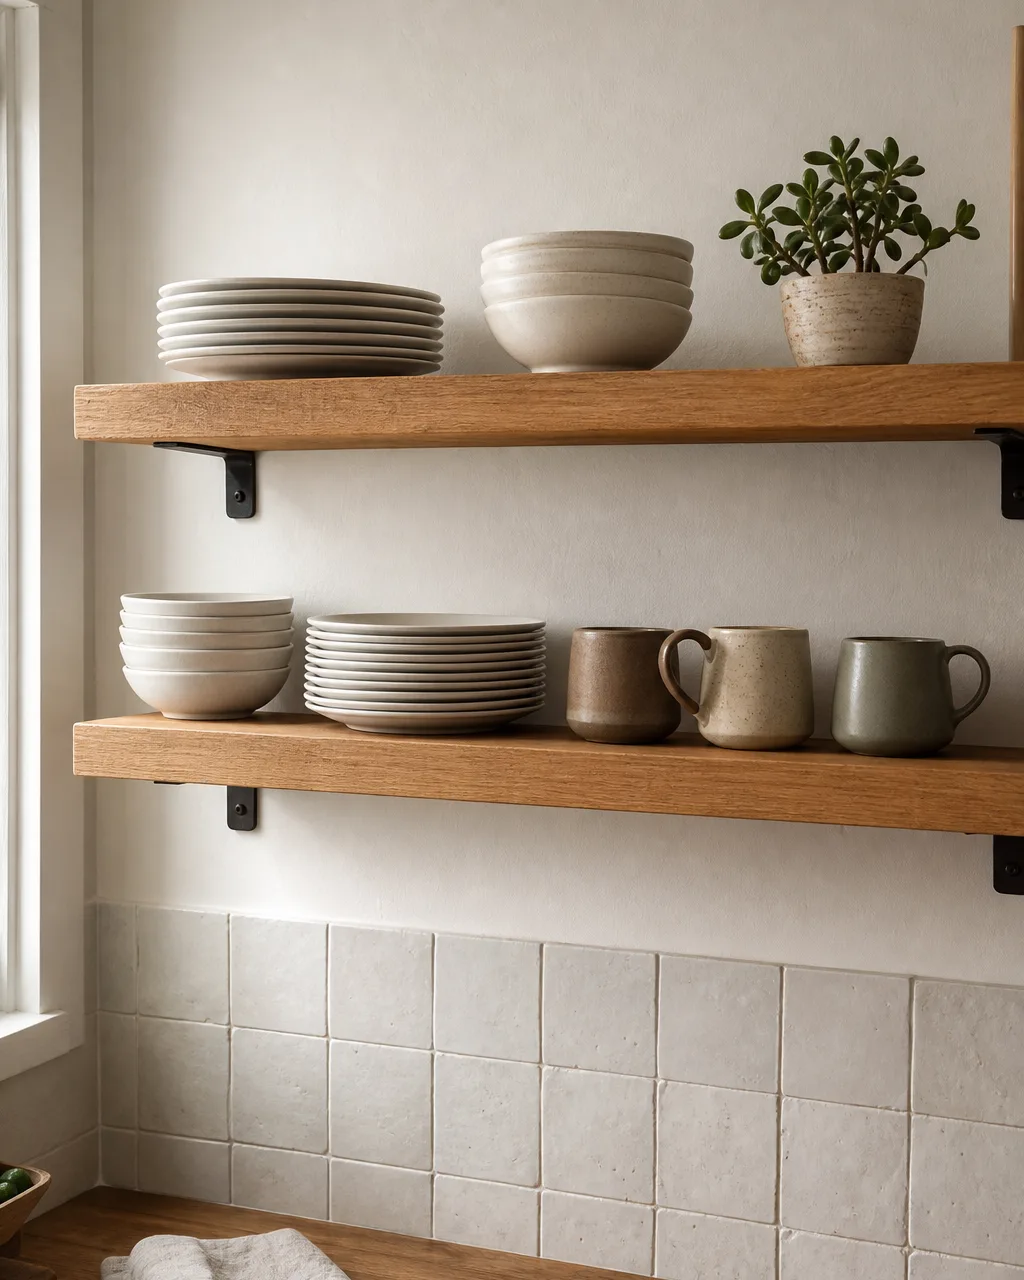
Upper cabinets hide everything behind a door you open fifty times a day. Replacing one section with open wood shelves puts your daily-use plates, bowls, and mugs at eye level, where you can grab them without bending or searching. The visible stack also keeps you honest about how many dishes you actually need.
- Choose floating shelves in a warm wood tone that matches your countertop or floor so they look built-in
- Keep the shelves to items you use daily, not the fancy china that sits behind glass
- Stack plates by size with the largest at the bottom for visual stability and easier grabbing
- Place mugs with handles facing the same direction so the row looks intentional, not random
- Leave a few inches of breathing room at each shelf end so the display does not feel crammed
2. Set Up a Two-Zone Dish Drying Station
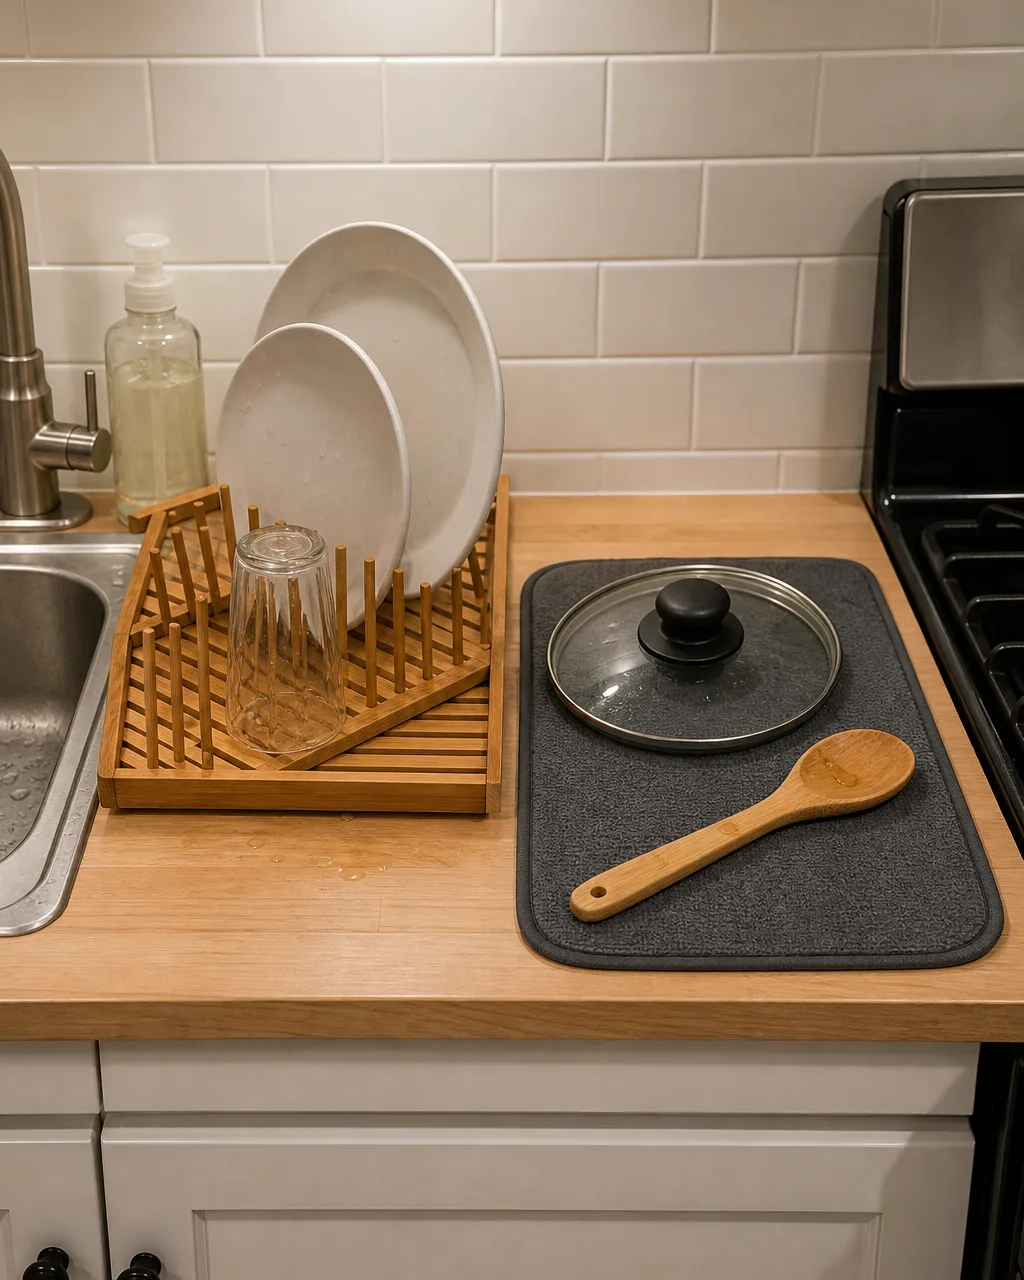
A single overloaded dish rack next to the sink is where kitchen frustration starts. Splitting the drying into two zones, a compact rack near the sink for plates and glasses plus a drying mat near the stove for pots and lids, means wet items spread out instead of stacking up. You get counter space back faster because nothing is waiting in a pile.
- Place a bamboo or stainless dish rack right of the sink where water drains naturally
- Set a dark-colored microfiber mat on the counter near the stove for bulky items that do not fit the rack
- Wash pots last and set them directly on the mat so they are not dripping across the counter path
- Roll the mat up and stow it in a drawer when dry to reclaim that counter zone for prep
- Pick a rack with a built-in drip tray to keep the area under it from pooling water
3. Install a Magnetic Knife Strip on the Backsplash
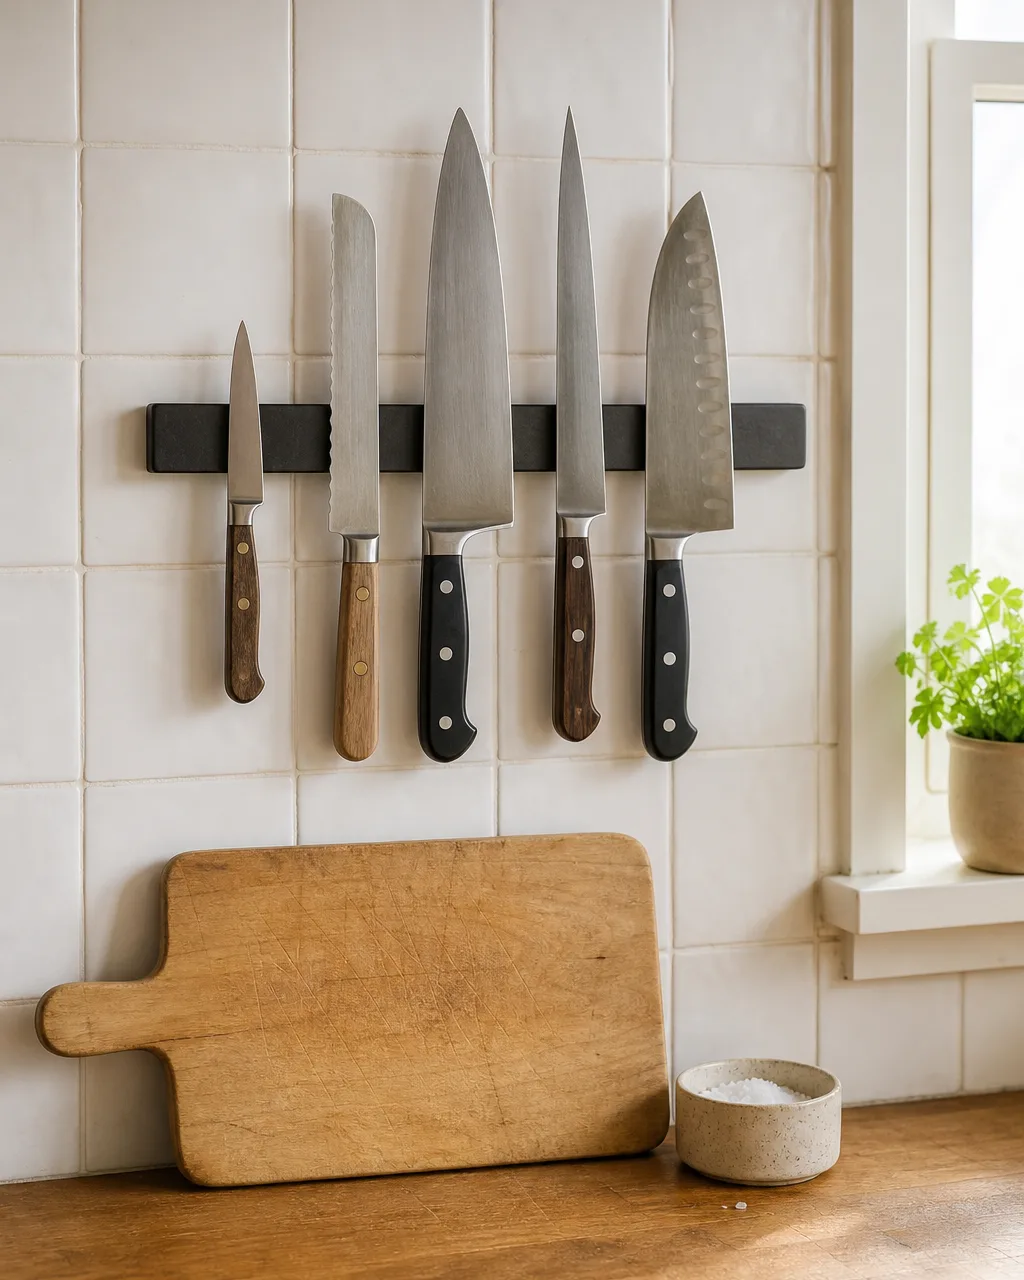
A wooden knife block takes up a full square foot of counter and hides blades where you cannot see their condition. A magnetic strip mounted on the backsplash lifts every knife off the surface, shows you exactly which blade you need, and keeps edges from dulling against other knives in a drawer. The freed counter space alone makes it worth the twenty-minute install.
- Mount the strip at a height where you can reach every knife without stretching but high enough that it is above the splash zone
- Arrange blades by size from left to right with the handles angled consistently for a clean visual line
- Use a stainless steel or walnut-finish strip that blends with your backsplash rather than looking like a hardware-store add-on
- Place your most-used knife in the center position where your hand goes first during prep
- Keep the strip to five or six knives maximum so the display stays functional instead of cluttered
Spend first on changes that affect every single meal. Cosmetic upgrades can wait.
4. Enforce a Clear-Counter Policy with a Landing Tray
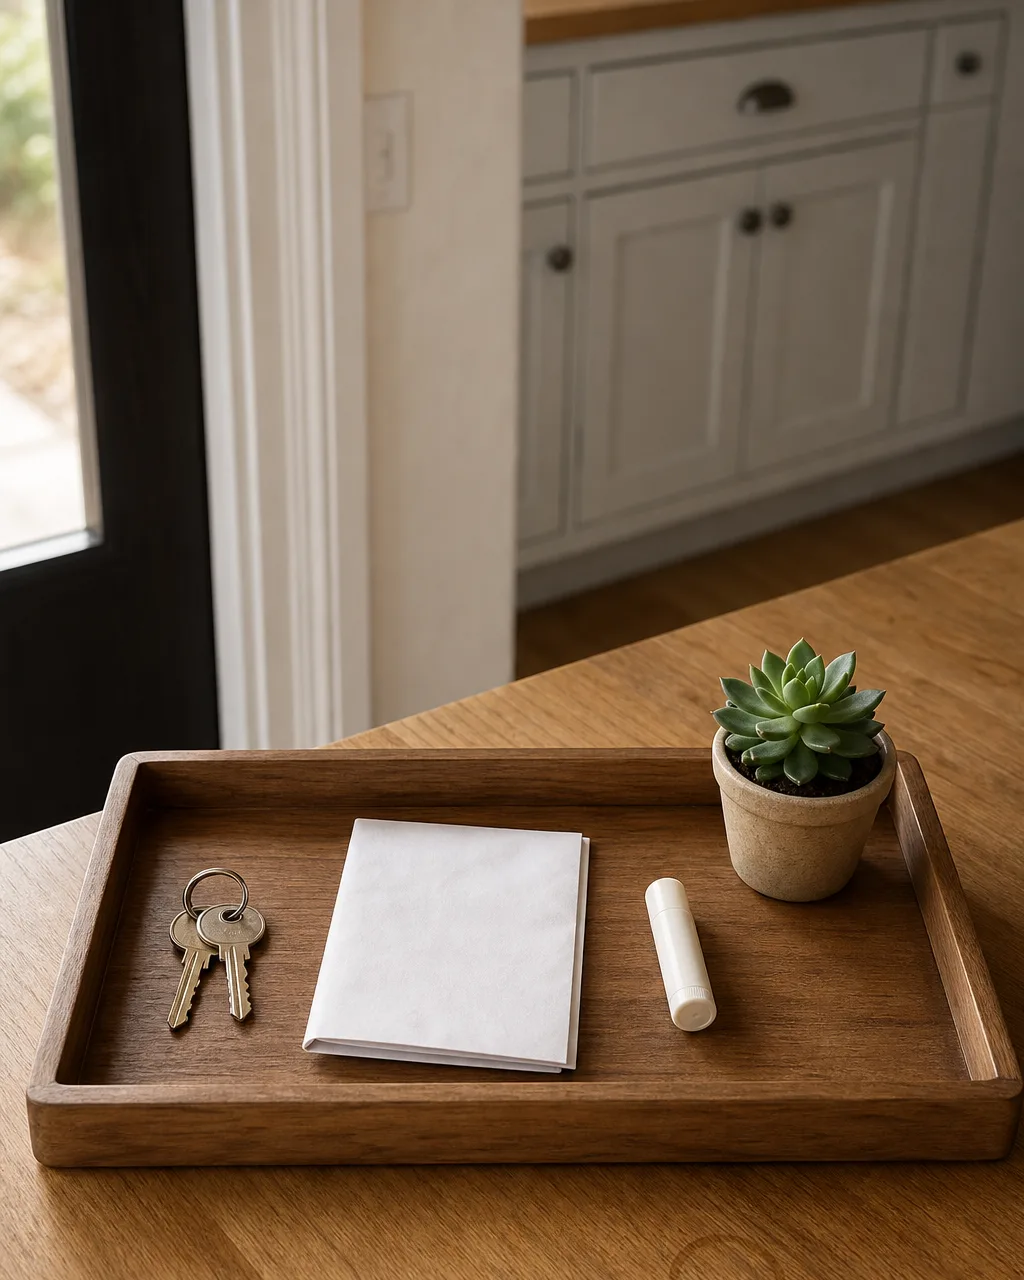
Clutter on the kitchen counter is not a willpower problem, it is a systems problem. A single wooden landing tray near the kitchen entry gives transient items like keys, mail, and phone chargers one place to land. Everything that does not belong in the tray goes in a drawer or gets thrown out. The tray becomes the boundary between chaos and clean prep surface.
- Choose a rectangular tray with low sides so items are contained but visible and easy to grab
- Place the tray at the entry point of the kitchen where things naturally get set down
- Limit the tray contents to items that will leave the kitchen, like keys and sunglasses, not food or utensils
- Empty and reset the tray once a day, either in the morning or after dinner, so it never overflows
- Pick a tray material that complements your counter, like walnut on quartz or light bamboo on butcher block
5. Add Task Lighting Under the Upper Cabinets
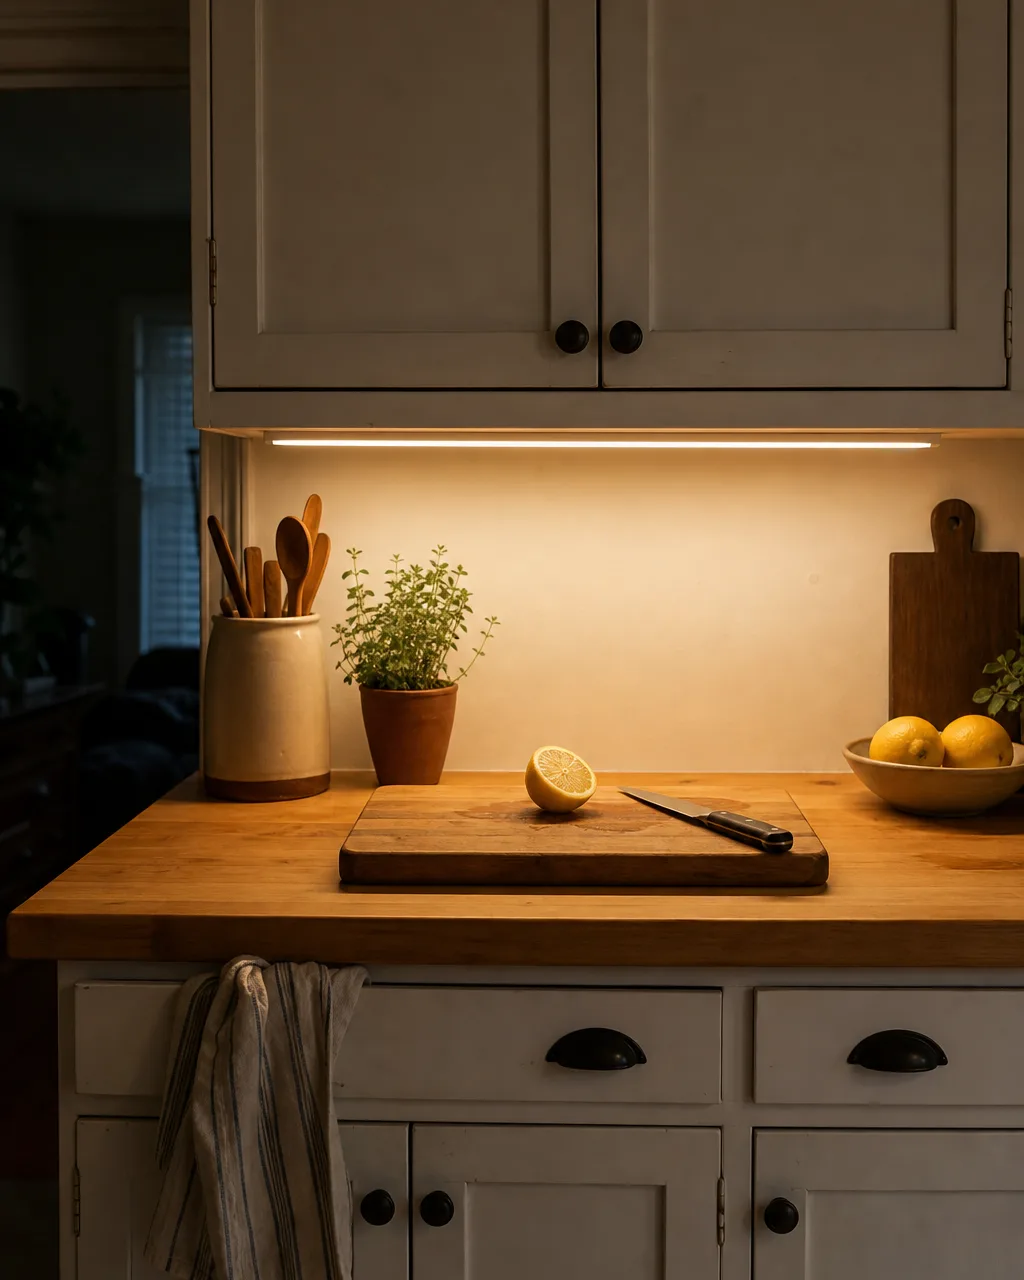
Overhead kitchen light casts shadows exactly where you need to see, right on the cutting board where your hands and the cabinets above block the light. LED strip lights or puck lights mounted under the upper cabinets illuminate the prep zone directly, and the difference is immediate the first time you chop vegetables without squinting.
- Stick adhesive LED strip lights along the front edge of the cabinet underside, angled slightly toward the backsplash
- Choose warm white LEDs around 3000K so the light feels inviting rather than clinical
- Wire them to a simple switch or use battery-powered puck lights if you rent and cannot hardwire
- Position the lights so they cover the full length of the counter prep zone, not just one spot
- Turn off the overhead light in the evening and cook by task light alone to see how much more comfortable the kitchen feels
6. Roll in a Kitchen Cart for Extra Prep Surface
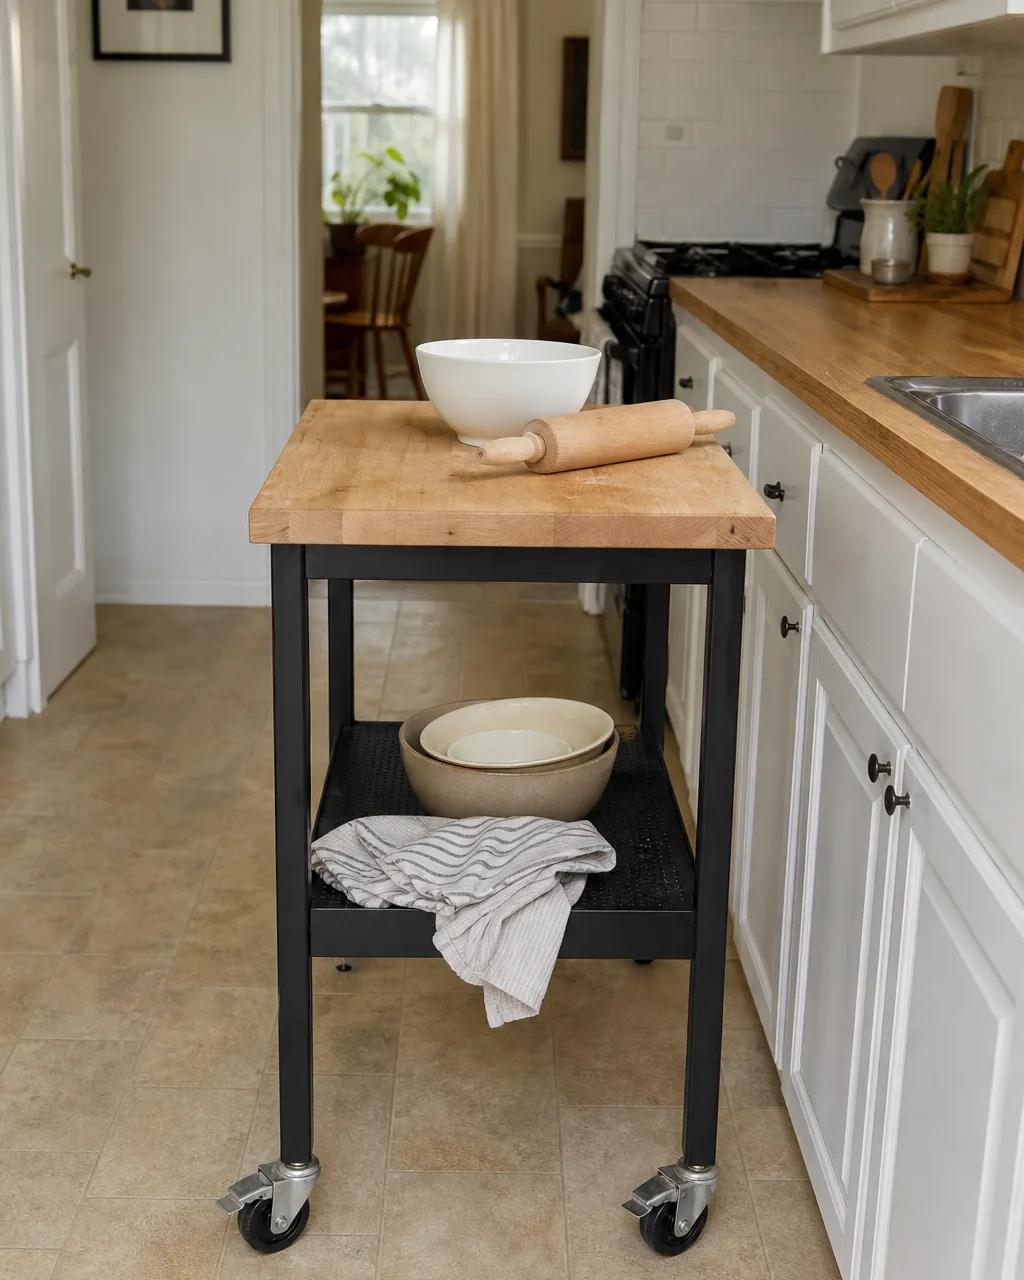
Not every kitchen has room for an island, and not every cook needs one permanently in the way. A rolling cart with a butcher-block top gives you an extra prep surface when you are cooking and parks against the wall when you are not. It is the island equivalent for kitchens where space bends around daily life.
- Pick a cart with locking caster wheels so it stays put while you work on it and rolls when you need it to
- Choose a butcher-block or wood top that can handle direct knife contact without a cutting board
- Keep the lower shelf for mixing bowls, a towel, and a few items you reach for mid-cook
- Park the cart against an empty wall or beside the fridge when it is not in active use
- Size the cart so it fits between your counter and the opposite wall with enough room to open the oven door
These principles keep every layout, from galley to L-shape, functional at meal time.
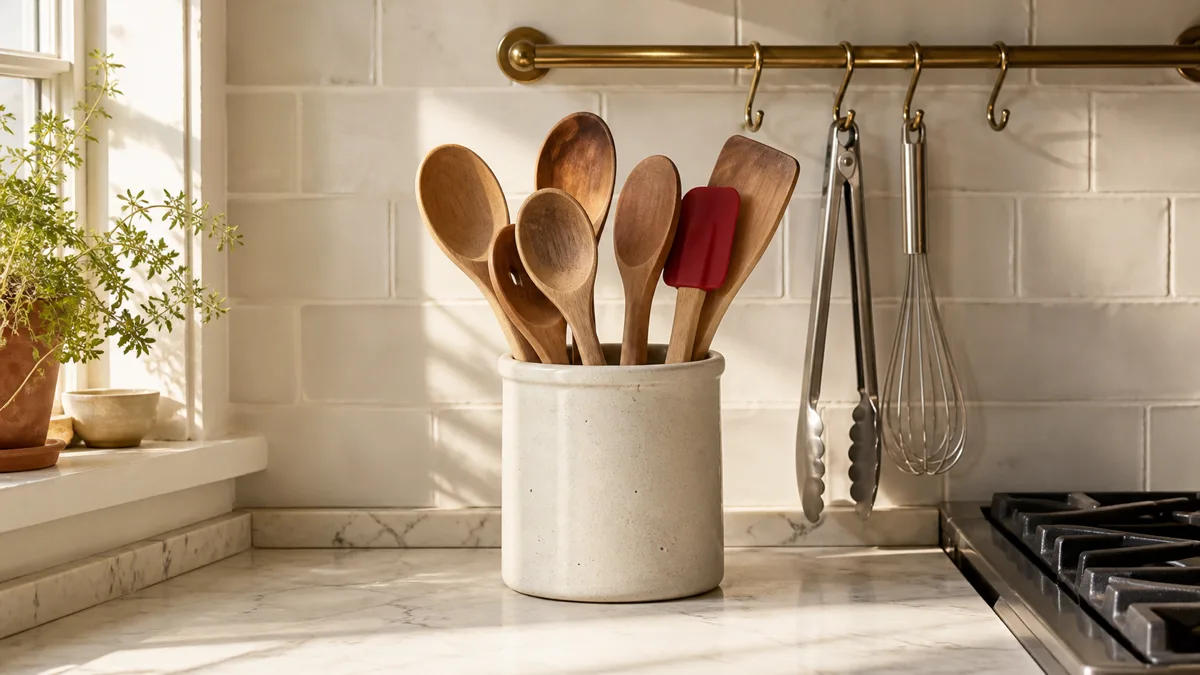
7. Install Drawer Dividers for Utensils and Tools
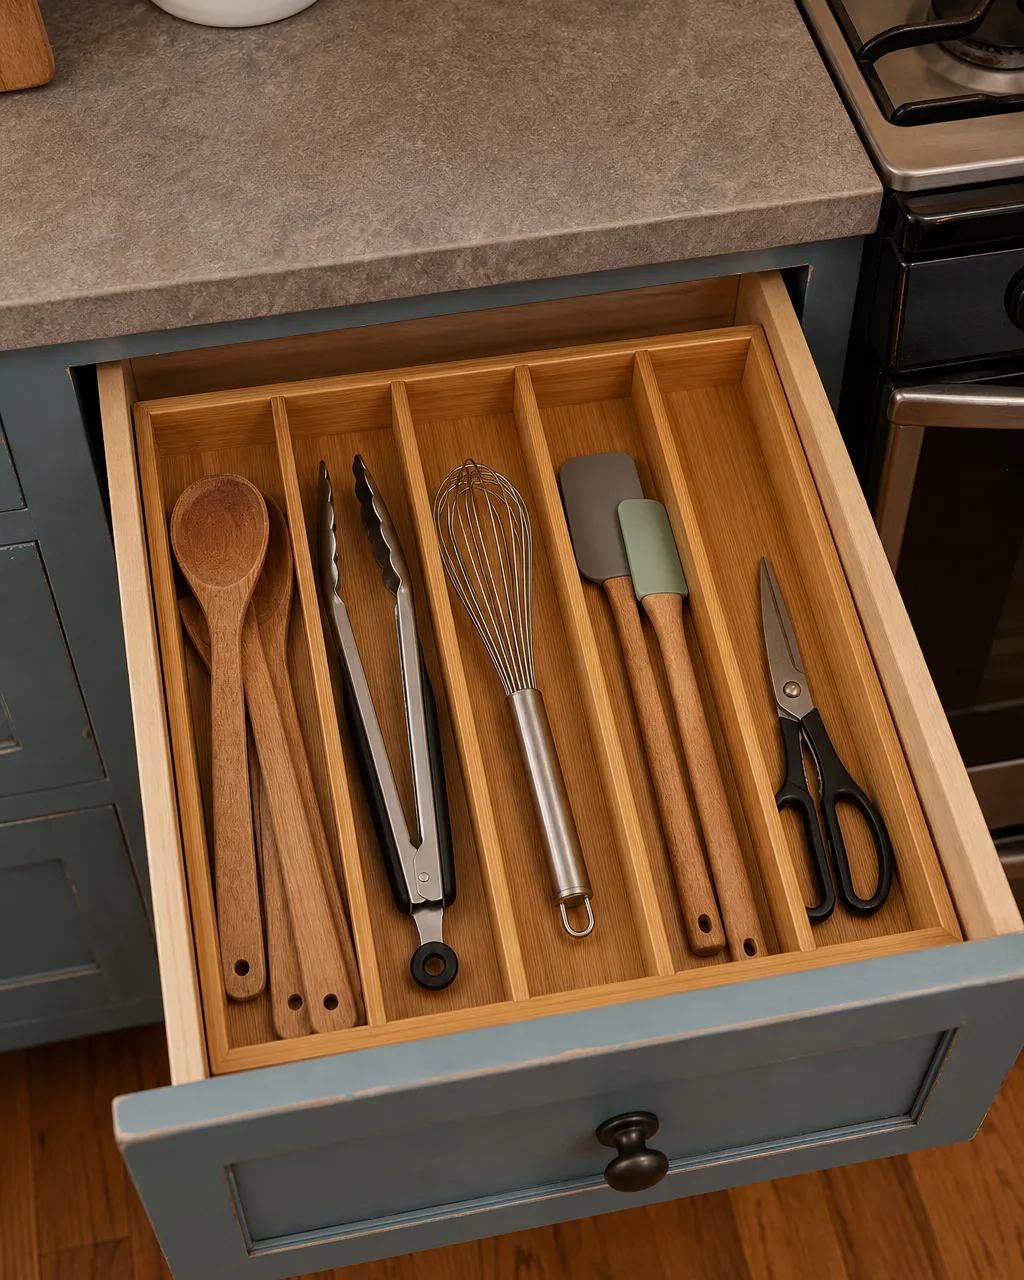
A kitchen drawer without dividers is a junk drawer in disguise. Every time you reach for tongs and pull out a whisk tangled with a spatula, you lose ten seconds and a bit of patience. Bamboo or adjustable plastic dividers give each tool its own lane, and the visual order alone changes how the drawer feels when you open it.
- Measure the drawer interior before buying dividers so they fit snugly without sliding around
- Assign one compartment per tool type: wooden spoons together, metal tongs together, spatulas together
- Put the tools you reach for most often in the front slots so they are the first thing your hand touches
- Use an adjustable divider set if your drawer is an odd size rather than forcing a fixed-width insert
- Remove any tool you have not used in six months and put it in a donation bag instead of giving it a new slot
If your kitchen cabinets need the same treatment, start with the utensil drawer and work outward from there.
8. Hide the Trash with a Pull-Out Bin Station
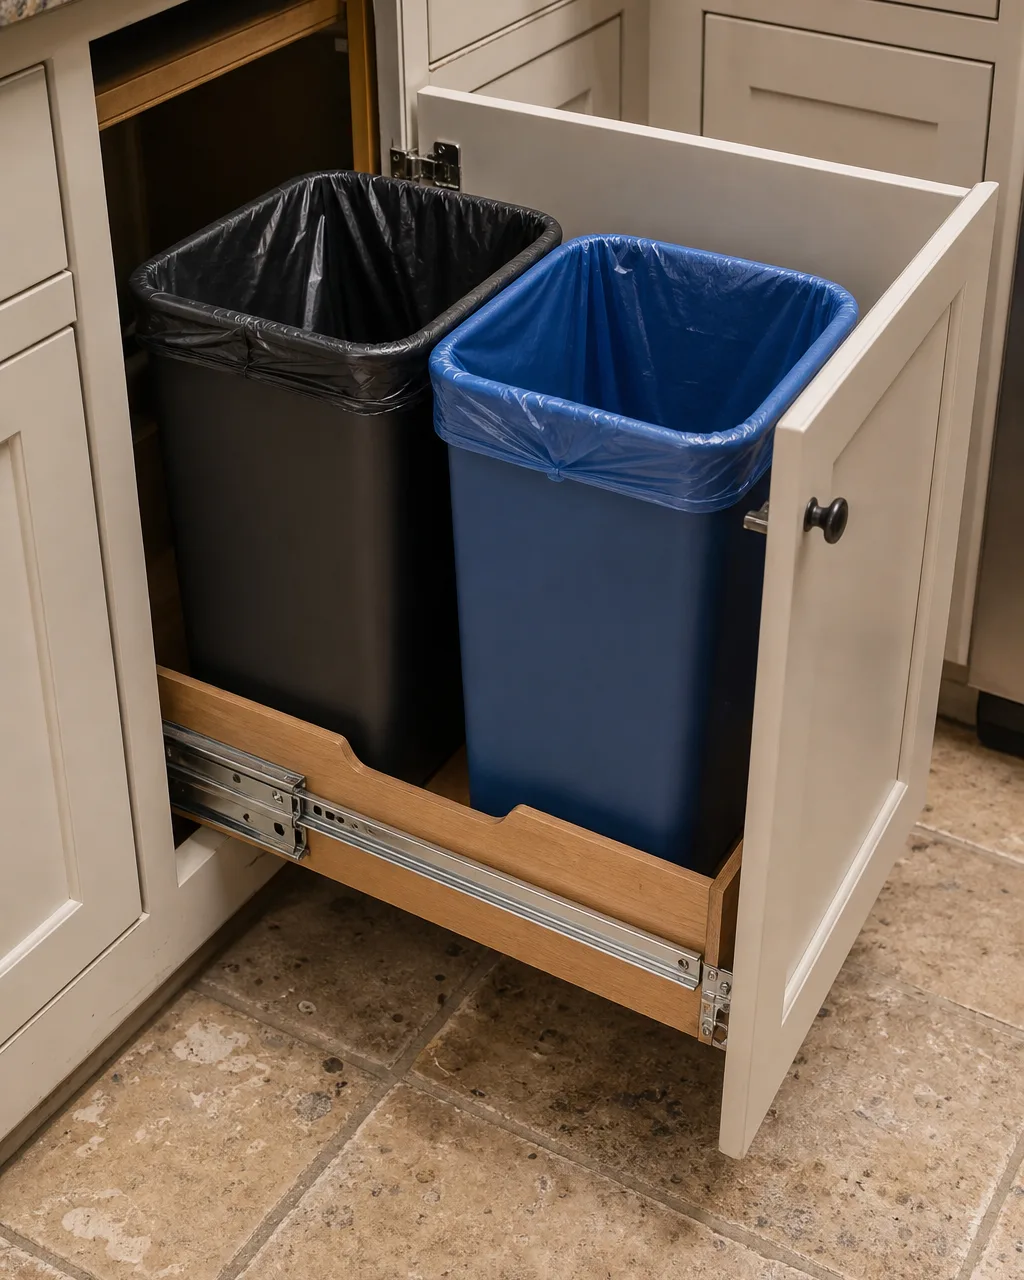
A freestanding trash can in the middle of the kitchen floor is the single most common obstacle in small and medium kitchens. A pull-out bin inside a lower cabinet puts the trash and recycling behind a door, opens with one hand, and frees the floor space that the old bin blocked. The kitchen immediately feels larger because the walkway is clear.
- Choose a dual-bin system so trash and recycling share one cabinet and you sort at the source
- Install the pull-out on heavy-duty drawer slides rated for the weight of a full bag
- Pick a cabinet near the main prep zone so scraps go straight from the cutting board to the bin
- Line both bins before you start cooking so mid-meal bag changes never happen
- Keep a small compost container on the counter if you compost, but route everything else through the pull-out
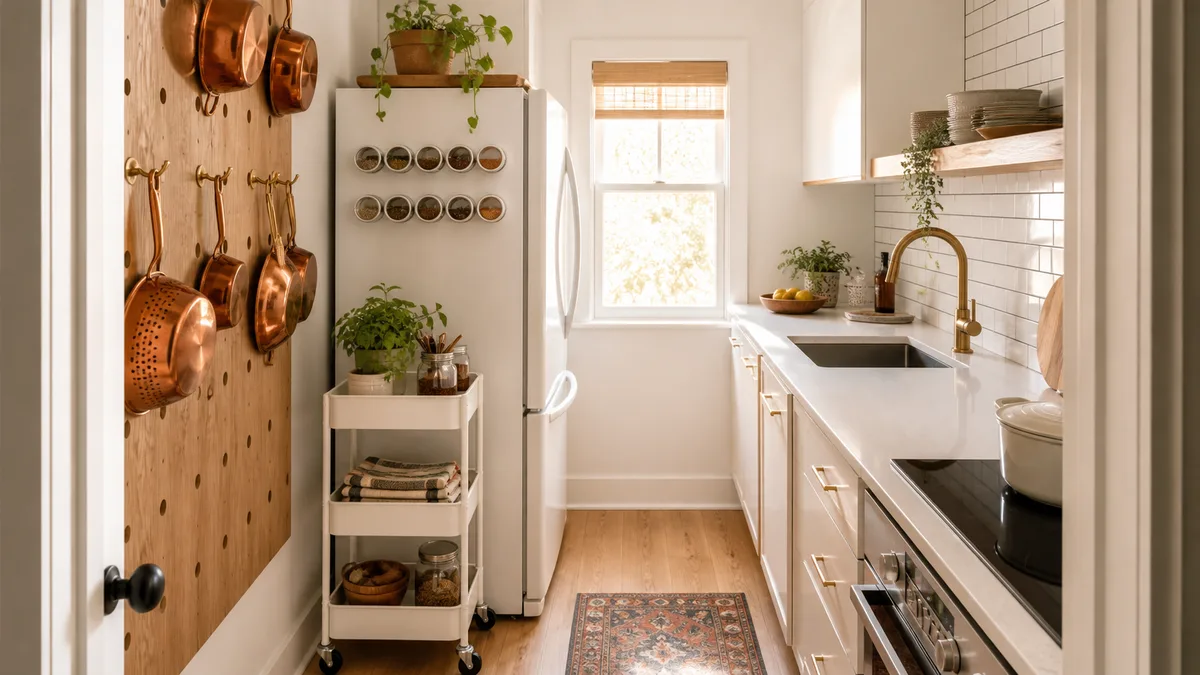
9. Mount a Pegboard or Rail System on a Dead Wall
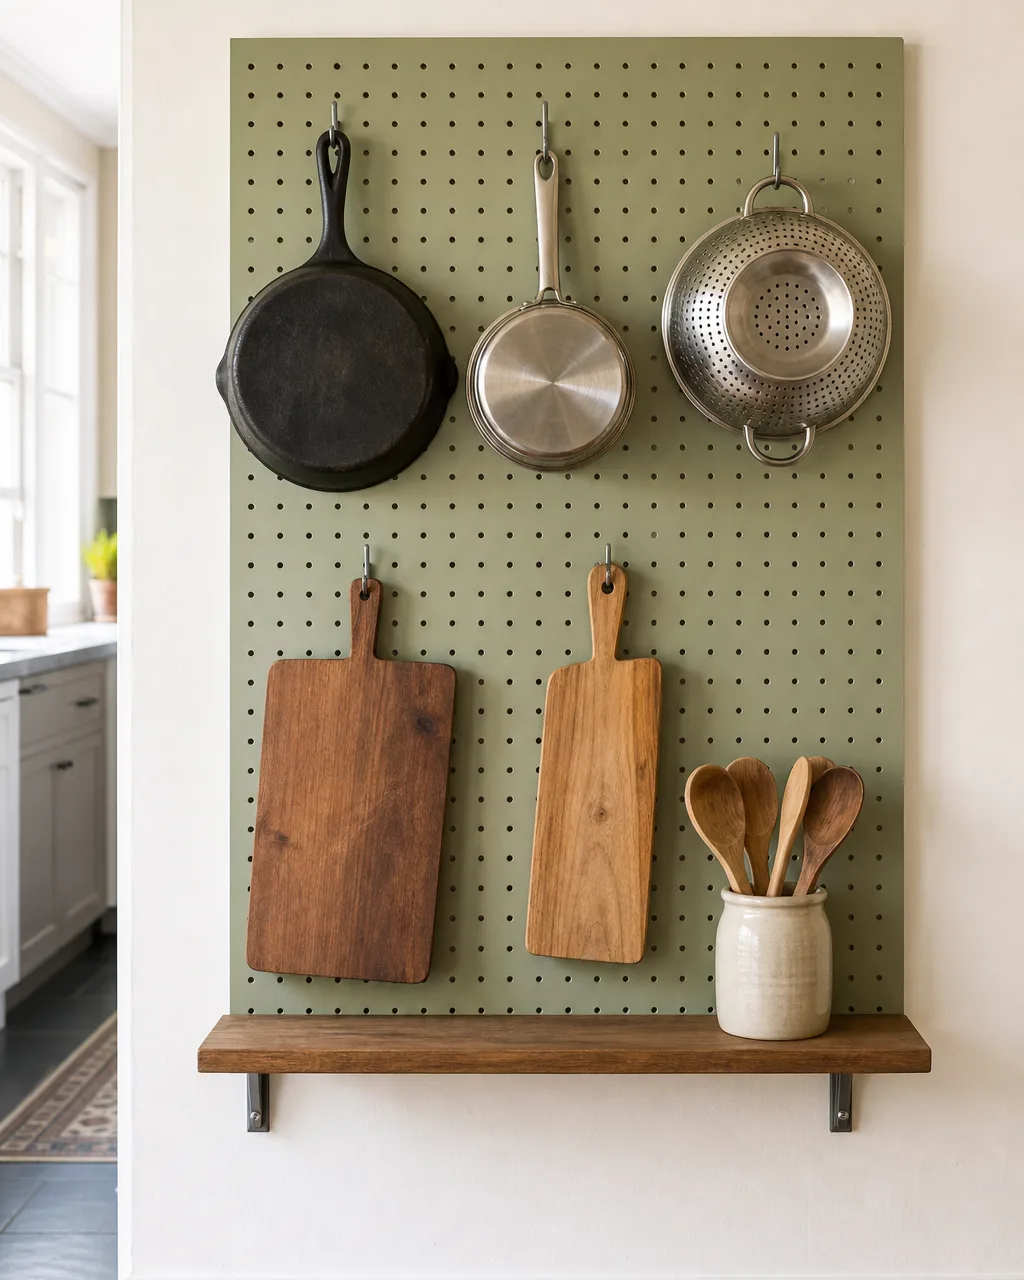
Every kitchen has at least one wall that does nothing. A painted pegboard or a rail-and-hook system turns that dead space into active storage for pots, pans, colanders, and cutting boards. The items hang in plain sight, dry faster after washing, and free up cabinet space that was holding things too bulky to stack.
- Paint the pegboard the same color as the kitchen wall or one shade darker so it looks intentional
- Hang the heaviest items like cast iron at the bottom where the hooks bear the most weight
- Group similar items together, pans on one row and boards on another, so the wall reads as organized
- Leave gaps between items so each piece is easy to grab without bumping the one next to it
- Add a narrow shelf at the bottom of the pegboard for small jars or a utensil crock that completes the zone
For a small apartment kitchen, a pegboard is one of the fastest ways to double your usable storage without drilling into cabinets.
Kitchen Upgrade Checklist
- 1Task LightingStick LED strips under the upper cabinets to eliminate shadows on the prep surface.
- 2Drawer DividersGive every utensil its own lane with bamboo inserts so you stop digging.
- 3Knife StripMount a magnetic bar on the backsplash to clear a full square foot of counter.
- 4Pull-Out TrashHide the bin in a lower cabinet to free the floor and clear the walkway.
- 5Rolling CartAdd a moveable butcher-block cart for extra prep surface that parks when done.
- 6Clear the CounterUse a landing tray for transient items and put everything else in a drawer.
- 7Herb ShelfFloat a small shelf above the sink for potted herbs within arm's reach.
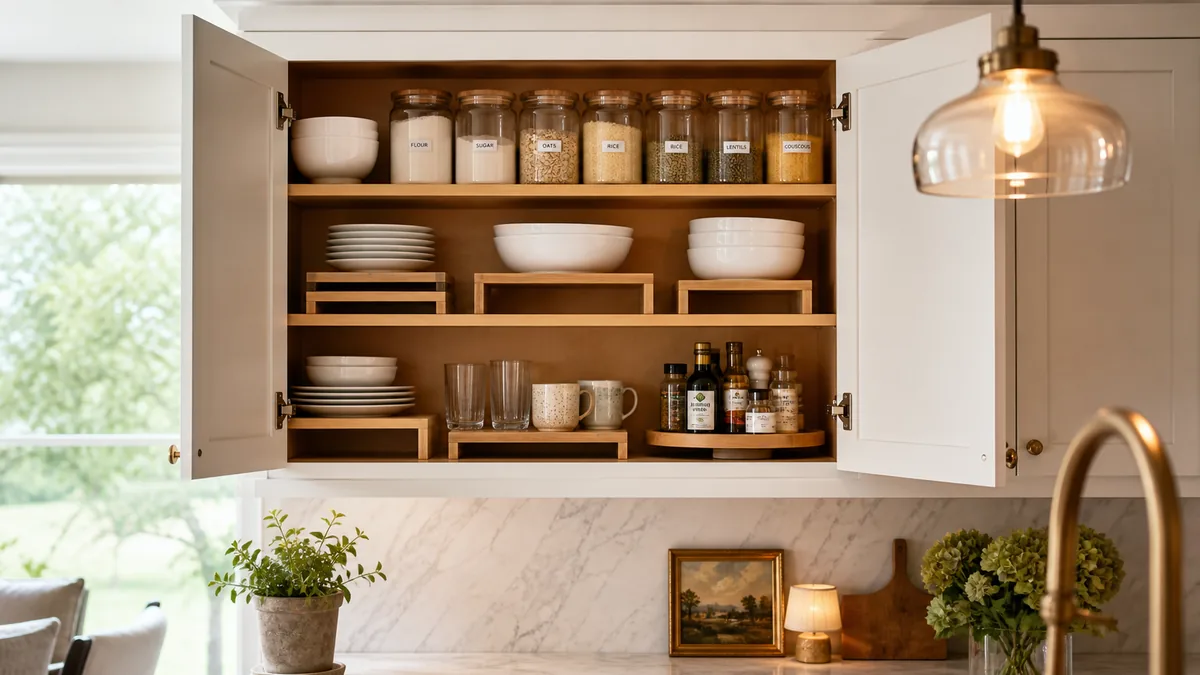
10. Line Up Glass Jars for Dry Pantry Staples
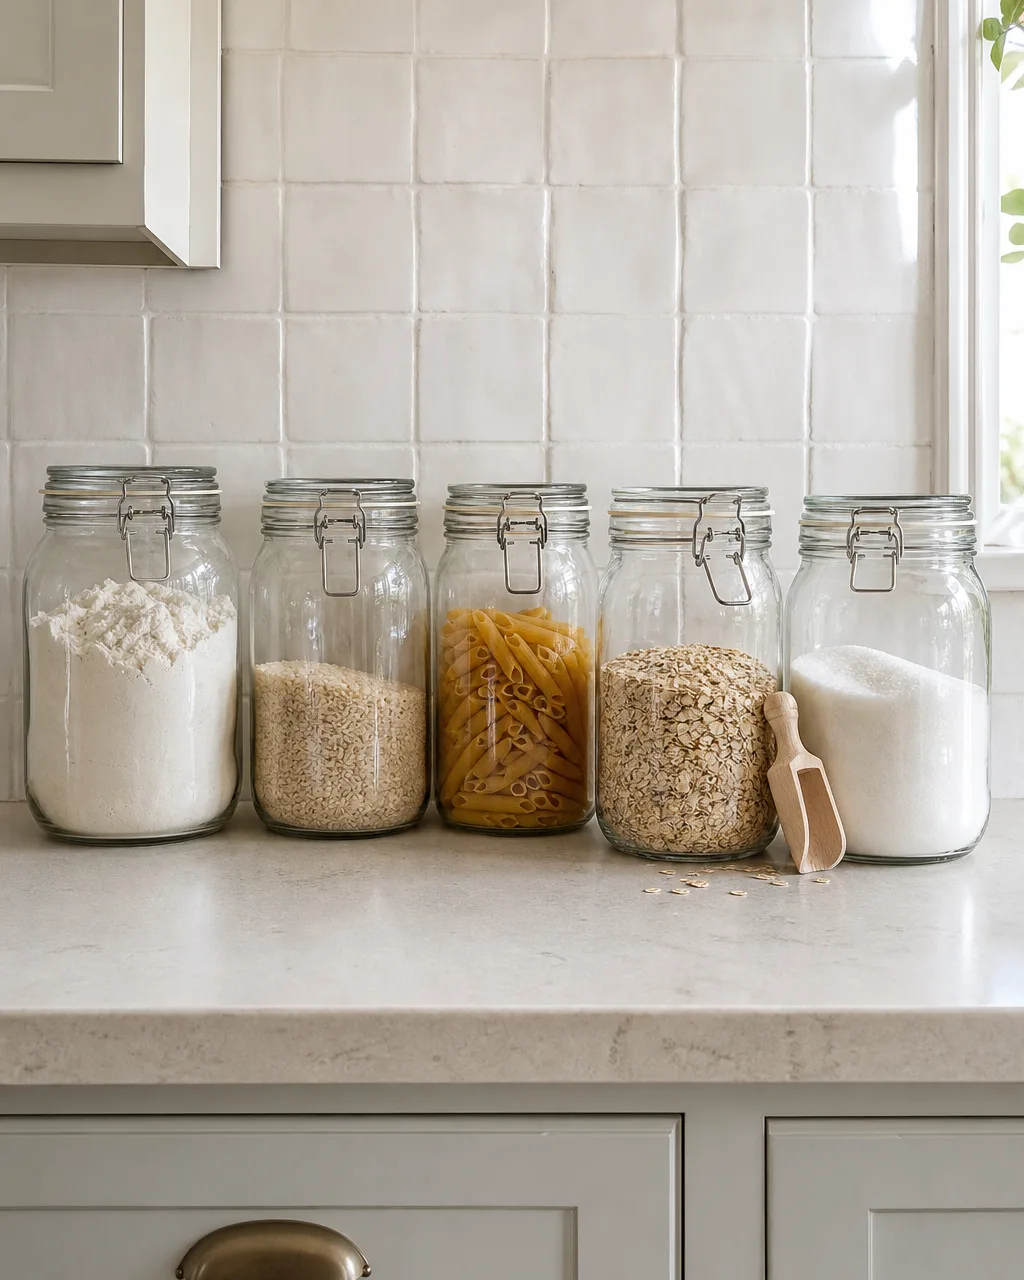
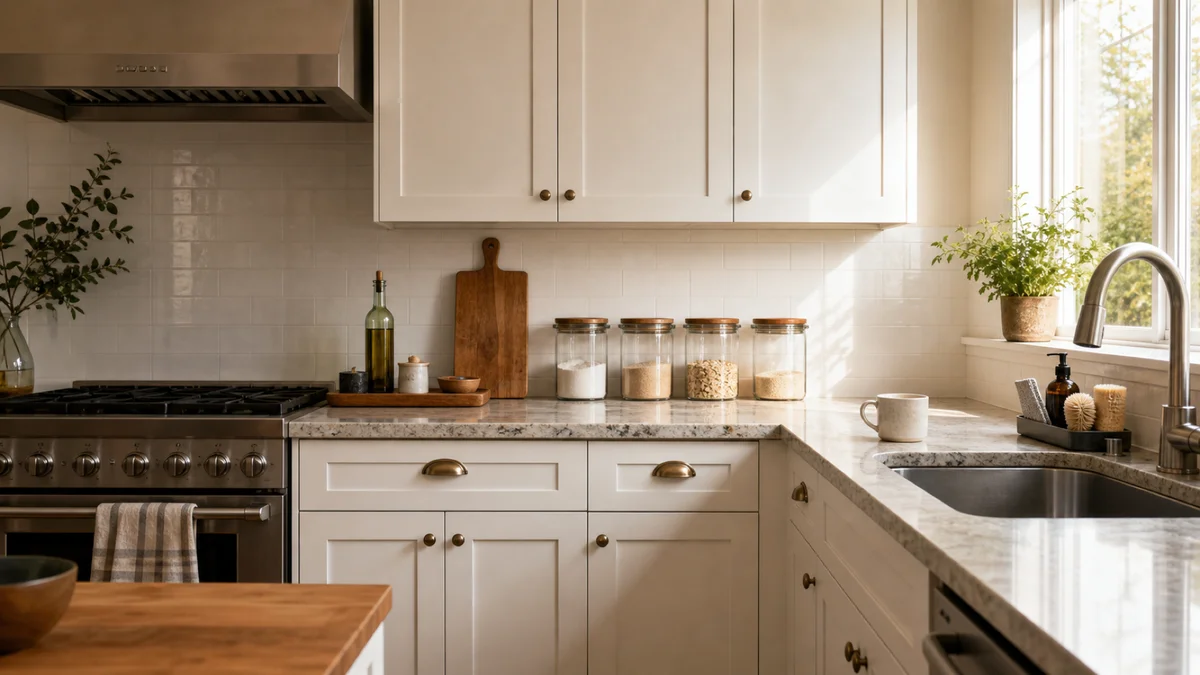
Bags of flour and rice shoved in a cabinet are invisible until you tear one open and discover it is empty. Decanting dry staples into clear glass jars and lining them on the counter gives you a visual inventory at a glance. You can see exactly how much pasta is left, when the oats are running low, and whether you need to add rice to the shopping list.
- Choose jars with airtight clip-top or screw-top lids to keep moisture and pantry moths out
- Decant only the staples you use weekly so the counter jar lineup stays tight and functional
- Pick one jar size for uniformity so the row looks clean rather than a collection of mismatched containers
- Label the jars on the lid, not the side, if you need labels at all, because the contents are visible through the glass
- Refill jars on grocery day as part of the unpack routine so the lineup never goes stale
11. Designate a Baking Corner with Vertical Tray Storage
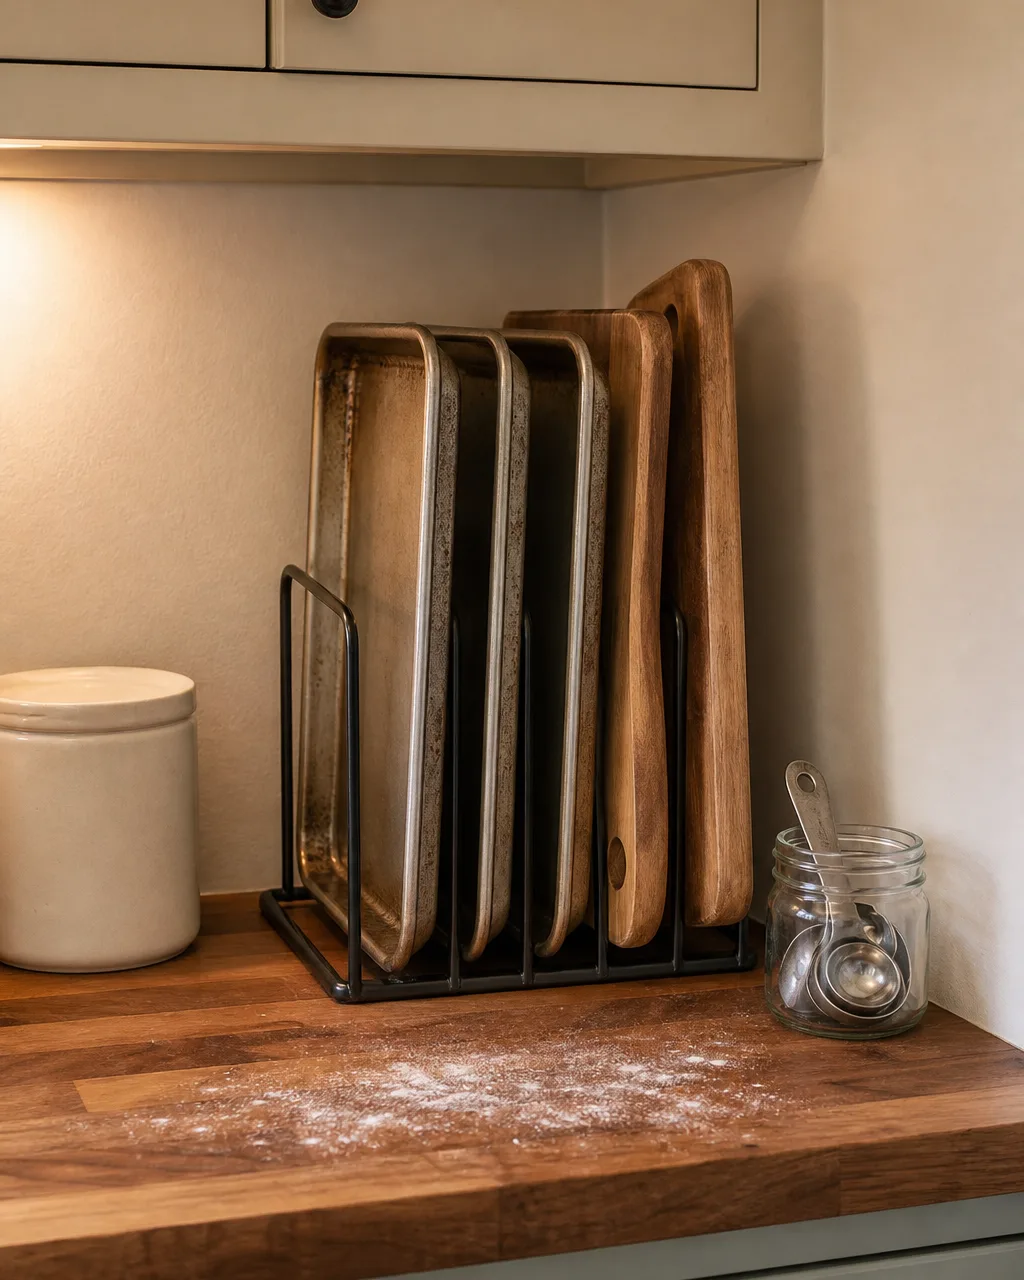
Sheet pans stacked flat in a cabinet create a game of Jenga every time you need the one at the bottom. A vertical file-style rack stores them upright like records in a crate, so you slide one out without disturbing the rest. Pair the rack with a nearby canister of flour and a jar of measuring spoons, and you have a baking station that is ready the moment you decide to make something.
- Place the rack on a section of counter near the oven so the path from prep to baking is short
- Store cutting boards in the same rack since they share the same flat, awkward shape
- Keep the rack to five or six items so they stand upright without leaning too far
- Position the flour canister and measuring tools within arm's reach of the rack to complete the zone
- Wipe the rack and counter section after each baking session so flour dust does not become a permanent layer
For a deeper organization of your kitchen countertop, the baking corner is a good anchor point to build outward from.
12. Add an Herb Window Shelf Above the Sink
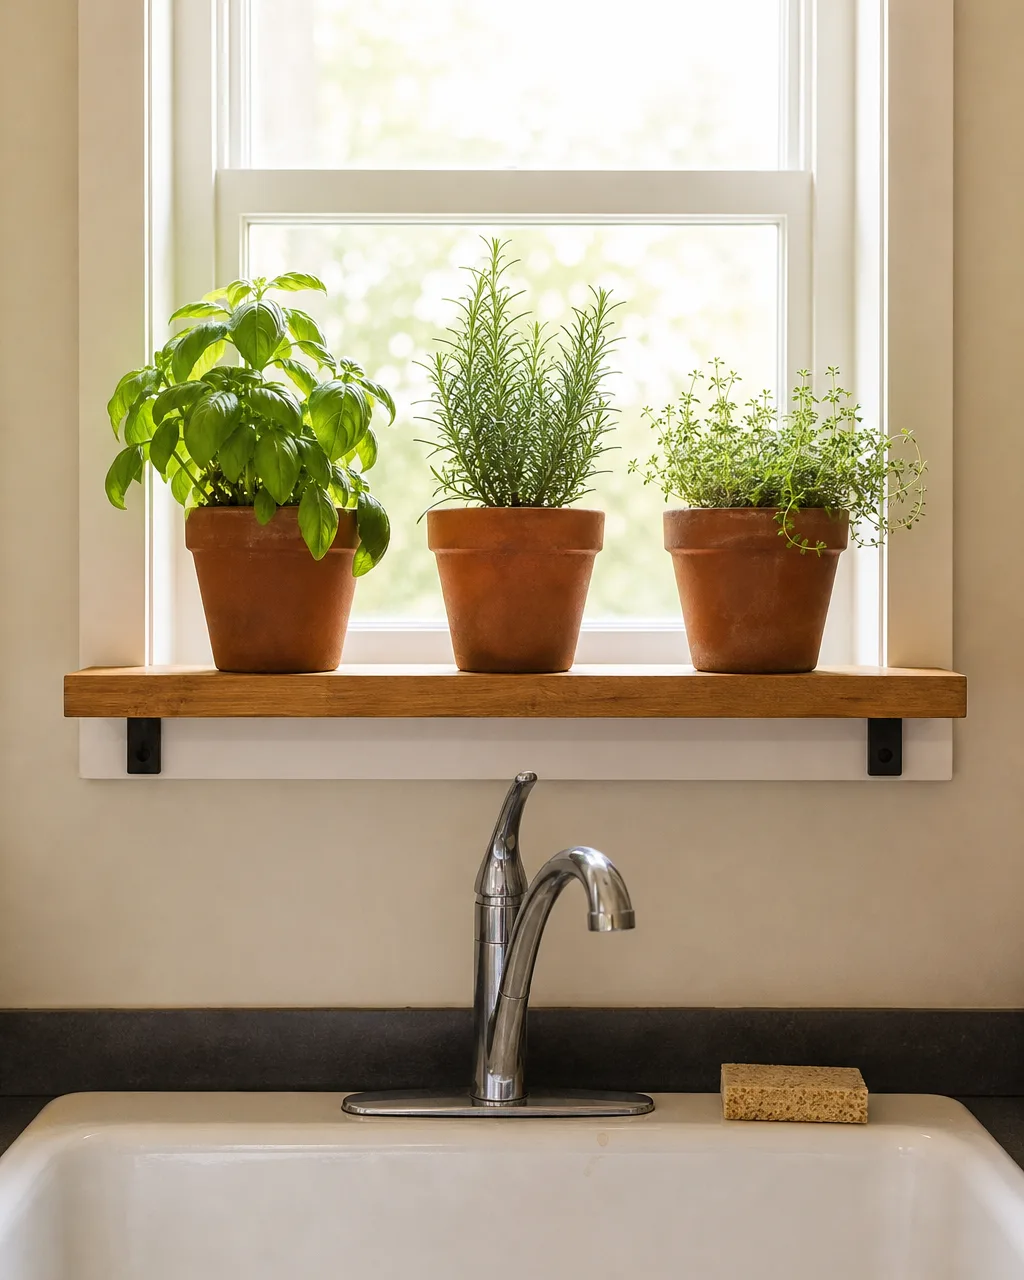
Fresh herbs from the grocery store cost three dollars a bunch and wilt in the fridge within a week. A small floating shelf above the kitchen sink, where light is usually strongest, keeps basil, rosemary, and thyme alive and within arm's reach while you cook. You tear off what you need, rinse it under the faucet below, and drop it straight into the pan.
- Mount a narrow floating shelf just above the window frame where it catches the most direct light
- Use small terracotta pots with drainage holes so roots do not sit in water and rot
- Start with basil, rosemary, and thyme because they tolerate kitchen humidity and irregular watering
- Water the pots lightly every few days by holding them under the faucet for a quick soak
- Rotate the pots a quarter turn each week so every side gets sunlight and the plants grow evenly
A kitchen that works does not need a renovation budget. It needs a few targeted changes in the places where daily friction actually happens. Start with the one that bothers you most, whether that is the shadow on your cutting board or the utensil drawer you dread opening, and let the rest follow from there.